Lifestyle
Essential Food Photography Tips for Props & Lighting
I wanted to take some time to share with you some of my tips on capturing the perfect food photography. Whether you’re a food blogger already, an aspiring one or just someone looking for a new hobby, these essential food photography tips for props and lighting will set you off on the right foot. Because I truly believe that props and lighting either make or break a photo.

Must-have food photography props for every kitchen
Props for food photography can really take a photo of food to the next level. Without props, you’ll just have just a dish of food on a table, and that doesn’t sound very fun, visually appealing, or provide any texture to the photo. Props can take your food photo from amateur to professional real quick.
Where do you start? Here are some of my must-have food photography props that I think every photographer or aspiring food photographer should have available to them to mix and match and create the best set.
1-2 rustic, fun cutting boards:
I like using them to add depth, shape and character to the photos. They are great too if you are using a white backdrop and white ceramics. They create contrasts and break the shot up a bit!
Vintage/non-shine cutlery, chopsticks, and unique knives and ramekins:
This helps tell your story. I find when there is cutlery and extra fun bits in the shot, the viewer can really imagine themselves making and eating the dish.
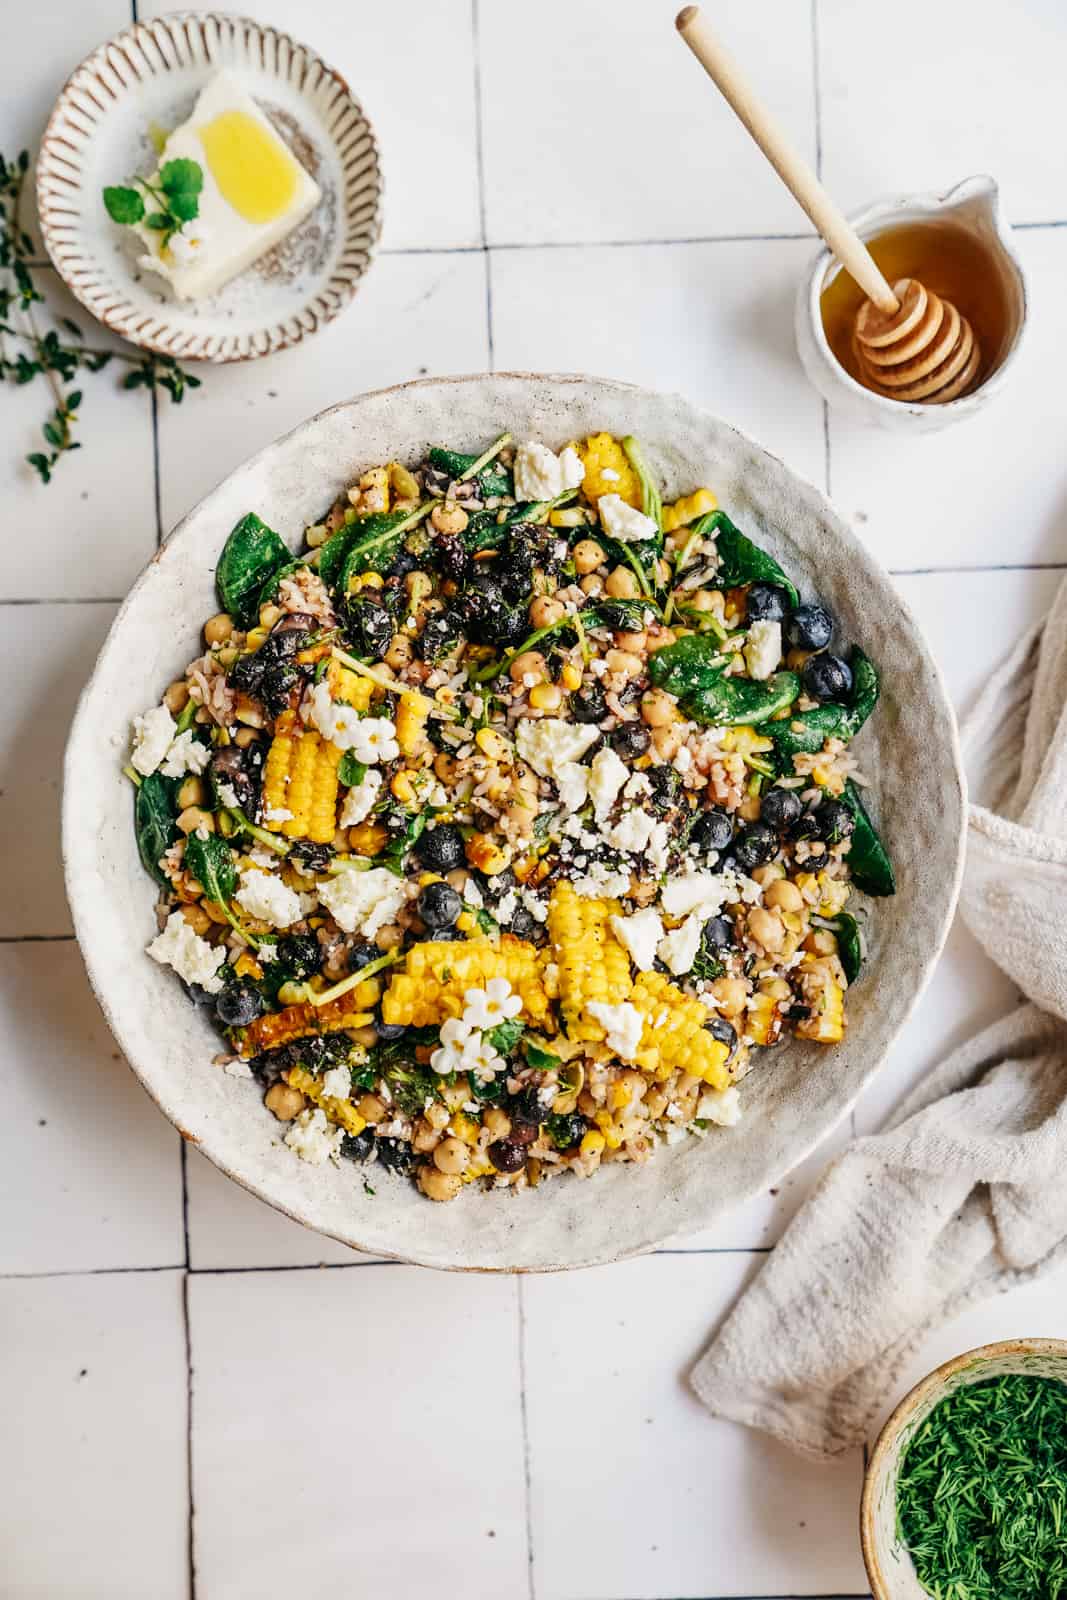
An example of utilizing a different backdrop with texture for your image, and different bowls with the ingredients that went into the dish to set the scene.
Backdrops:
One of the biggest food photography tips I can offer is to really think about the background. I have an array of colors to utilize for photography, but if you ask me, all you need is something dark, something rustic (like wood), and something light like white or grey to get started!
Essentially when you’re on Instagram you want to have a really well-balanced feed. So choose your colors and use them alternatively to create that aesthetically pleasing feed. People eat with their eyes first so make sure you pull them in with your choice of colors and balance!
 Earthy wood board with dark contrast and light touches/props to make your photo pop.
TIP! I use the app UNUM to achieve the perfect Instagram feed!
Rustic, imperfect, grey ceramic bowls:
These are a great baseline, versatile, and don’t take away from the image. They are basically used in most shoots so you create consistency in your photography. Once you become more comfortable then you can start using different colors and shapes with your dishes. You should never buy ceramics or plates/bowls with shine. They will make it hard for you to take a good photo so ensure you only purchase matte dishes, finished and worn.

Example of utilizing linens, vintage cutlery with no-shine, and matte plates to create a visually appealing set-up.
Plain matte white plates:
I mean, do I really need to say more about this? Everyone needs classic, white plates, and as I said, make sure they are matte for the best photos. Places like the below carry some great dishes that’ll help you create the best photos:
 Use big staple prop pieces to display your food.
Linens, newspapers & anything with texture:
I’ve covered the hard pieces above, but what about the soft pieces in your photos? This is where texture and color come into play, plus, by adding textiles to your images, you’ll create a sense of place, time, and/or emotion for your audience.
Use a checkered cloth to create the sense of being at a picnic, use a slightly-used dishtowel to show that you made the food by hand, in your own kitchen. I personally like to keep my linens neutral, but it’s really up to the look you’re trying to produce.
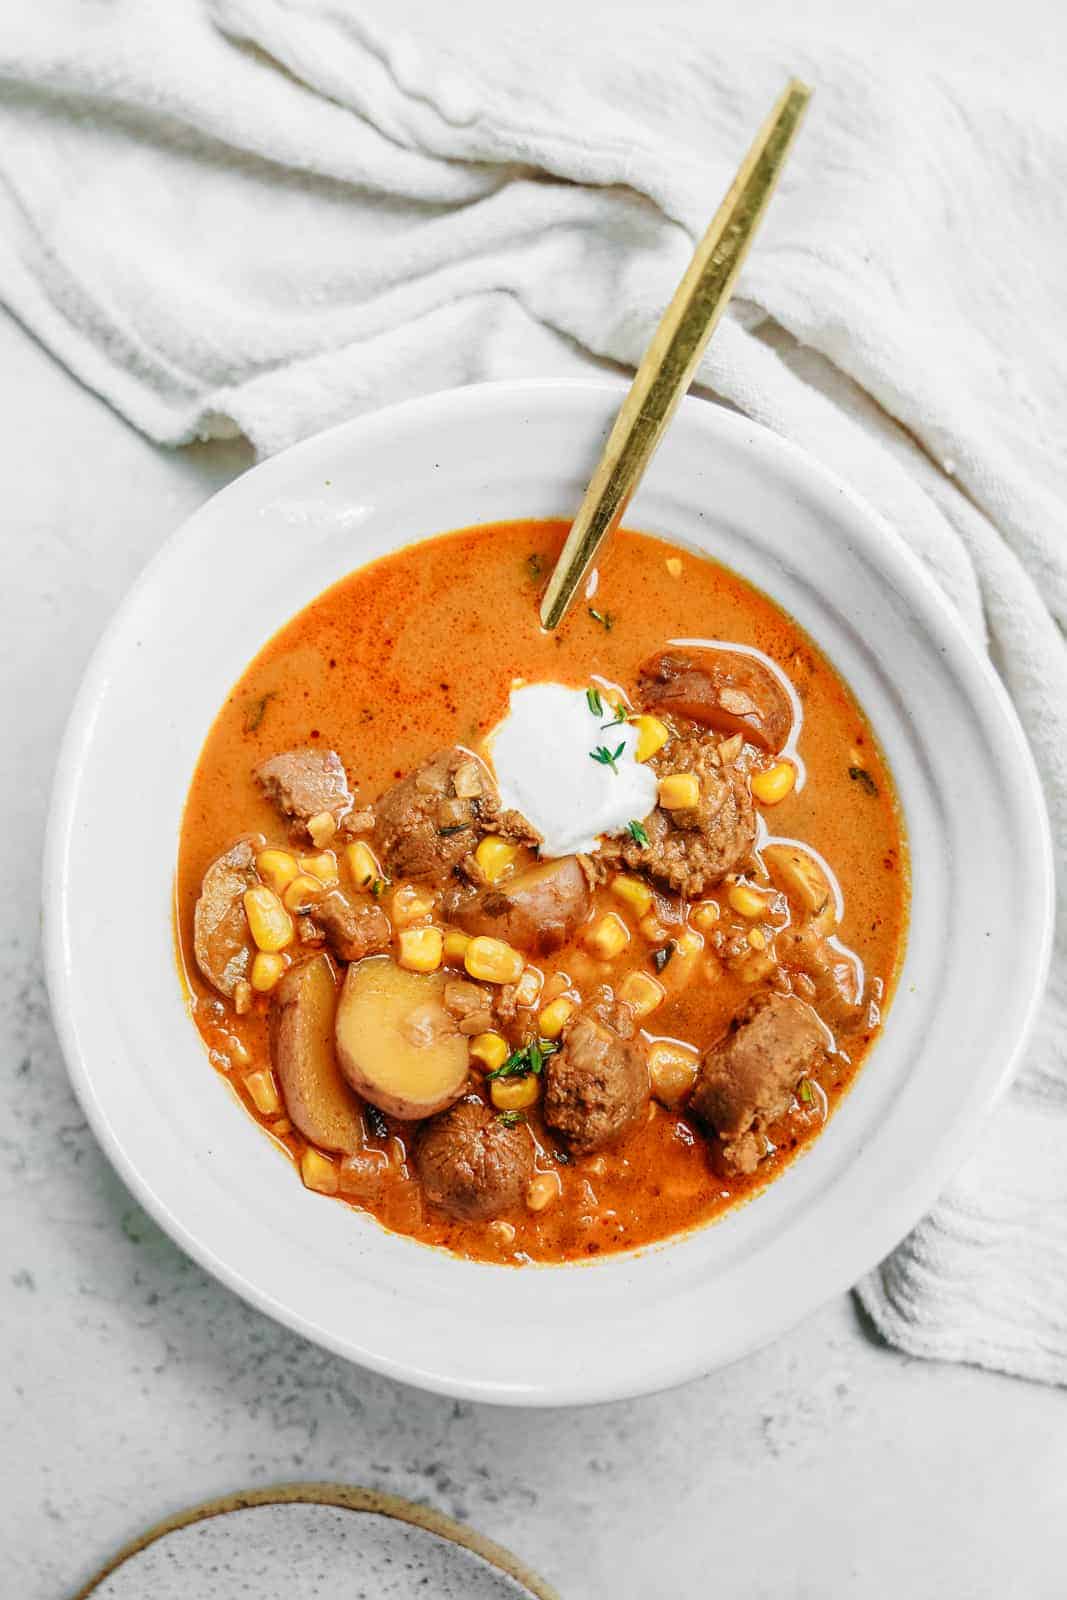
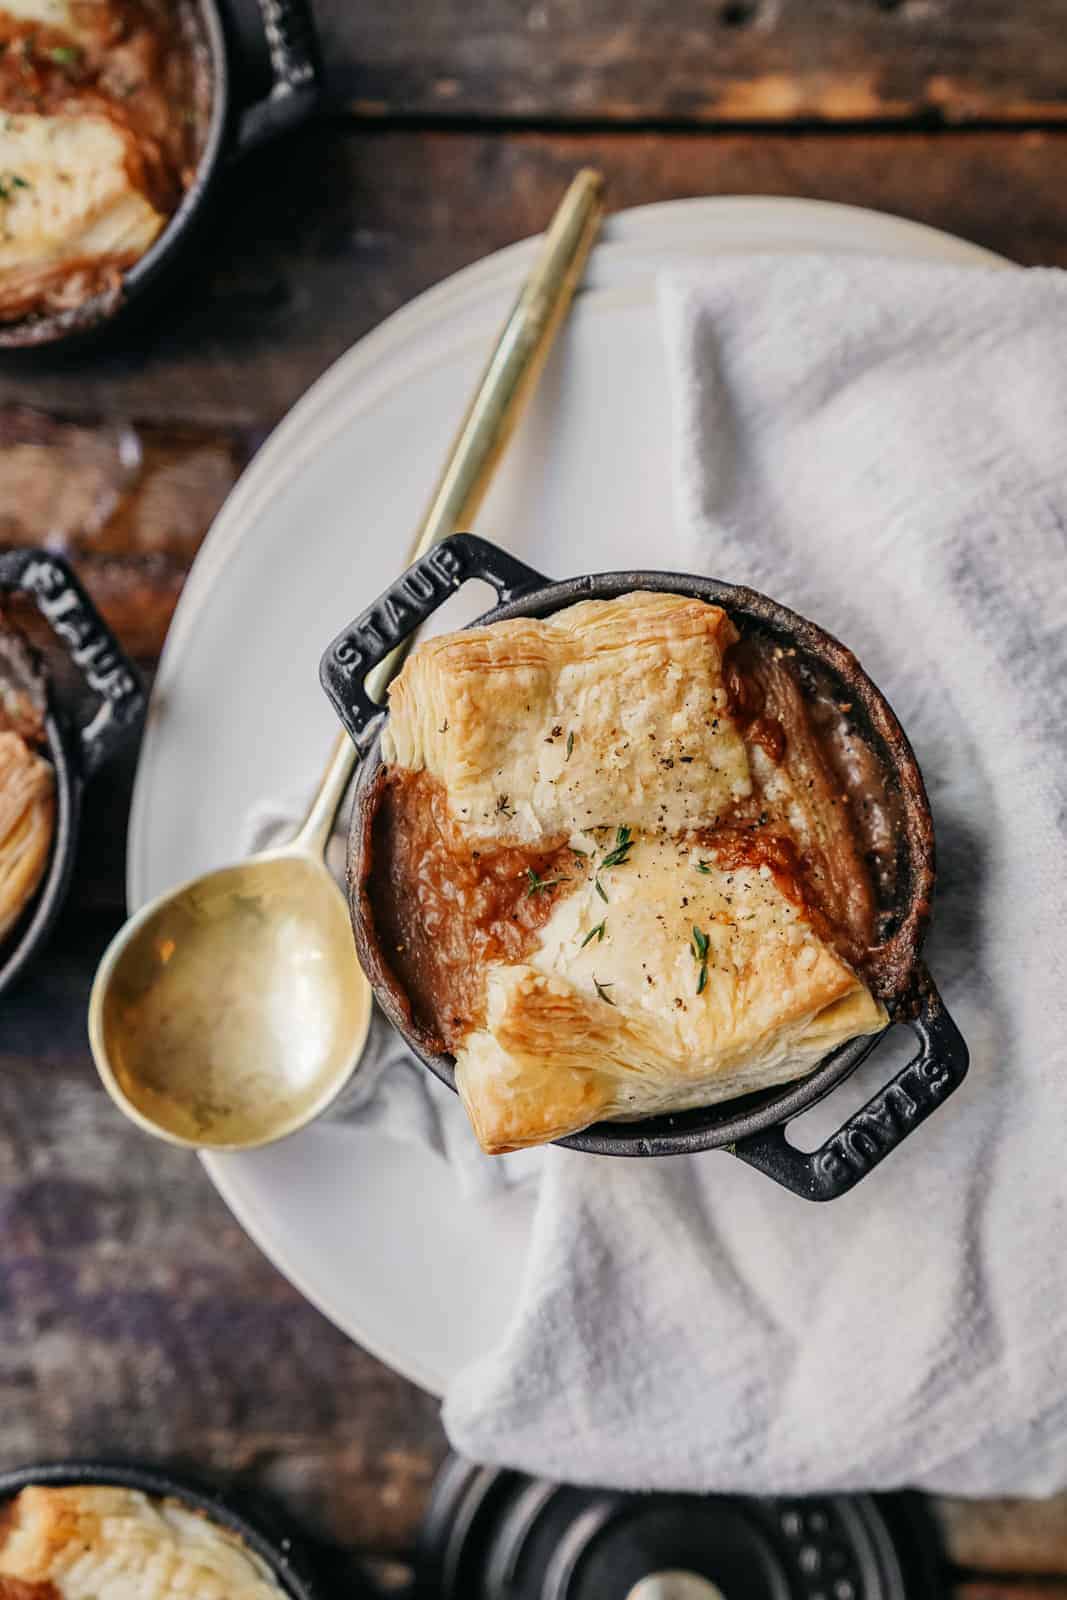
Adding sour cream & thyme to this soup added a pop of color and texture to the image.
Garnish:
Don’t underestimate the garnishes you could add to a dish, this is essential in my list of food photography tips. Garnishes can add a pop of color into your photography. You likely already have them on hand to make the dish, so play with them on the dish for the photo, along the side of your dish, etc.
Plants and flowers:
Add more life to your photos and earthiness by using plants and flowers in your pictures. Not only do plants and flowers smell good for while you’re doing your shoot, but they also look amazing in photos. Plus, this can also help you with learning how to shoot other things on top of food.
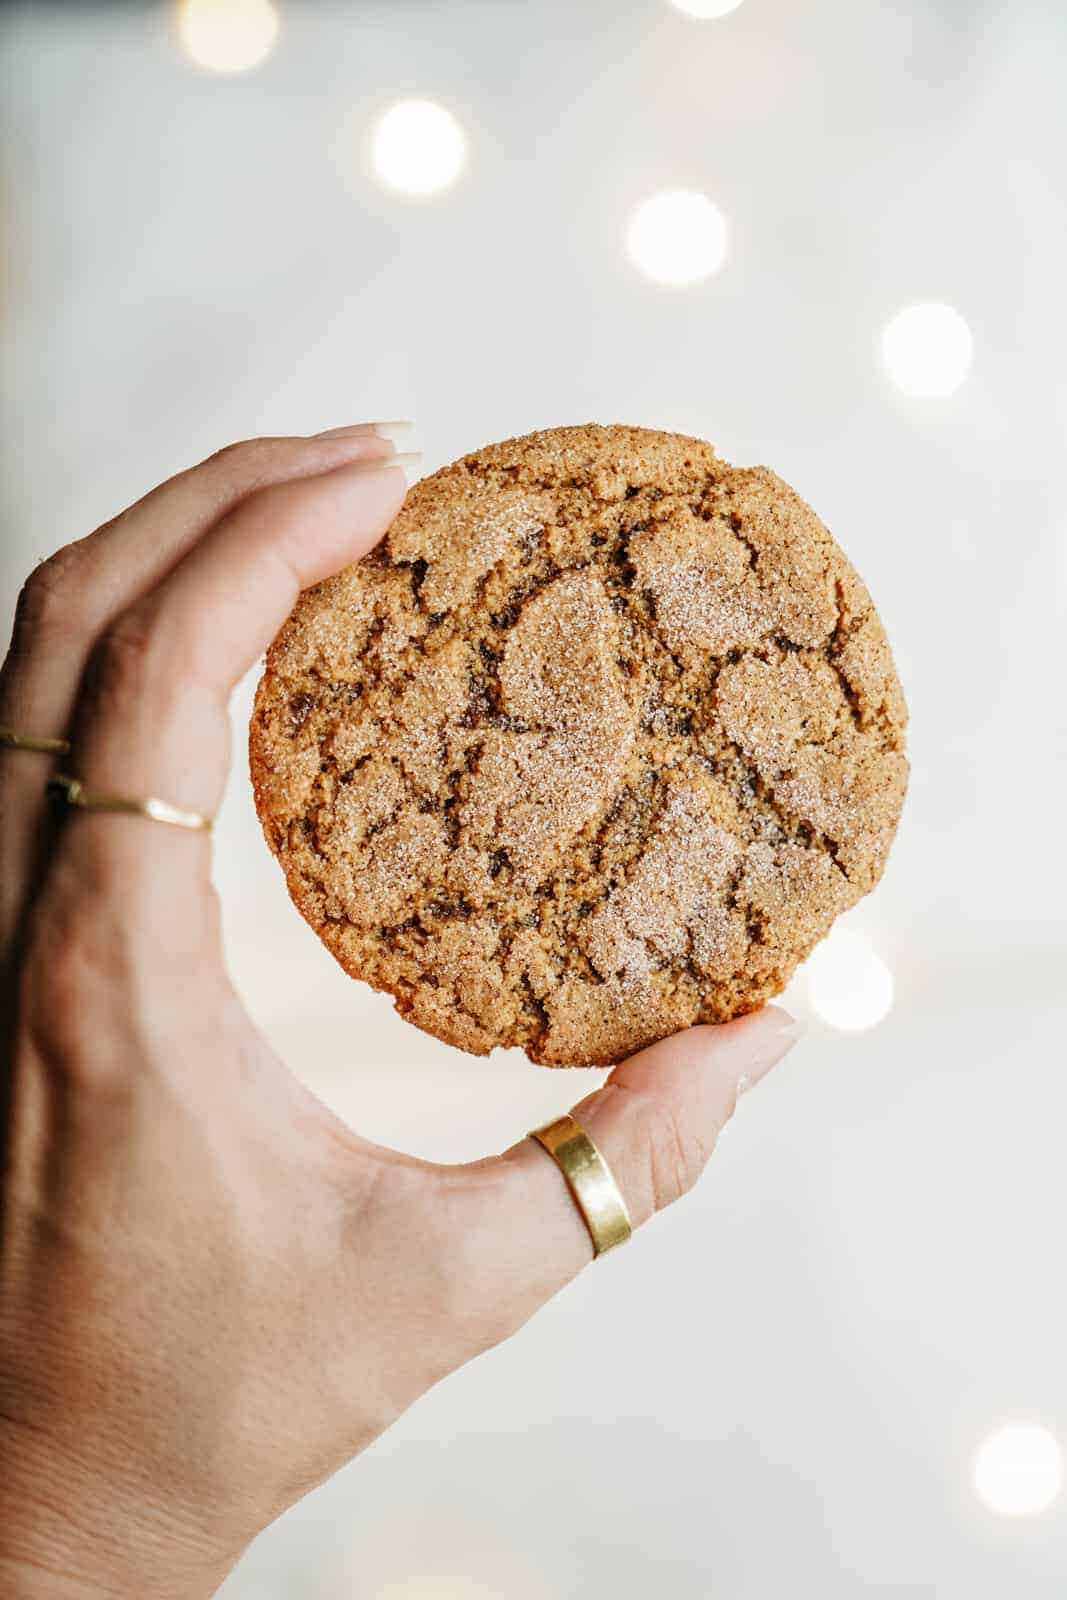
Need to make your photo festive but don’t want something cheesy? Add twinkle lights in the background like this example
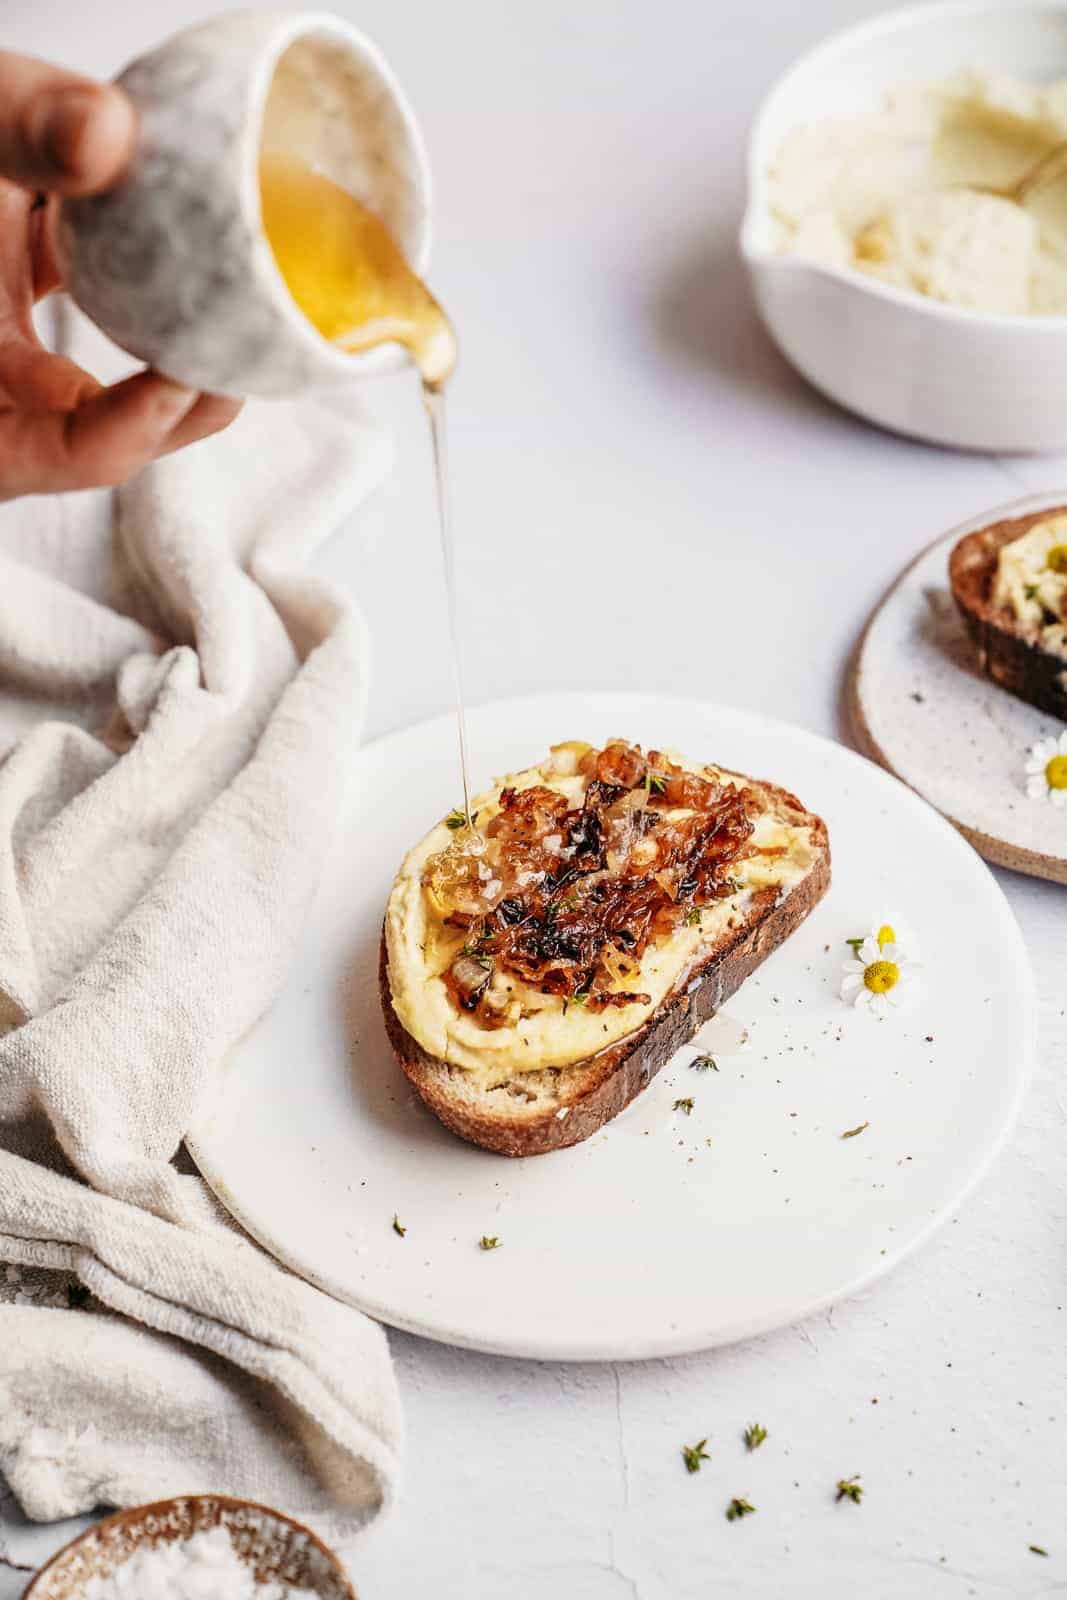
Little bottles, pouring glasses, mixers, etc.:
Different sizes of bottles, pouring glasses, mixers, clear glasses, and lightly colour-tinted wine glasses are great for adding action, a sense of clarity, transparency and honesty, plus if people can see it, they believe it. For example, when you look at a photo of coffee versus iced coffee, you’ll naturally be drawn towards the iced coffee because it’s usually in a clear glass, with that swirling milk and suckles of the sweetener. It just looks more real in a photo than a cup of brown stuff. Also, I like to add hands to shots with glasses. They can pour for you, or mix, and it really adds a more realistic feel and look to your image!
Must-have food photography lighting accessories for taking pictures of food
Lighting can be a complicated beast to tackle, especially when you’re relatively new to photography. I’m going to breakdown some of the most common food photography lighting props and what they help within your photography to give you an idea of what’s out there.
Deflectors:
Deflectors give photographers the ability to modify the hardness and softness of their light in a shoot. Deflectors can eliminate, soften or tone sharp shadow edges.
Diffusers:
One of the most common flash accessories, a diffuser is a device that is designed to fit onto your flash on your camera. This helps with achieving good lighting, especially in scenarios or places that you may not have the ability (or time) to really perfect the light. A diffuser scatters the light and diffuses the harshness of the light. Aka it makes the light more flattering for your subject!
Here’s a great guide for where to start with lighting equipment for food photography
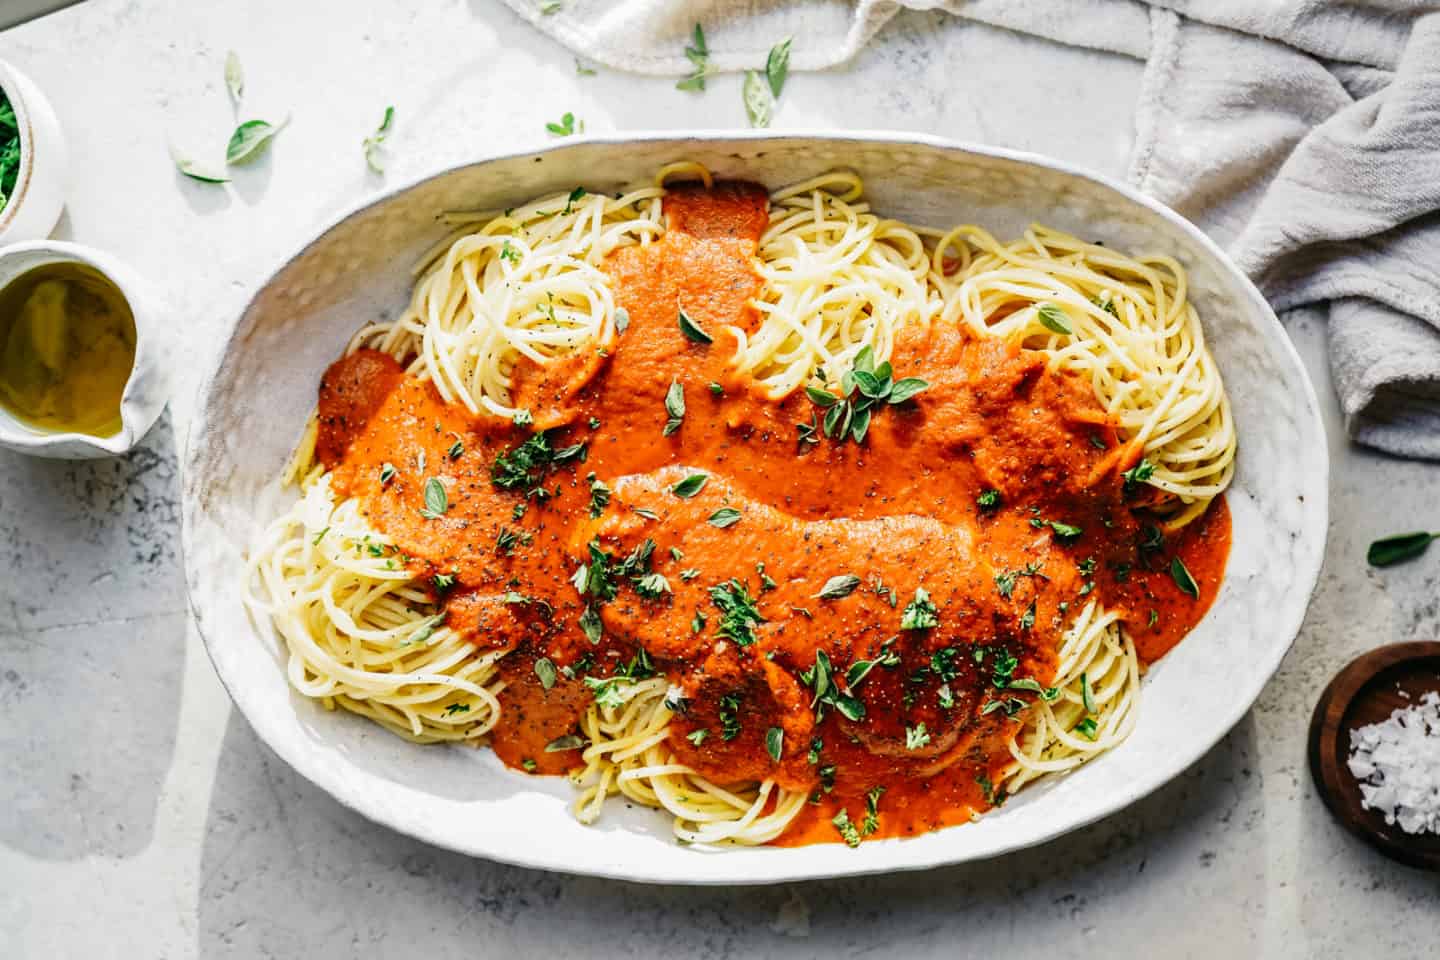
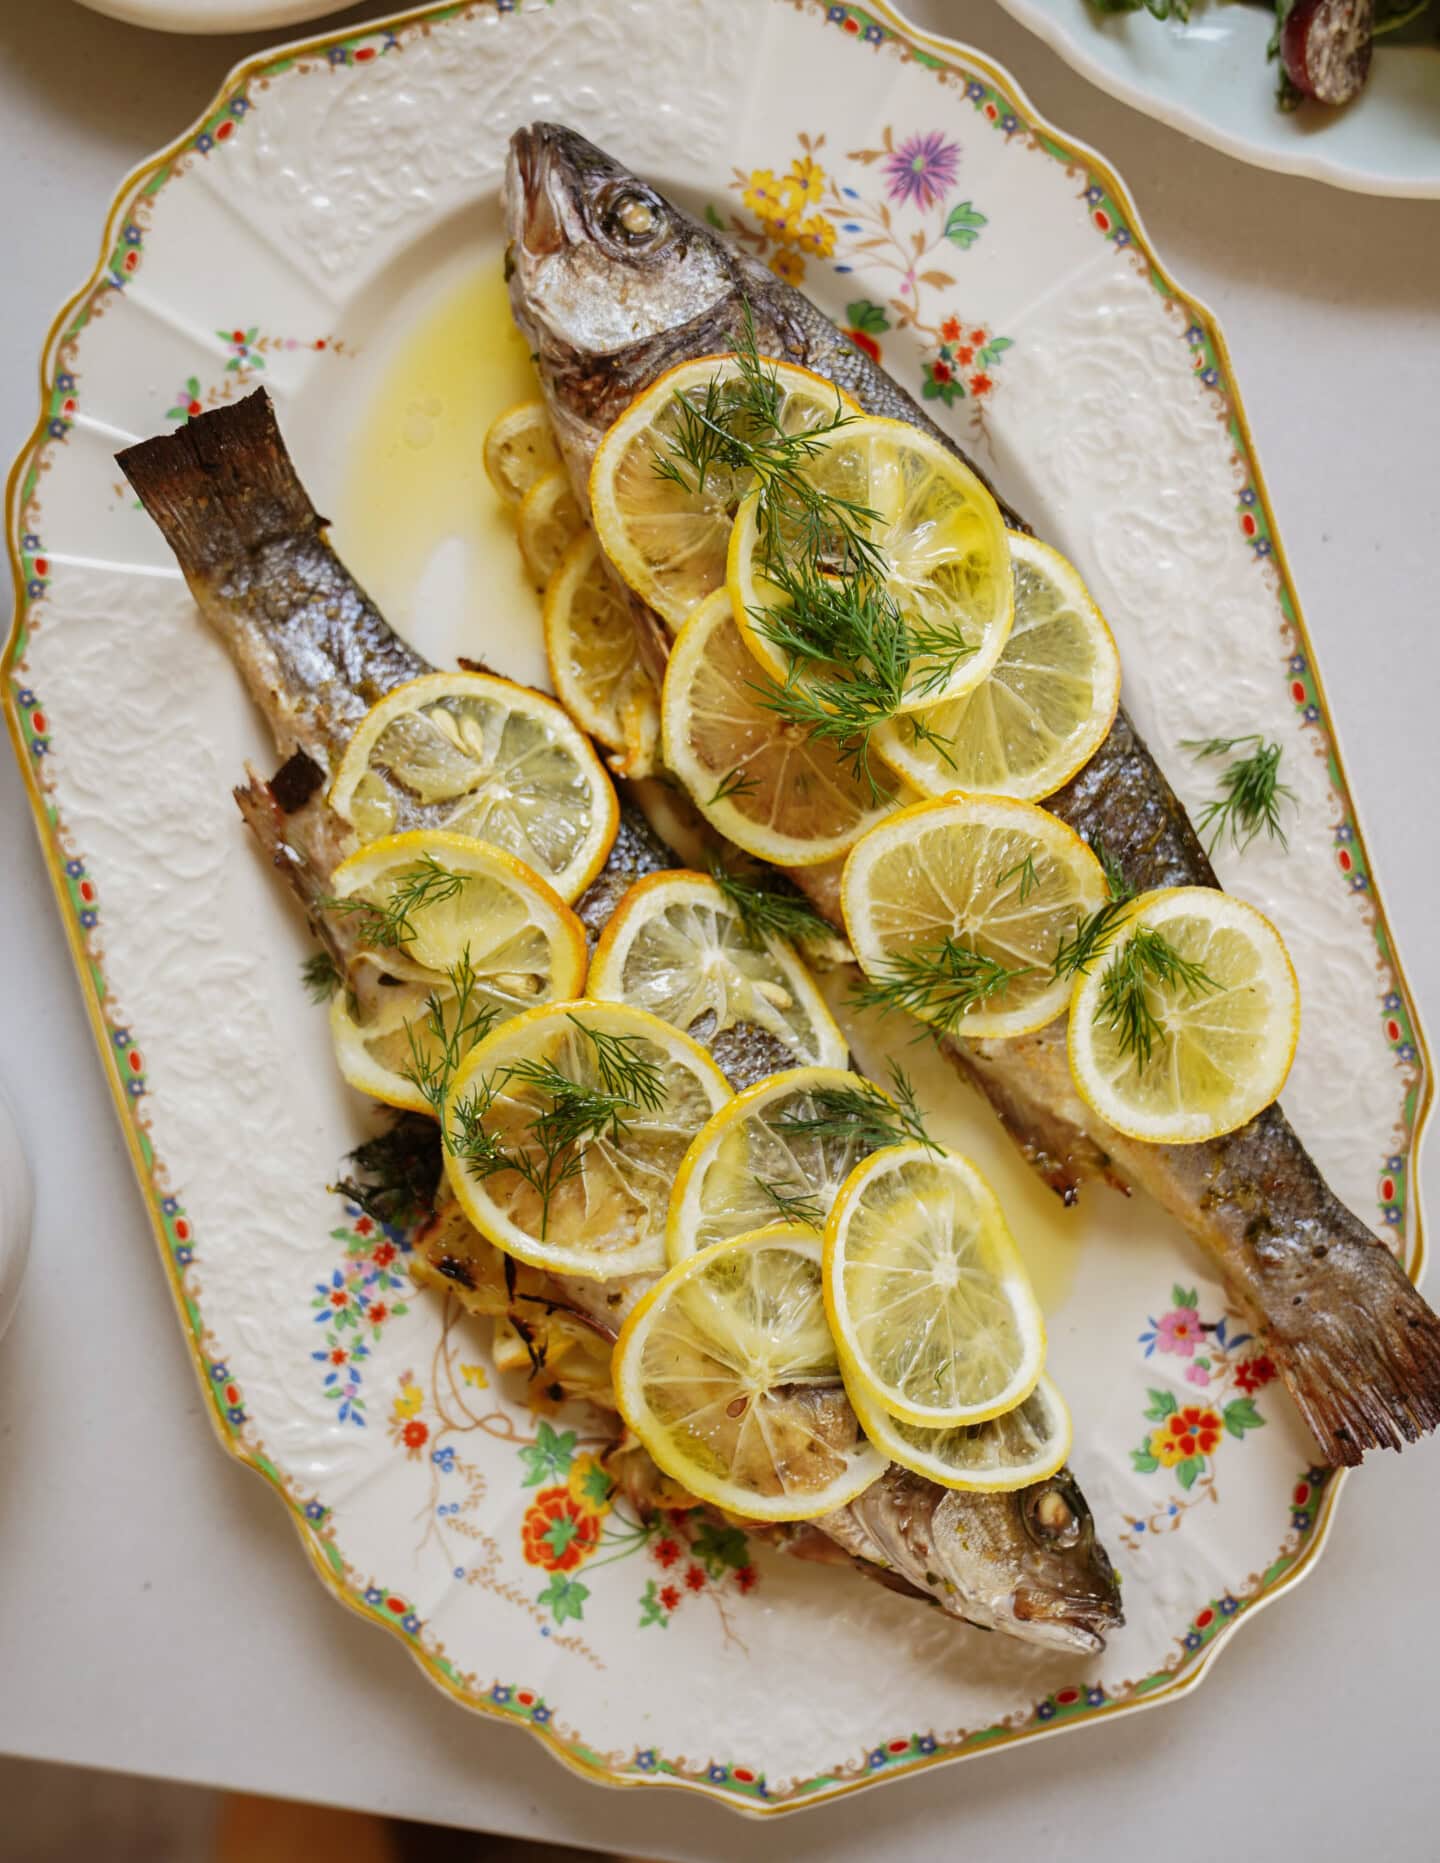
 For this photo I used the harsh light by a window. I put as much of the food in the shade and created a contrast with the herbs and plants in the background to create shadows.
How to use lighting to your advantage
Let’s chat about the types of light out there and what they are each good for in photography and shooting the best food photos! These essential food photography lighting tips will help you really set the tone for your photos.
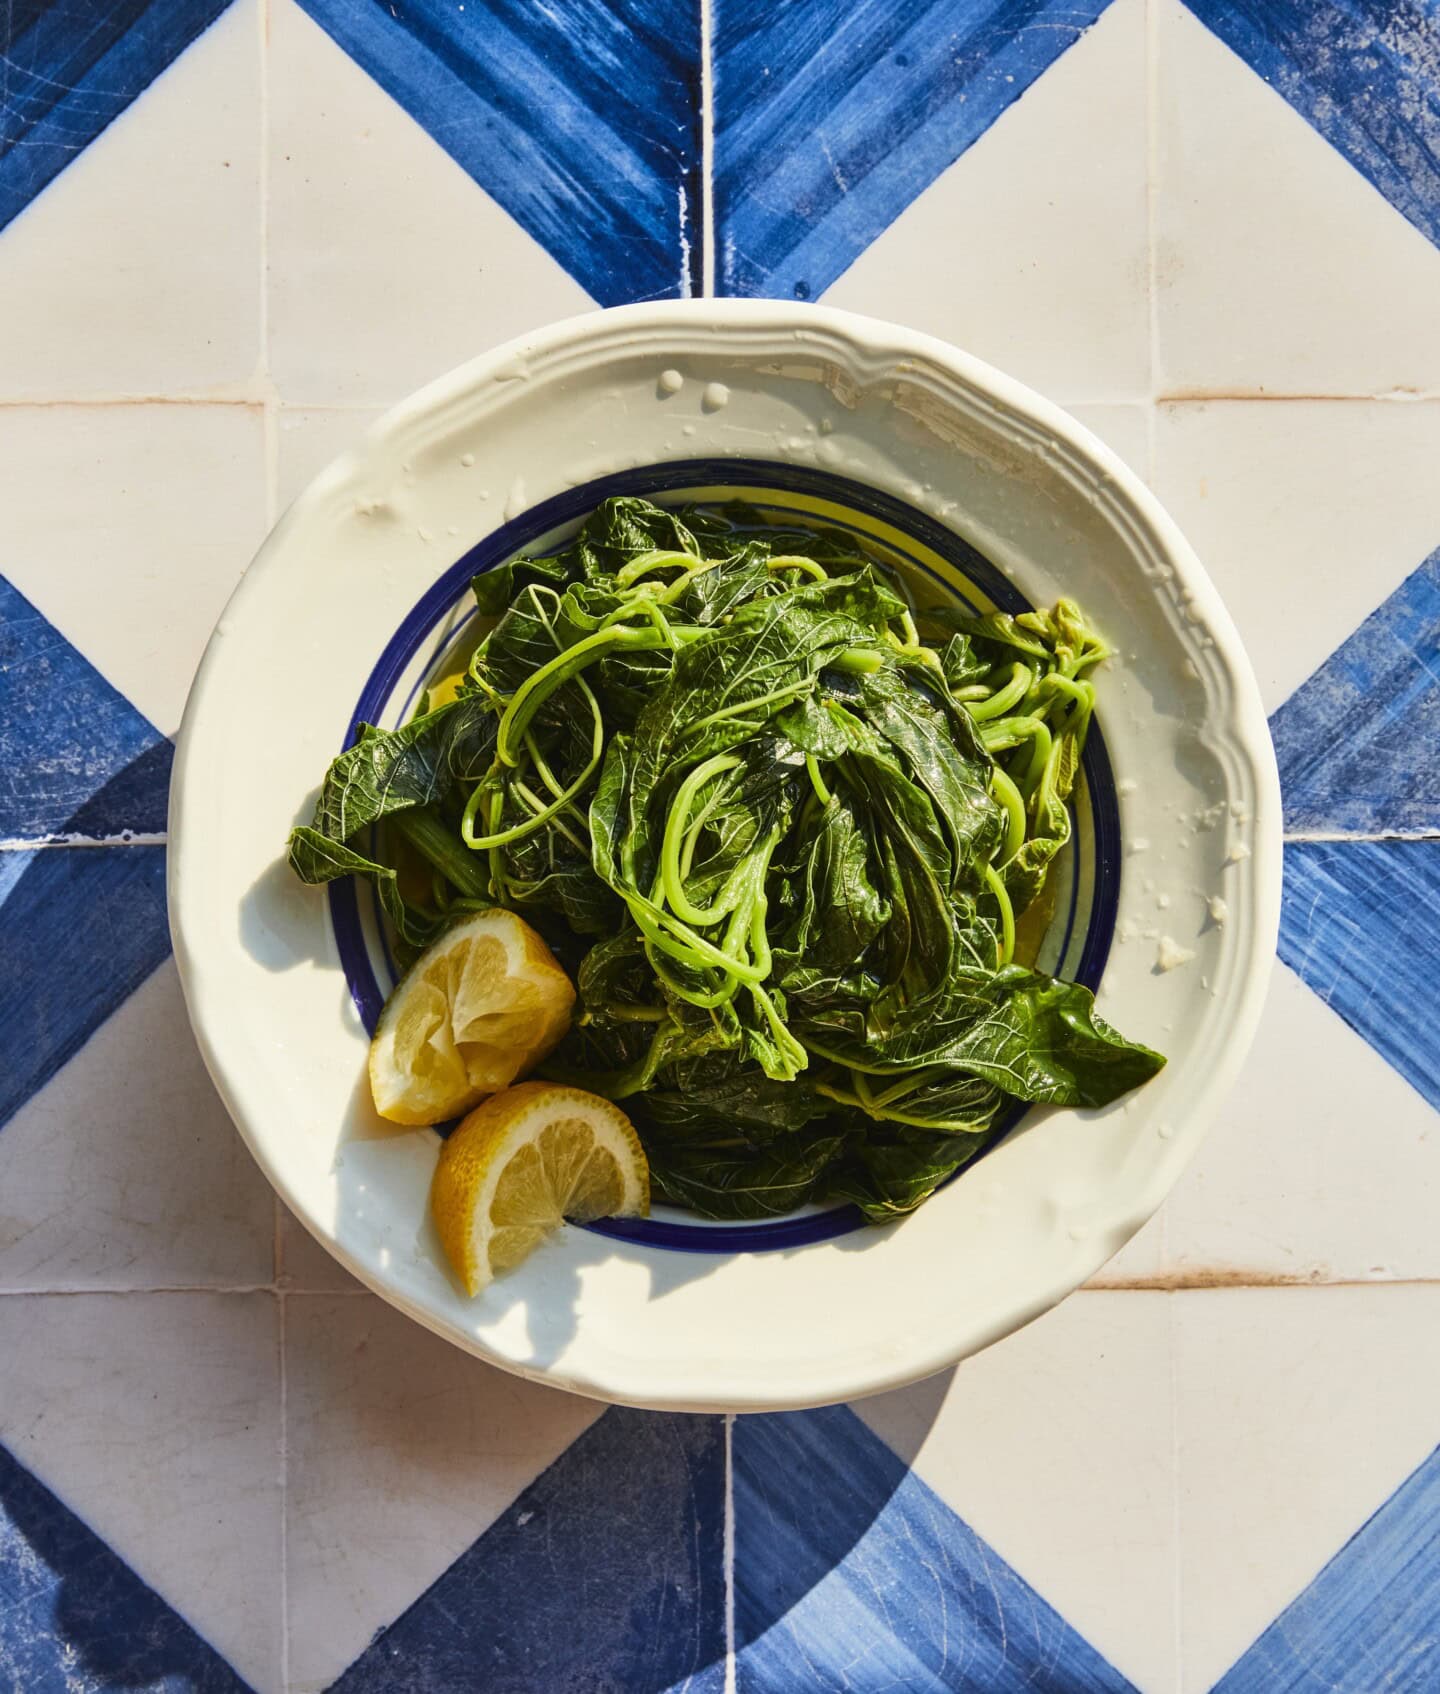
Indirect Light:
Indirect light refers to being in a sunny spot but the light isn’t directly hitting your set/subject matter. Shooting in natural light like this can be a massive game-changer to your photos, so if you can shoot during daylight, use the indirect light to your advantage. The best times of day are during peak/golden hour and when the clouds have slightly covered the sun so it’s bright but not too bright.
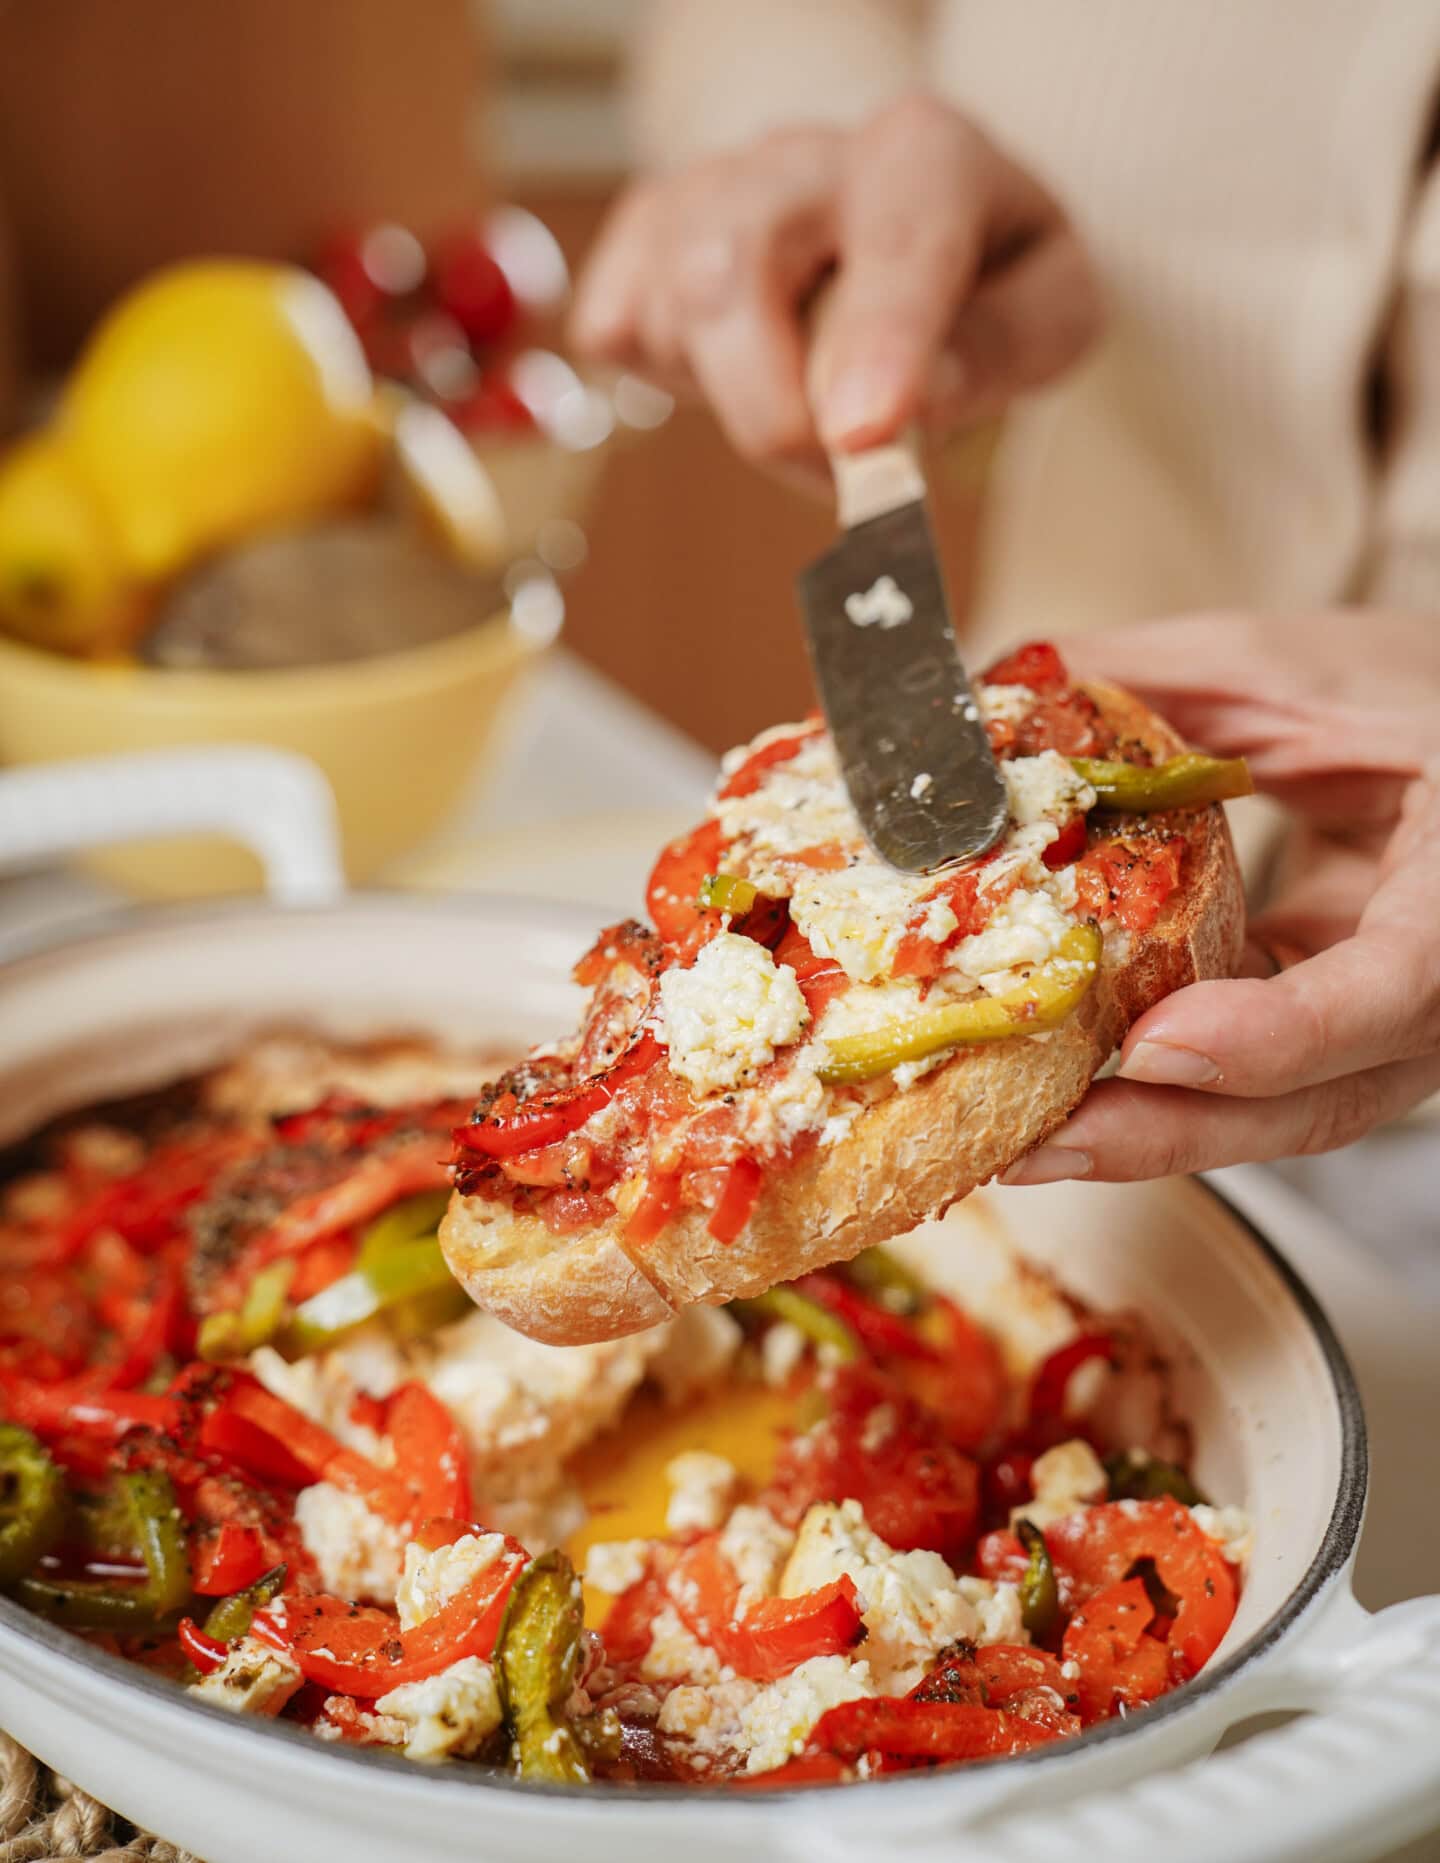
Harsh Direct Light:
This is a more advanced method, but once you’ve mastered it, it’s worth it. Use shadows, slight glare and colors to really create a story. This is my favourite way to shoot, but it’s always tricky because the perfect light isn’t always available.
Side Light:
Sidelight is when you have light peaking in from the front or back or the side of your set, this is really fun light to work with because you can sort of control it and you can add some fun edits to it in Lightroom. This type of light is when you know you are improving and becoming more comfortable with your camera, props and lighting.
This might seem like a lot of information to help you get the best food photos, however, just like anything, photography takes hard work, and lots of practice and experimenting. Never stop learning about new ways you can improve your photos and take pictures of food, and don’t be afraid to try new things when it comes to the props you’re using the lighting.
Playing with the perfect angles in your food photography
Another huge aspect of capturing unique and eye-catching food photos is to utilize your angles. You want to mix things up here and not only capture food from the same angle every time. Different angles can bring food to life, and help your audience better see the texture. By having different angles of the food, you also create more of a story. Try playing with taking pictures of food not just of the final product, but also of the different steps while you’re making the food. Here are some examples:
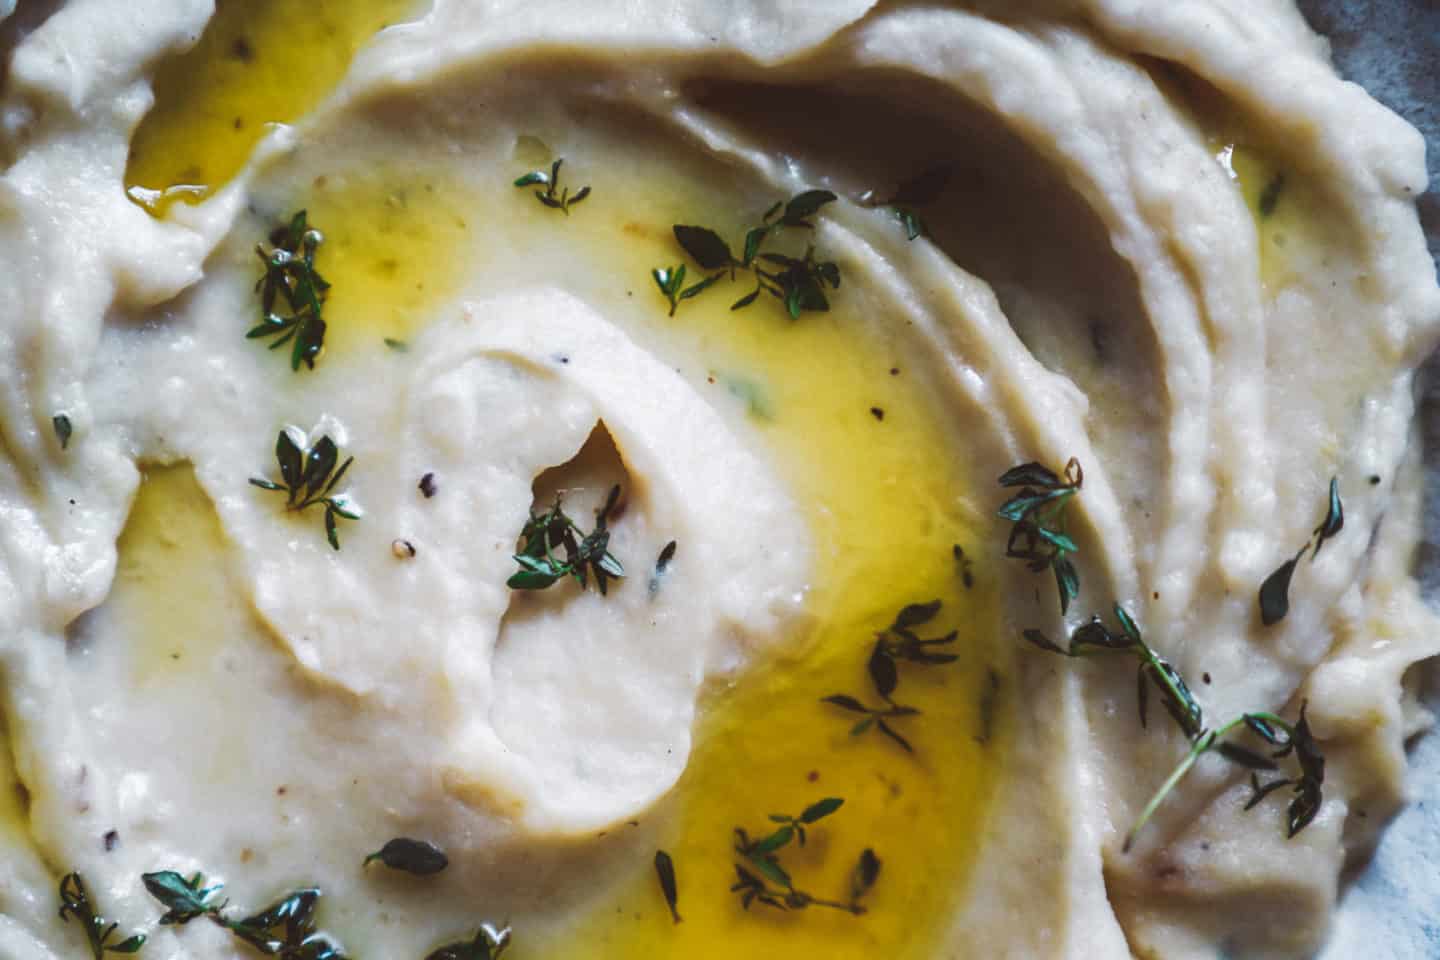
A close-up that is so close you can almost smell and taste it. With the combination of utilizing herbs & butter on top of the potatoes, you capture a texture you wouldn’t normally get from just plain, white potatoes. It keeps it interesting to the eye.
 A satisfying side angle. This photo captures the depth of the cake, and really gives you a close-up view of how yummy it looks.
 Don’t forget about composition which can be the patterns, symmetry/asymmetry that your food is placed in to create the perfect, visually appealing visual.
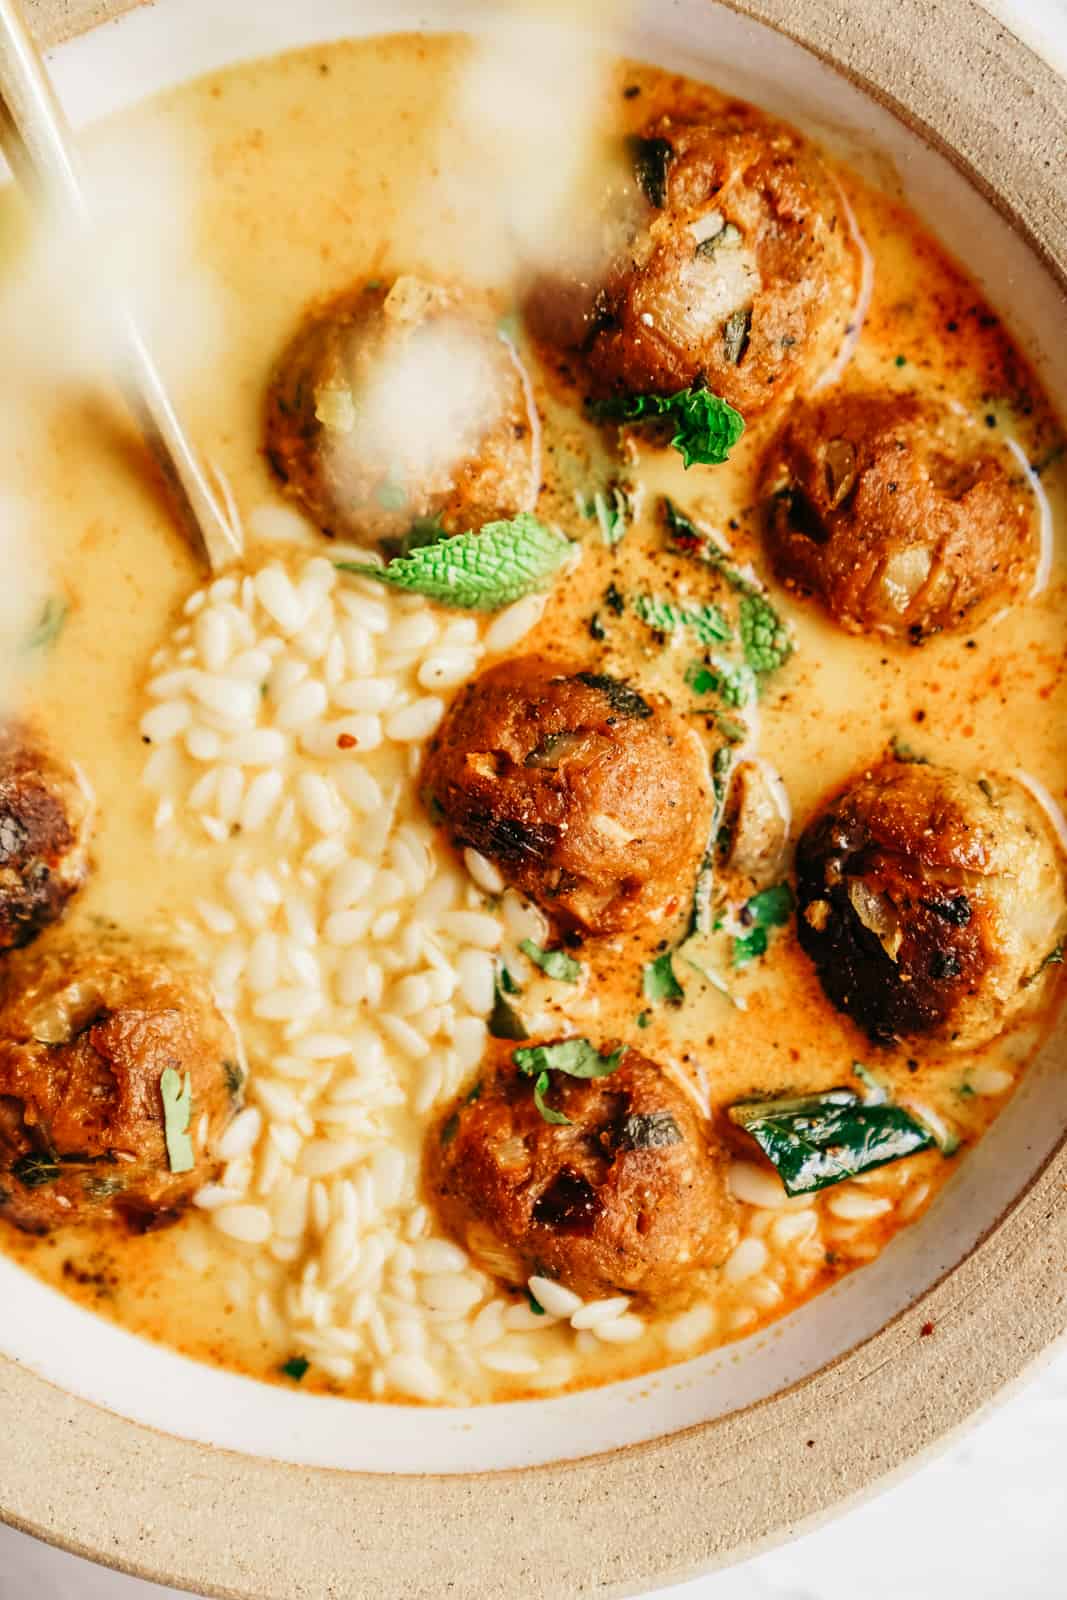 How amazing does this close-up of this soup look? It gives you an opportunity to really appreciate the ingredients, the color, and it almost creates a sense that it’s so close you can almost taste it.
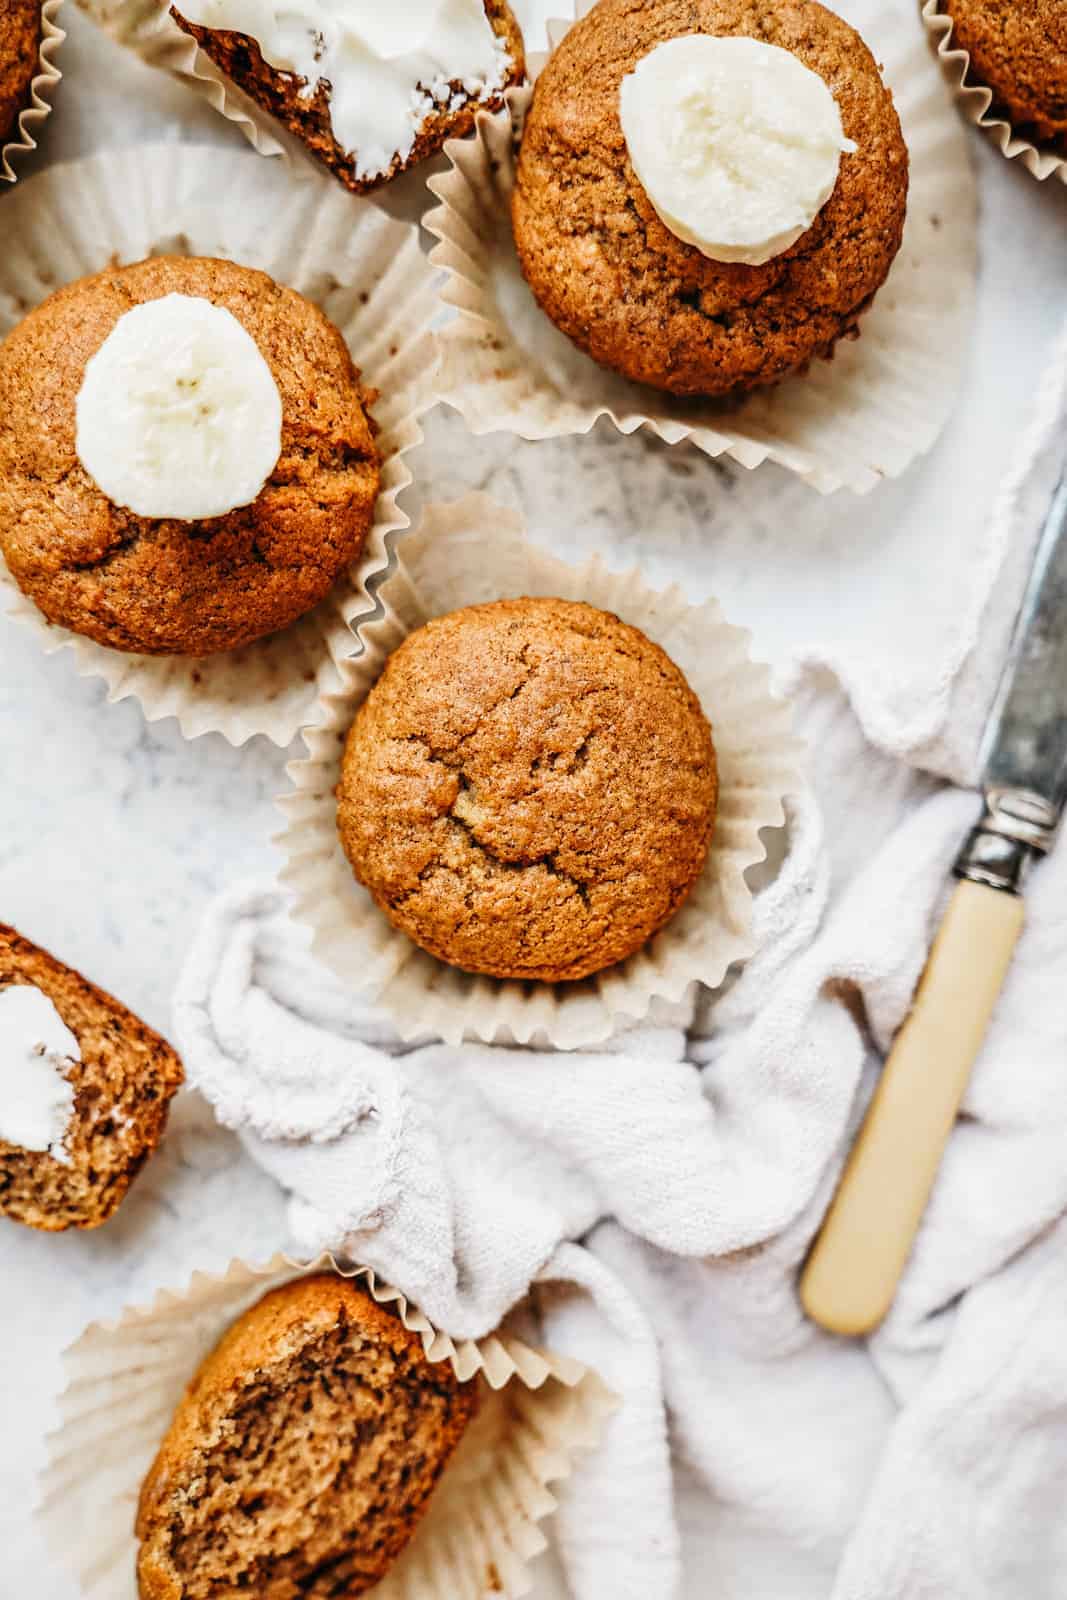
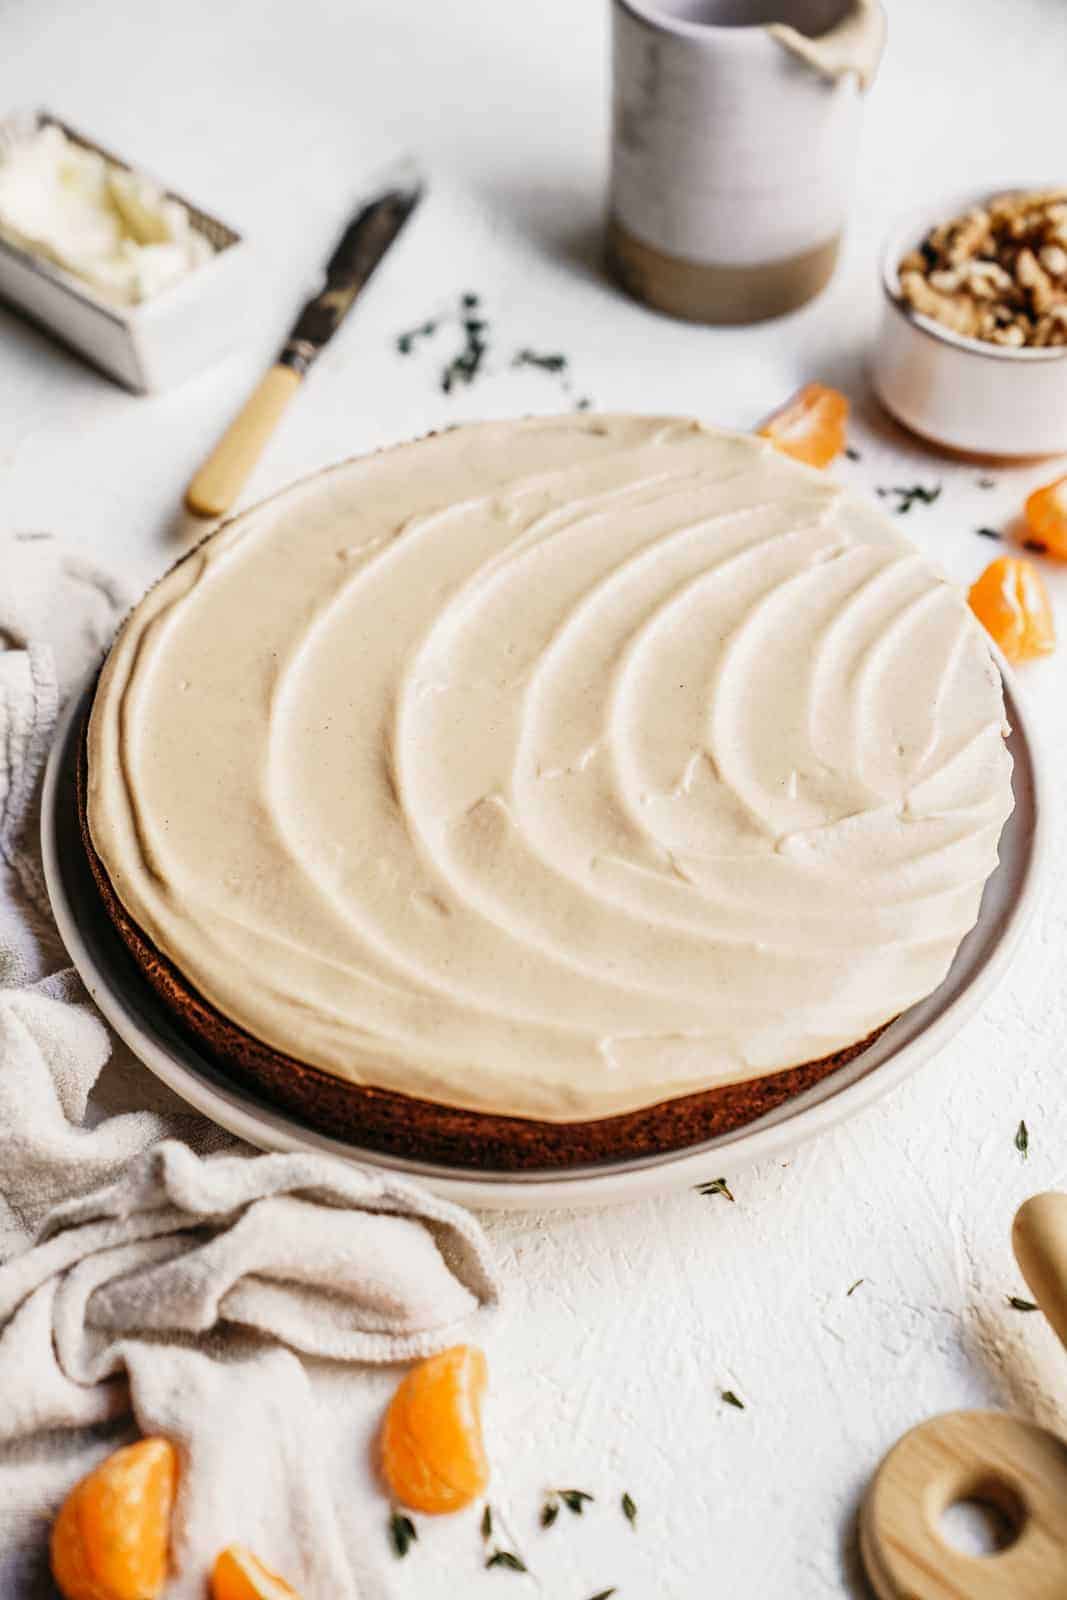 Here is an example of a shot of an incomplete dish. This isn’t the final product but this can really showcase how the icing was applied on the cake and create a story to show your audience how the cake was compiled.
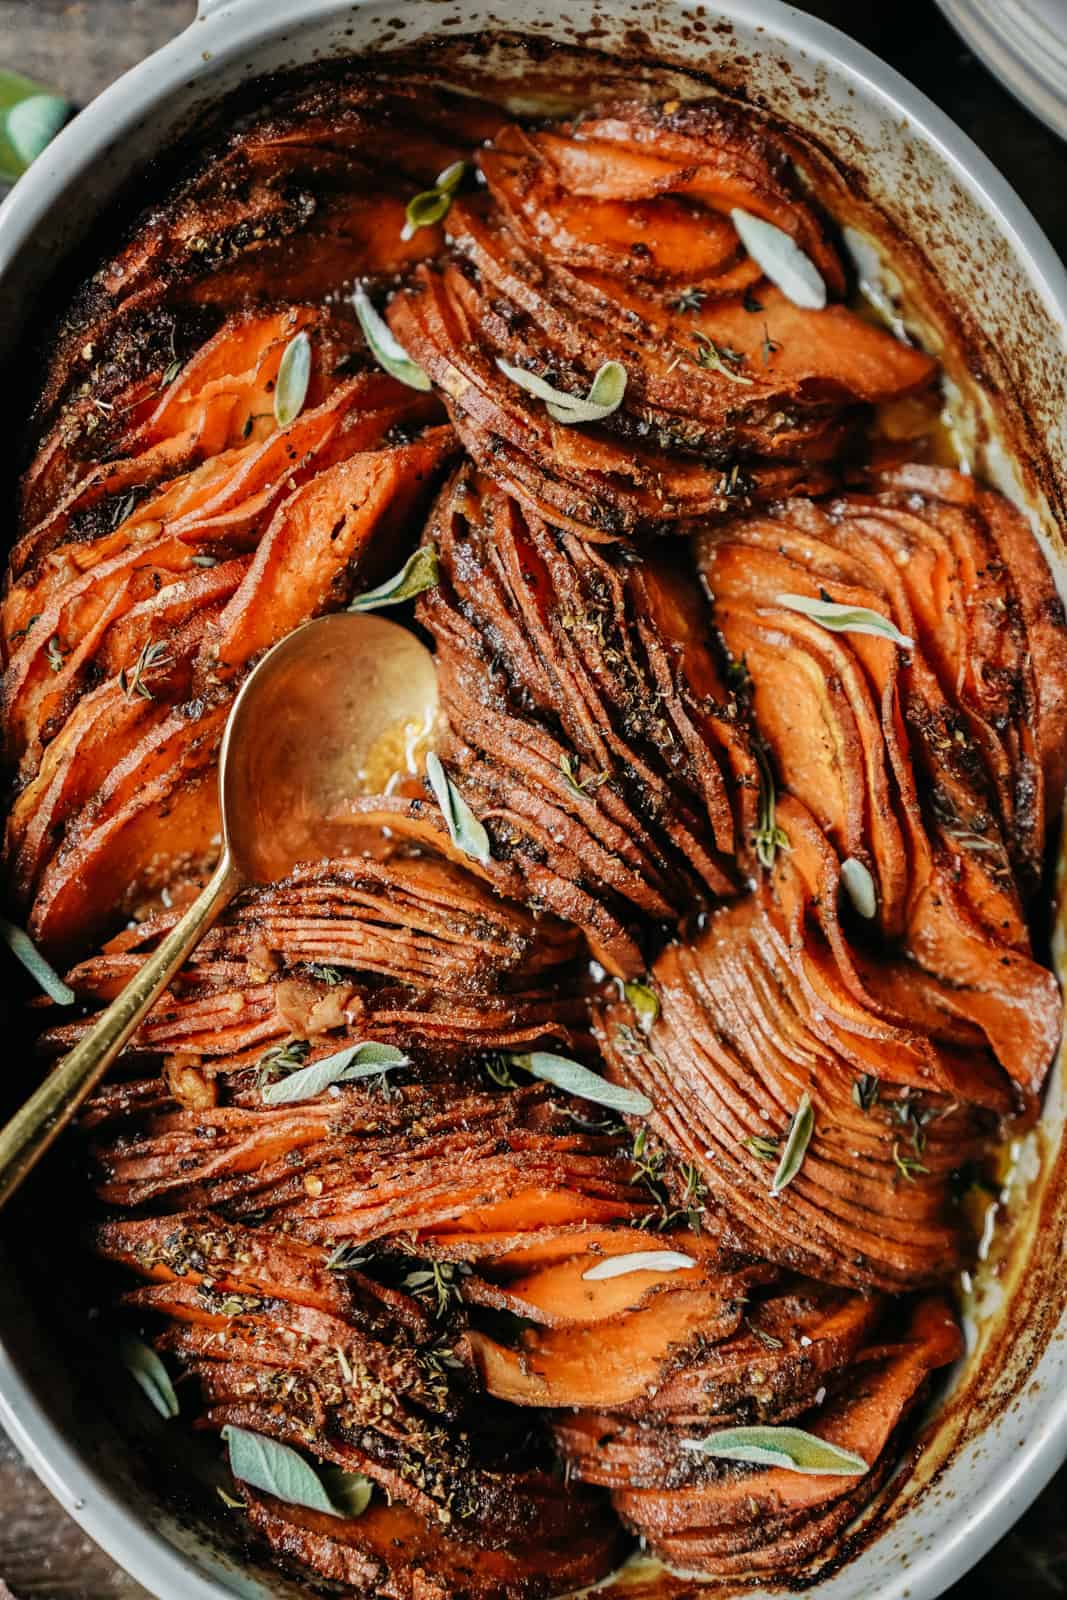
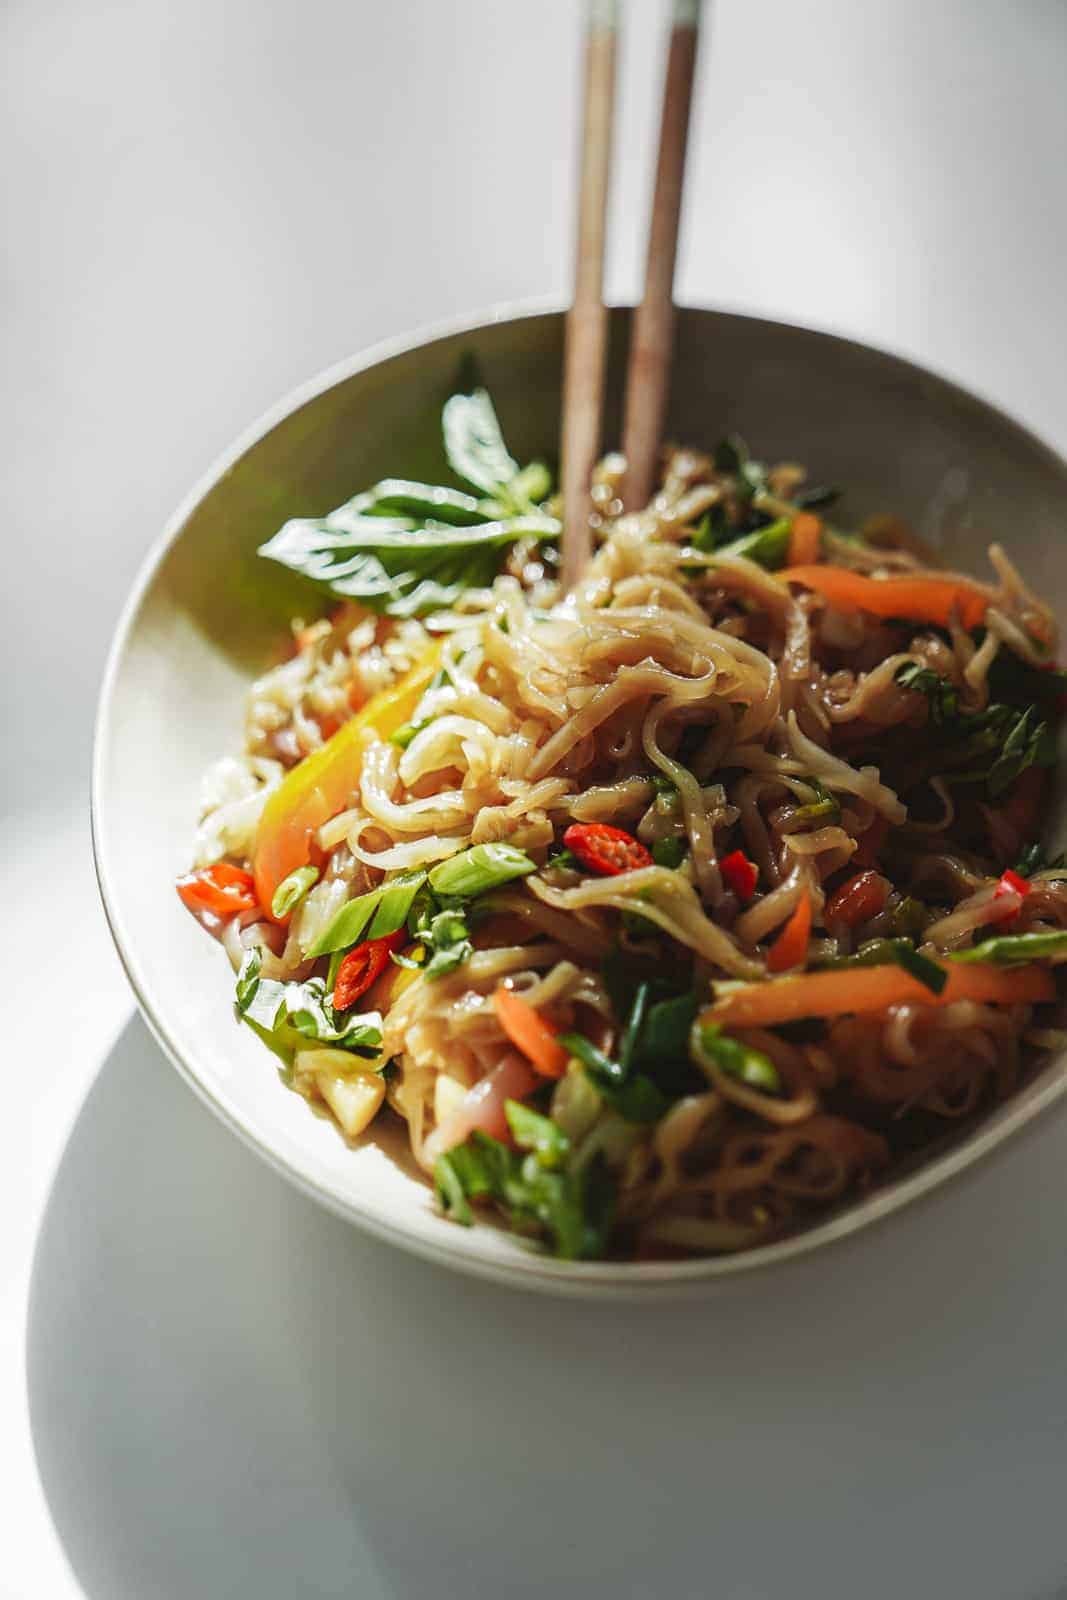
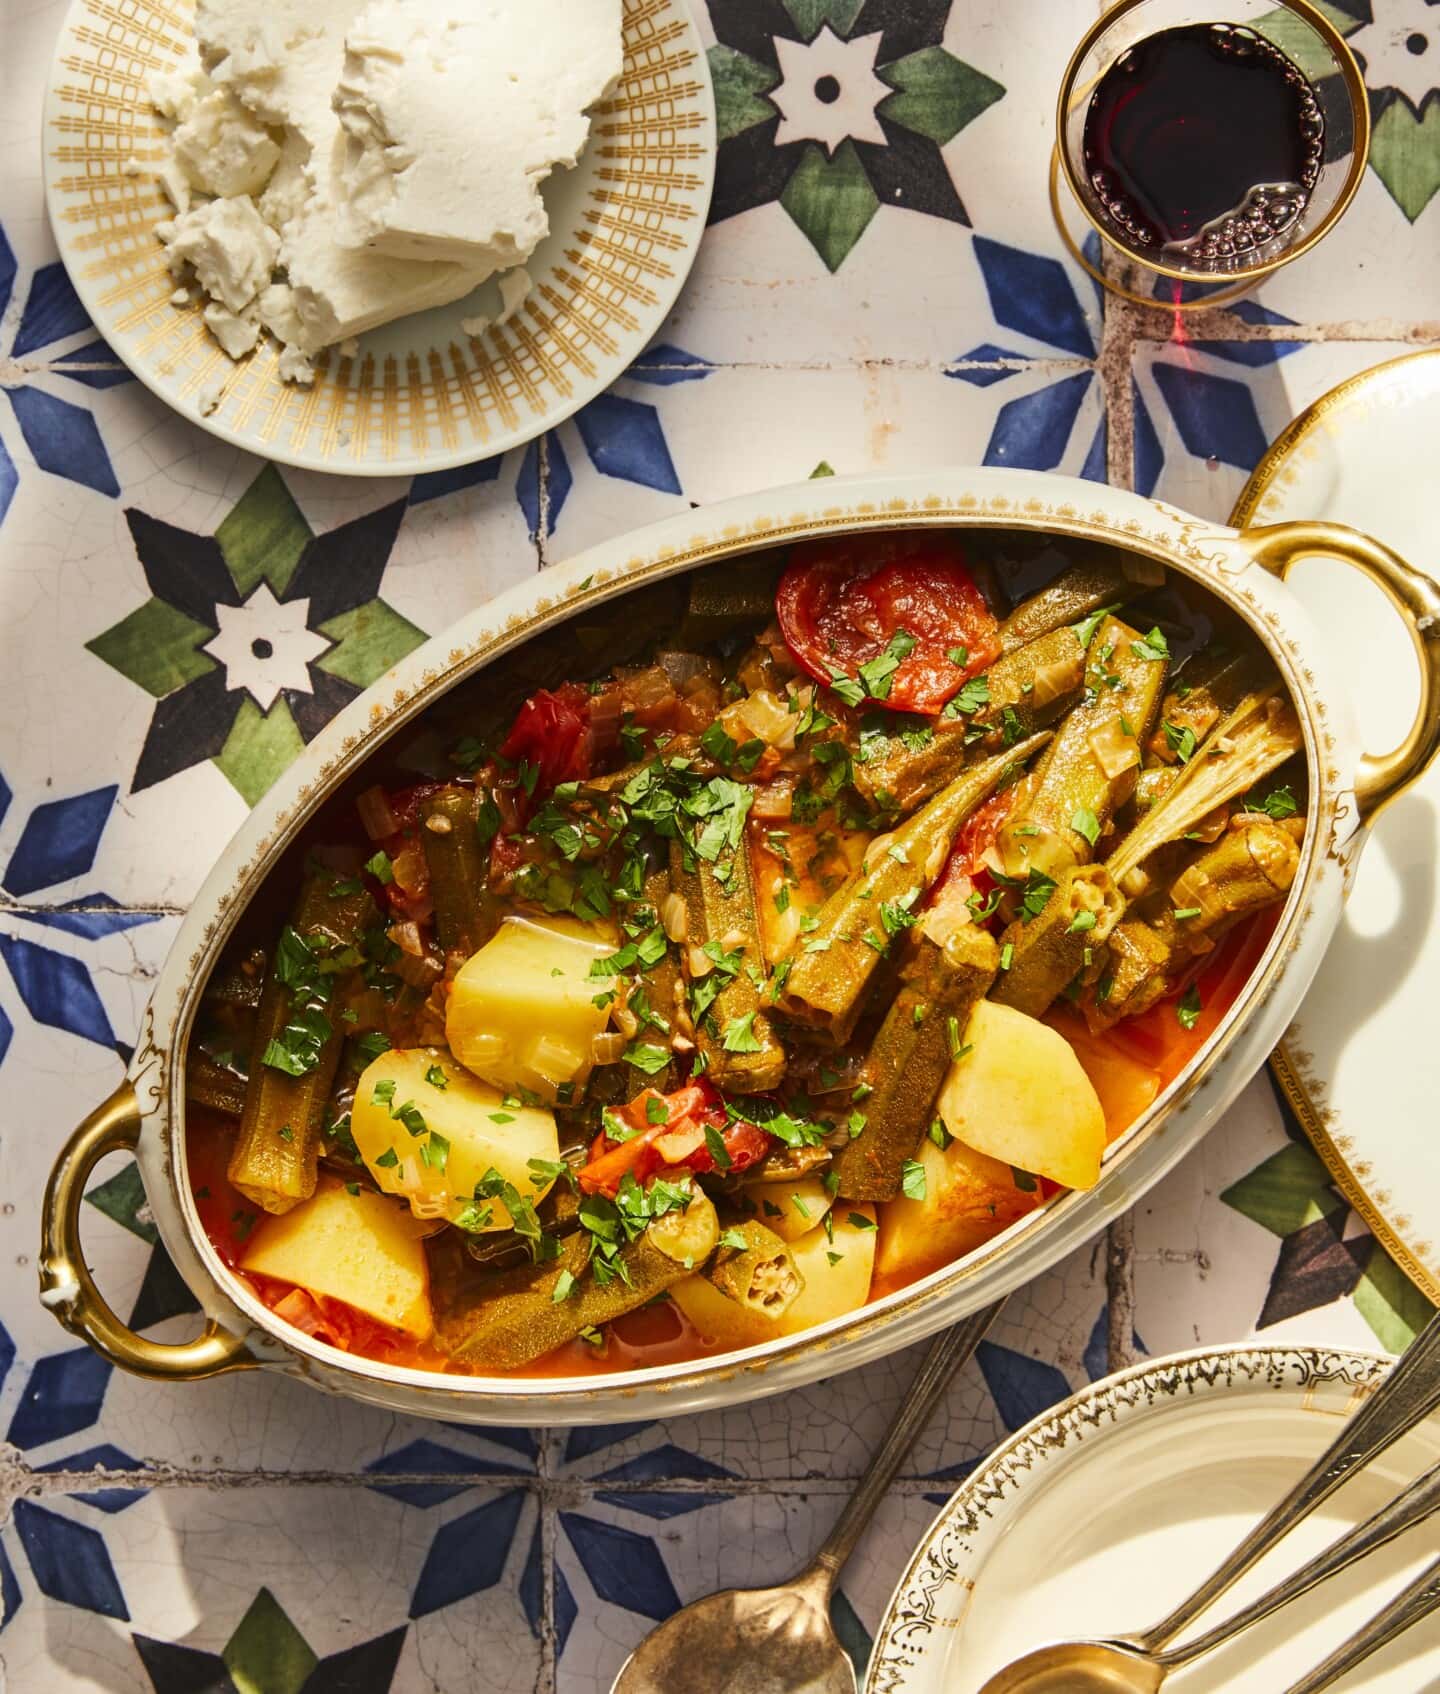
Make note how in this close-up it’s dark, moody, and warm, but you can’t get your eyes off the cuts of the potatoes and how they are arranged in the dish.
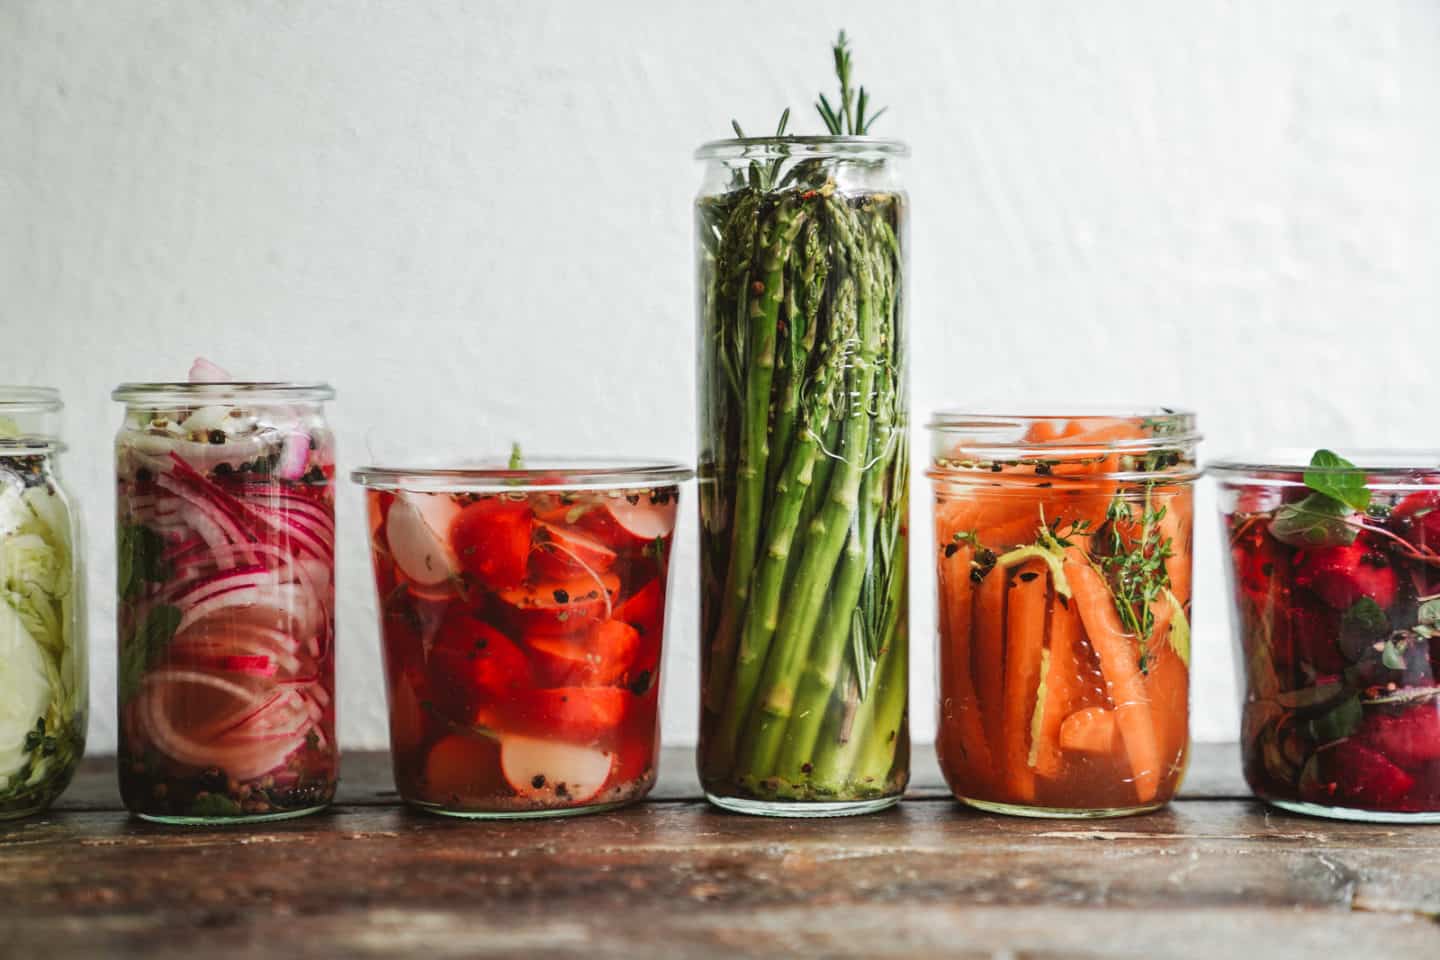
This image captured from above would’ve not given the same affect as from the side where you can see the colors of the vegetables, the texture of the herbs and spices in the jars, combined with the perfectly placed jars all in a line.
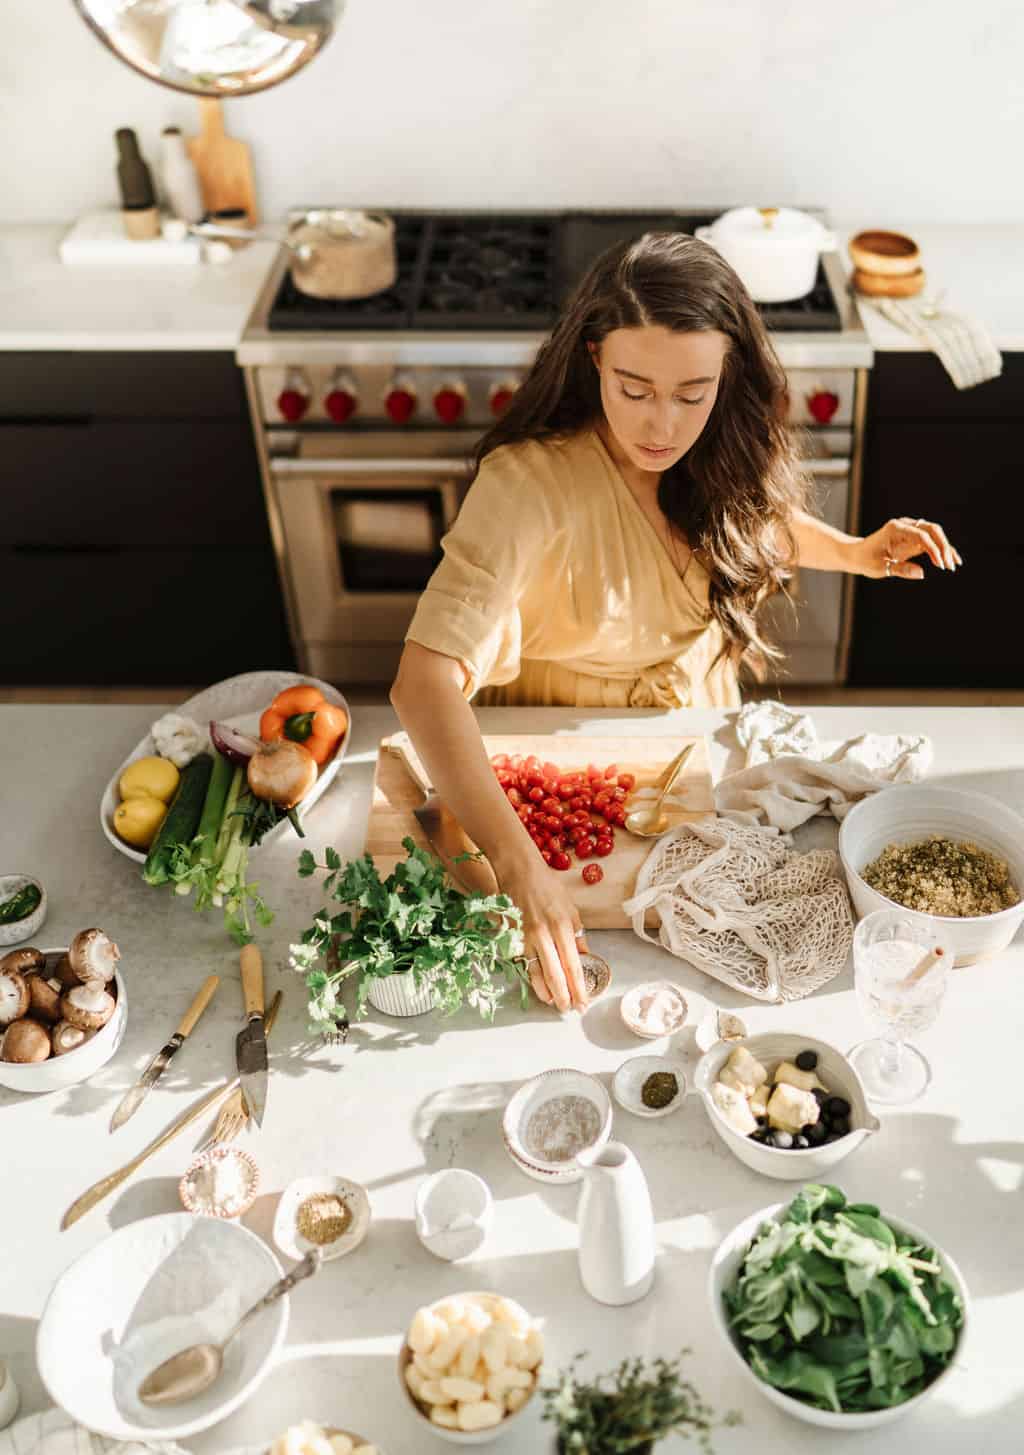
Adding action and movement
Creating movement in your photos can also help set the scene and bring your photos to life. This can be hard to do without an extra set of hands, but you can utilize a tripod or a friend to be your hand model. Here are some examples of how to capture movement:
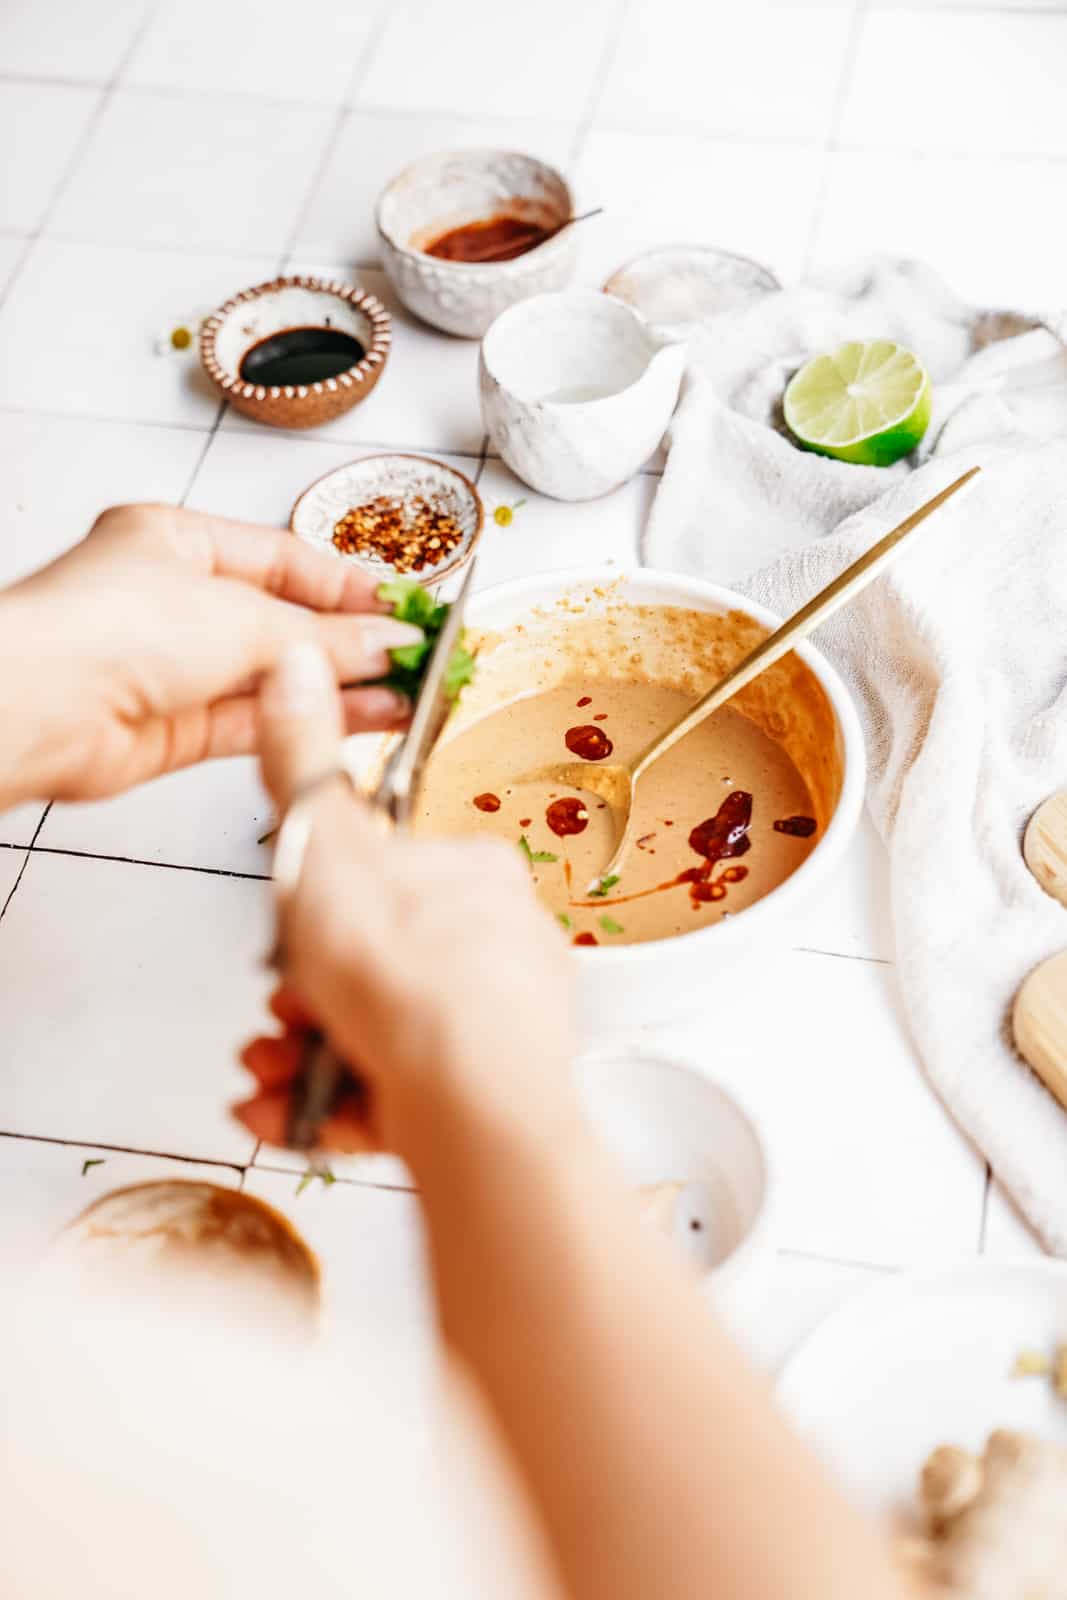 The human elements and getting involved in the shot when you can can help tell the story of how the dish was created.
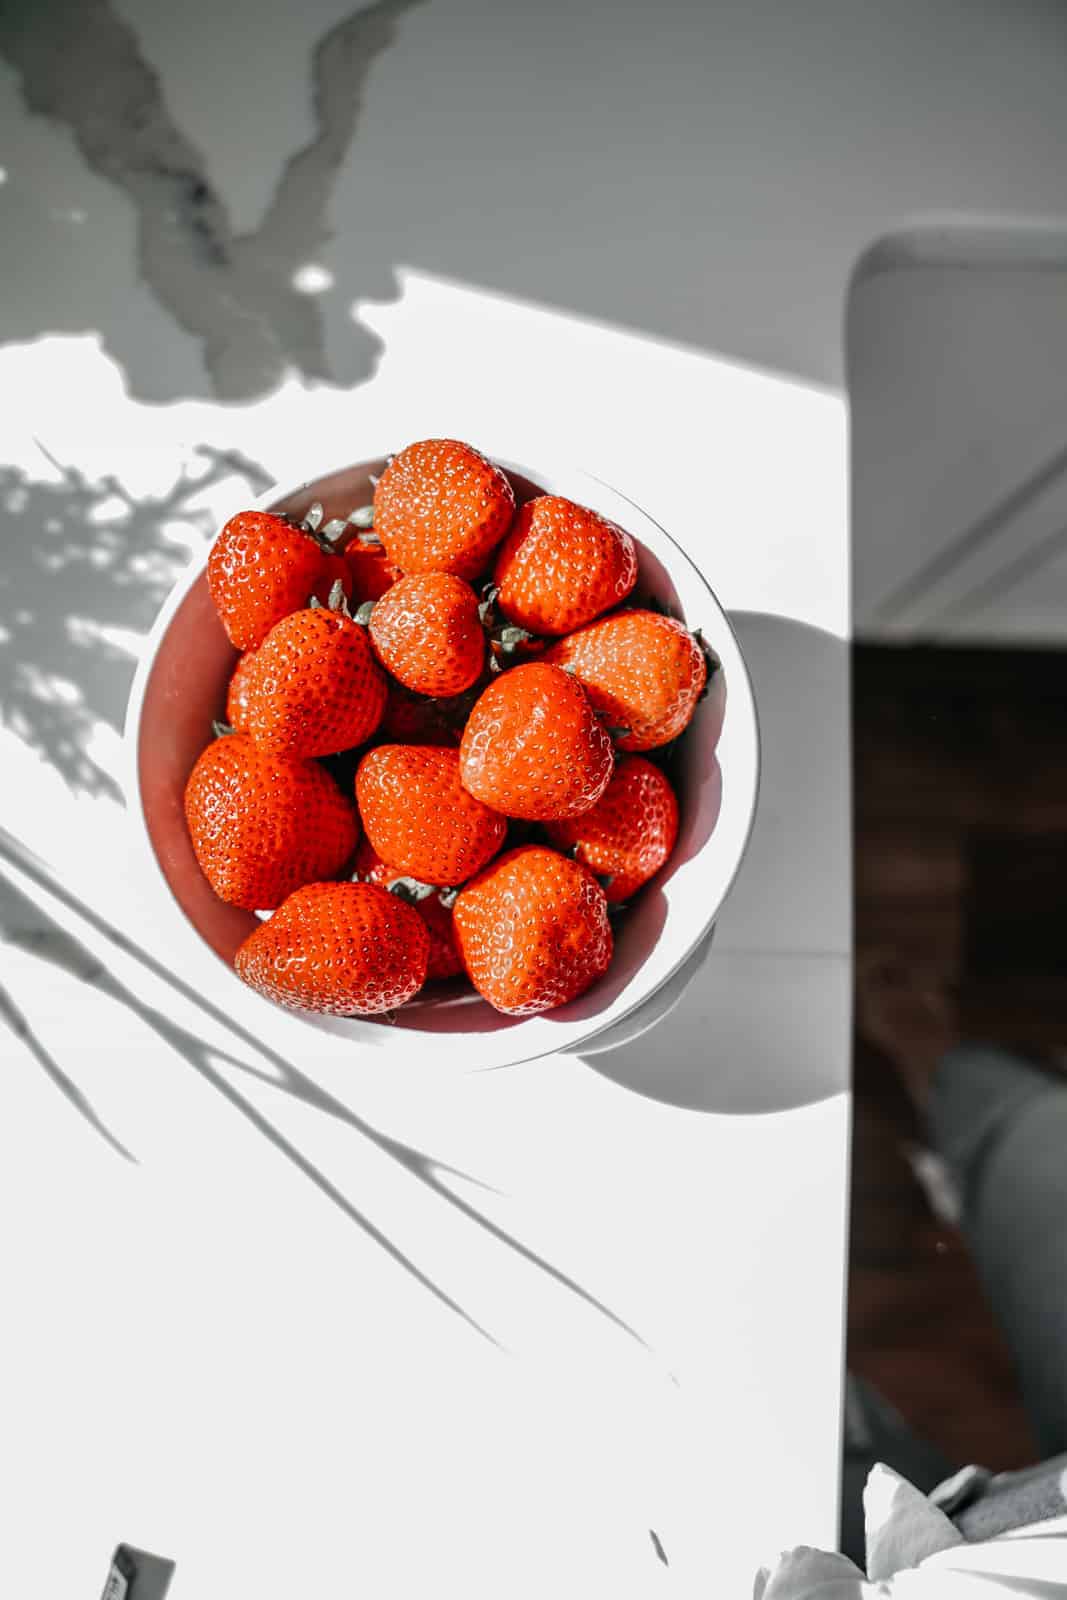
 The classic action shot. Play with your ingredients and draw attention to the star of the show.
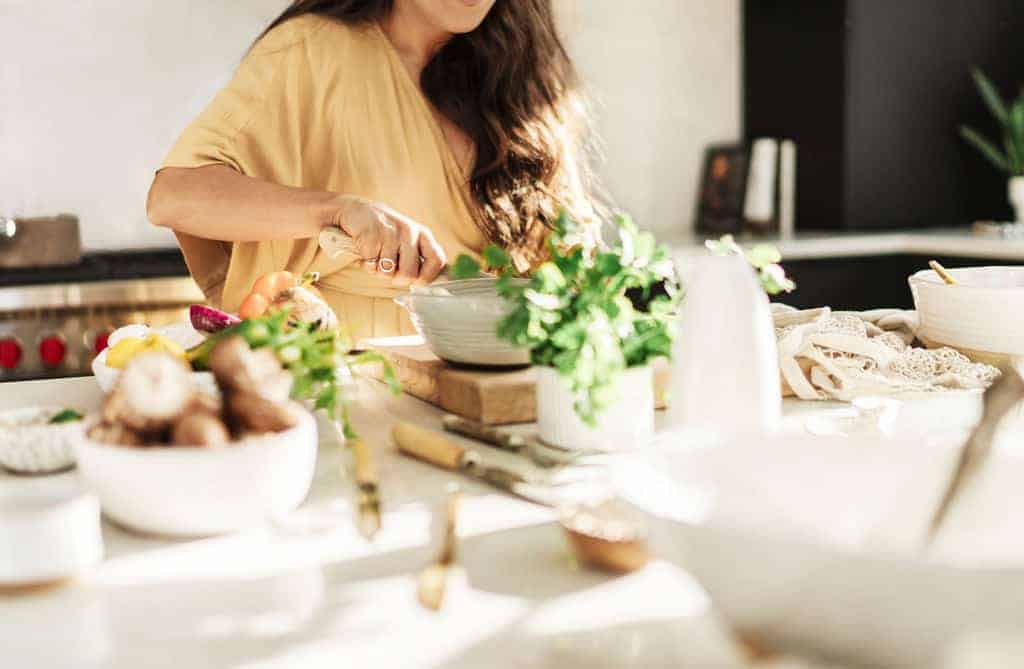
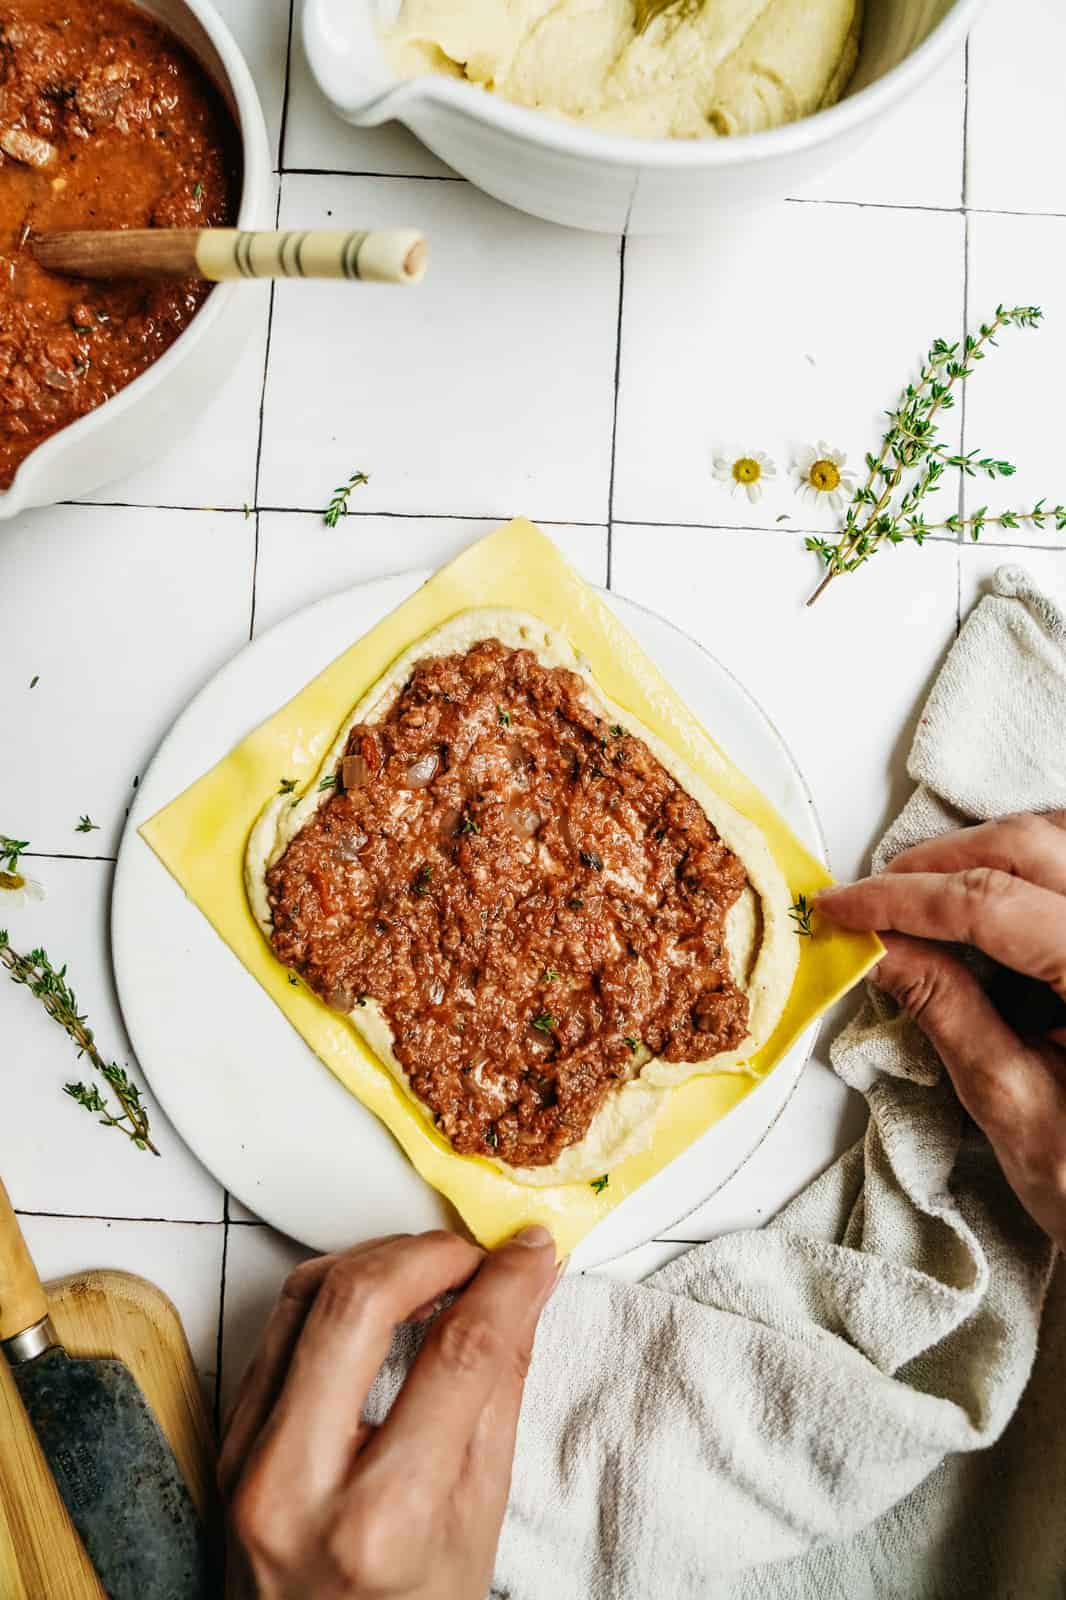 Another example of utilizing your hands to showcase the steps to put your final product together.
There you have it, some of my essential food photography tricks for lighting and props. What are some of your tips? Have any questions? Drop them below in the comments and I’ll be sure to send you in the right direction.
Lastly, don’t forget to follow along @mediabymaria for more tips and resources on turning your food blog into a profitable business. We are cooking up some exciting new things so make sure to get on the list here!
Hey Maria! Love these tips—they still remain true! Do you have any recommendations on where to get Canadian photo backdrops!?
Beautiful work. I appreciate your work and tips. It helps to reinforce some of my ideas and gives me ideas to keep getting better. Thank you
Thank you so much for all the amazing tips! You’ve literally covered all things I was curious about. Love your content! xo
Thank you so much, Veronika!
Such incredible tips! I can’t wait to get out and update my props to up my photography game! Thanks so much for this Maria!
You’re so welcome, beauty!
You are so talented Maria!! I am trying my best to find my next camera to take this food photography to the next level. What camera and lenses do you use for your photos and videos?
Thank you hun! I use a Sony Alpha 7 riii. FE 2.8/24-70mm lens!