Lifestyle
Food Photography Tricks to Bring Your Photography to the Next Level

We all know food tastes good, but it’s not always the easiest subject to photograph. I get asked all the time about how I do my food photography and let me tell you, taking good photos doesn’t just happen by pointing and shooting. There’s a lot that goes into it, and these food photography tricks I’m going to share with you can help you really set out on the right foot.
A great photograph doesn’t just happen. You need to think about the details like composition, lighting, styling, etc., and it doesn’t matter if you’re using a big fancy camera and lens, or your iPhone. A good food photo makes you drool just looking at it because it displays the best traits of the food (aka, the subject).
Here, I am sharing some of my top food photography tricks to help you achieve the optimal photo. Happy shooting!
1. Don’t ignore your composition
Tell a story by using your backdrop or setting and props. Make sure that everything looks beautiful and well-rounded. Composition basically means the arrangement of stuff in your photo. A good composition sets the scene for your audience, whether it’s a plate or a single piece of parsley on your dish.
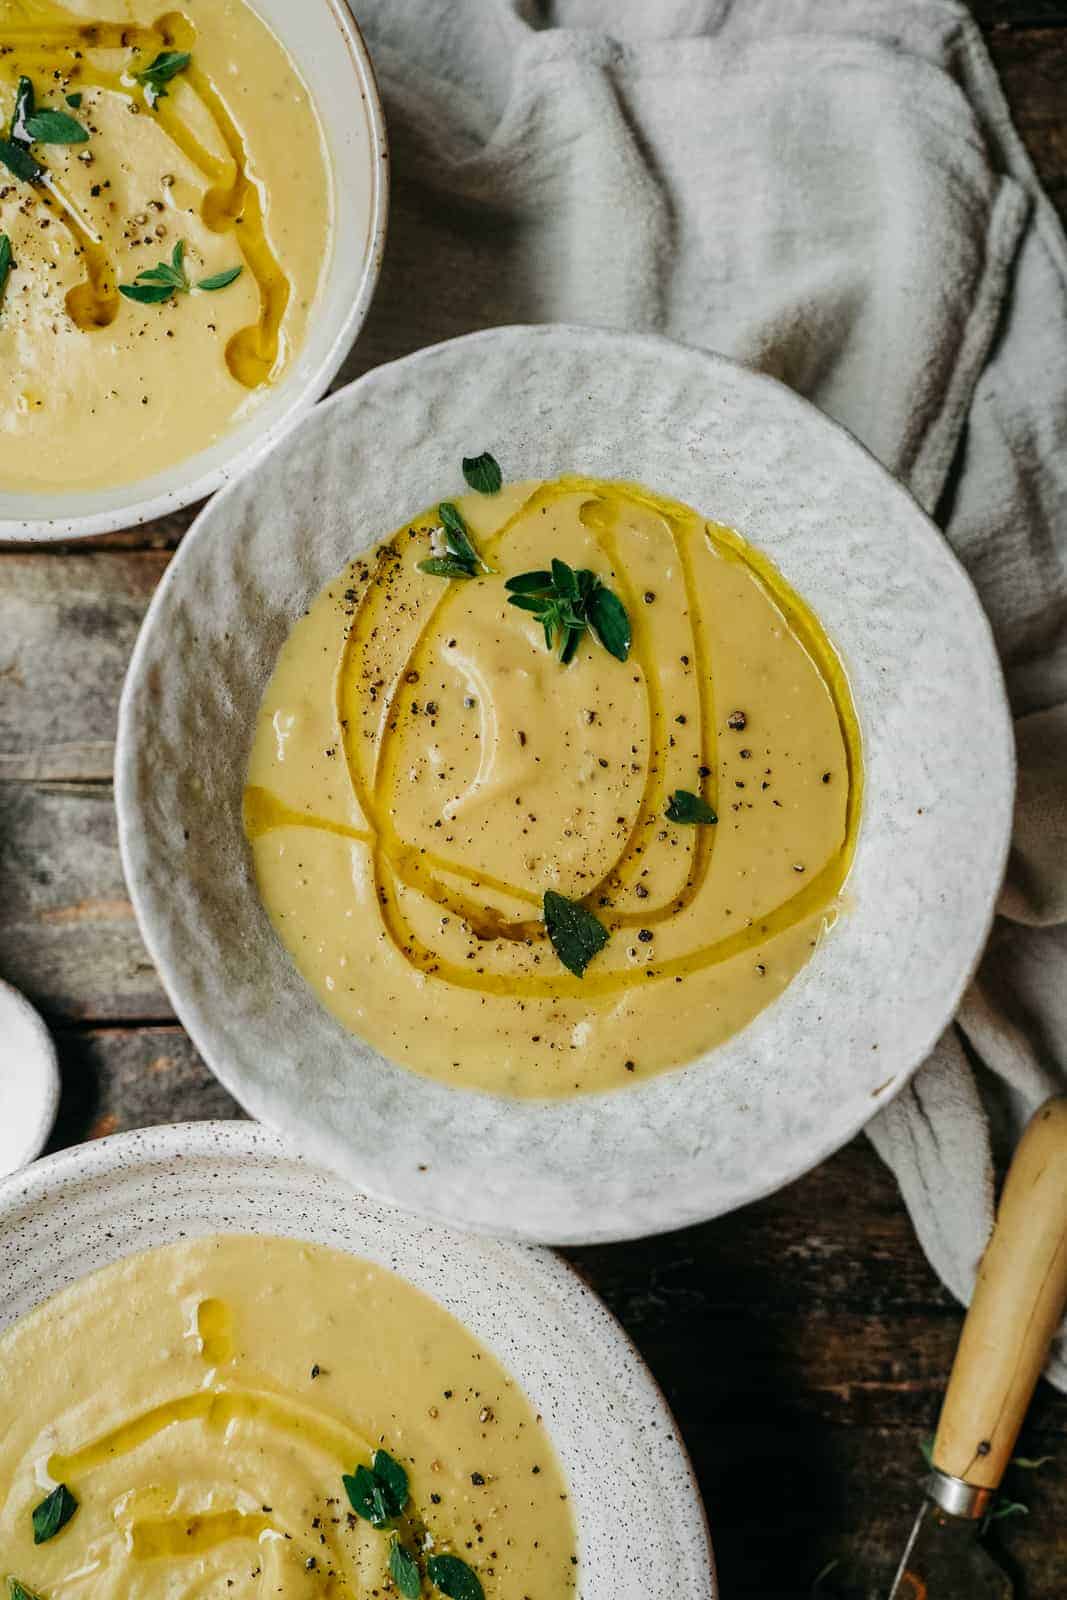
Keep in mind the rule of thirds. The nine-part grid that will help you ace the perfect composition!
One useful tool to keep in mind is the rule of thirds. The rule of thirds is a nine-part grid that you need to imagine over your photo or subject. Your main subject should be either along the lines or at the intersections of your grid. Our eyes are naturally drawn to these points, so it’s good to keep in mind when taking your photos. You use this method to really highlight your dish and tell a story to your readers who are going to potentially be making the dish.
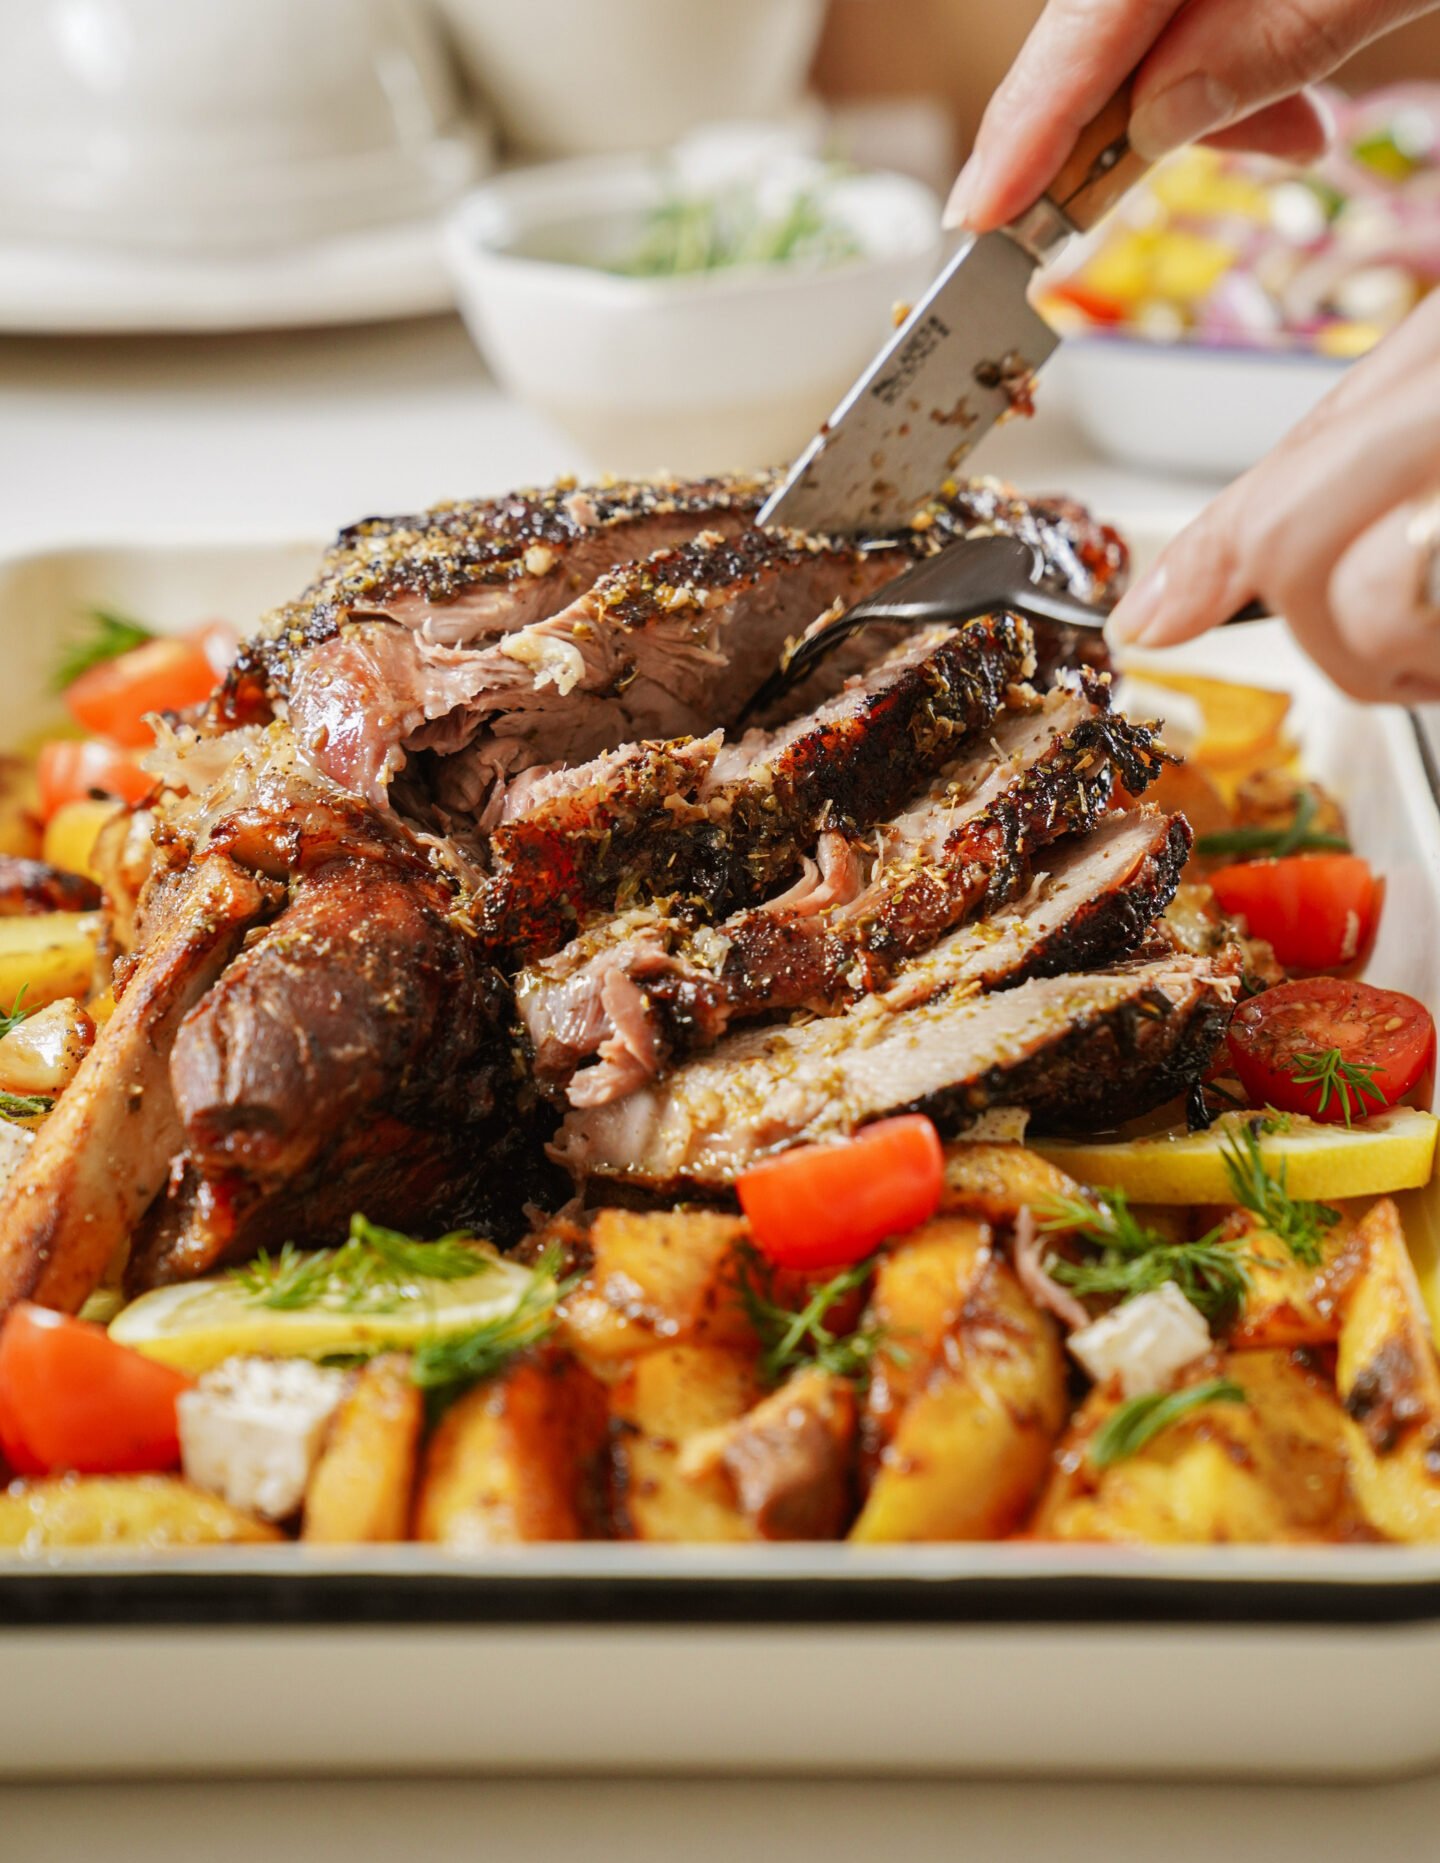
Note how this photo loses the context and story of the food and photo as it’s taken too close.
2. Don’t take the photo too closely
Try to take a shot far enough away from the ideal sizing you’ll want. This way you’ll have wiggle room when you are editing and you can play with different compositions in the editing process. Sometimes playing with the cropping when editing can take a photo that you didn’t love from the start to one that’s fantastic.
So you’re probably thinking: “Maria, but what is a good distance I should be at then?” And I would say a good enough distance is being far enough away that you know you won’t end up cropping half the bowl out or even someone’s head. Think of the subject and how you want it to look on your feed. The further, the better, but it doesn’t have to be microscopic. Also, please don’t go to a restaurant and stand on the damn chair. You’re a human, just make sure you bring your camera with a great lens and you should still be able to achieve a great image.
Why take photos of just the food at restaurants? Enjoy your meal & get your friend to snap some candid photos of you while doing it. Your followers want to see you & your face!
3. Don’t shoot when it’s almost dark out or too early in the morning
Shooting at the right time of day is critical for fantastic photos and this tip is one often forgotten when thinking of food photography tricks for the best photo. A shady spot on a sunny day can be the perfect place to shoot in natural lighting conditions. Natural light will always make your photos look better, so when you can use it, definitely do! Direct sunlight will make your food look harsh, will create shadows, and distort your colors.
Also, you want to ensure it’s not too dark out either because you’ll never want to turn on your flash when taking photos of food. Just don’t do it. It’ll make harsh reflections and glare. I typically shoot on days where there is overcast and when the sun isn’t too bright. In the summer, I shoot at around 4 to 5 PM when the sun is less aggressive and duller.
So what if you’re in a dimly-lit restaurant? (Most of them are for some reason!) A good thing to keep in mind is to never shoot when it’s dark out unless you have the proper setup and gear. I wouldn’t recommend it. If you still want to capture the moment, then put it in your Instagram stories instead! You don’t always have to post everything you eat or do. Make sure your feed is as beautiful as it could possibly be!
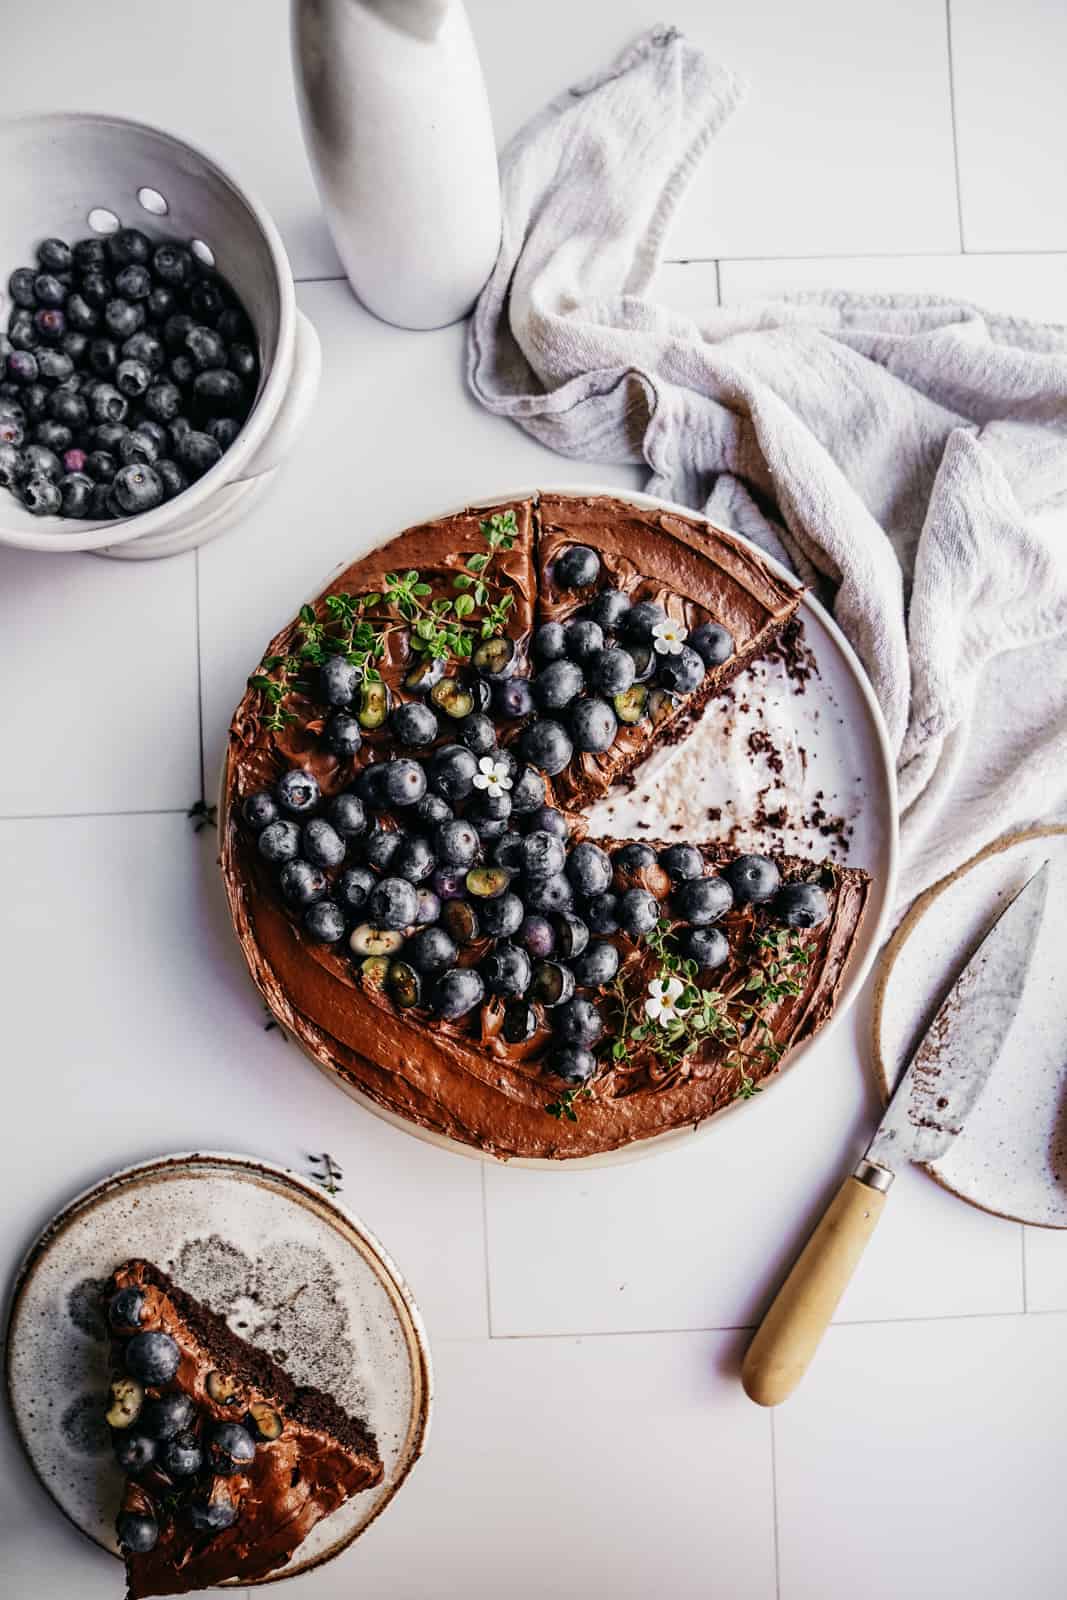
Stacking plates of salad versus only having one plate. A food photography tip to show depth.
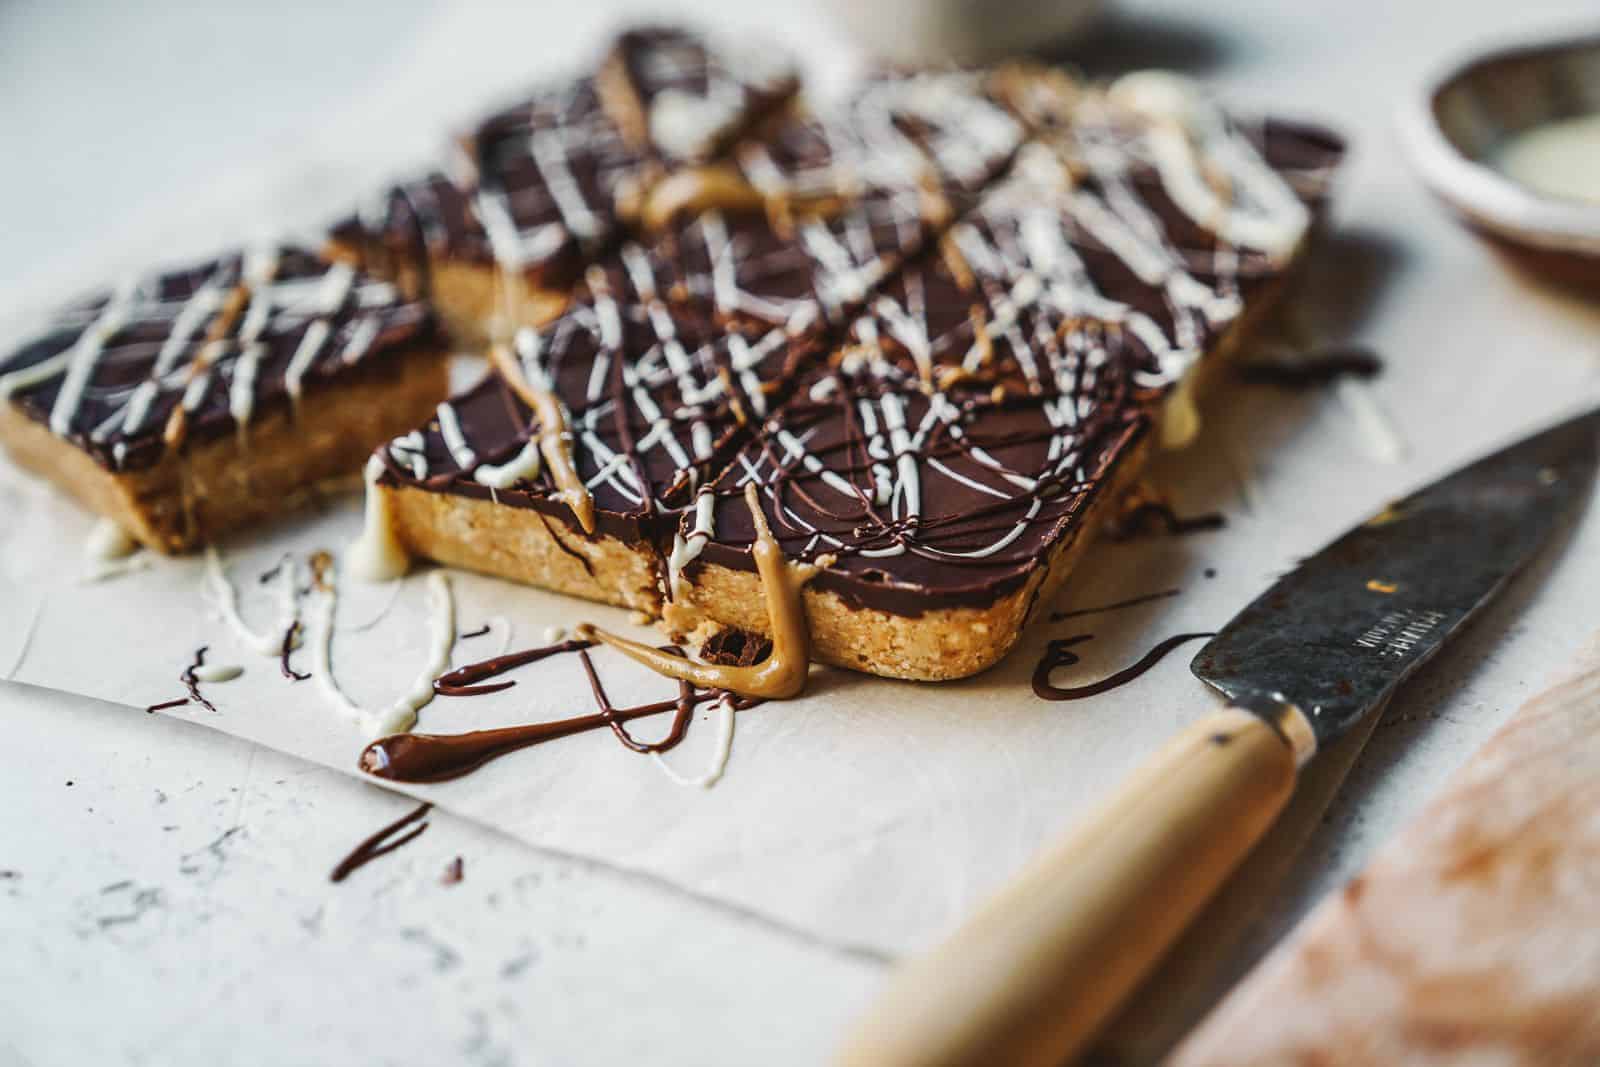
The angle of this photo really shows the depth of the vegan bars, all while creating a story and bringing it to life with the propping.
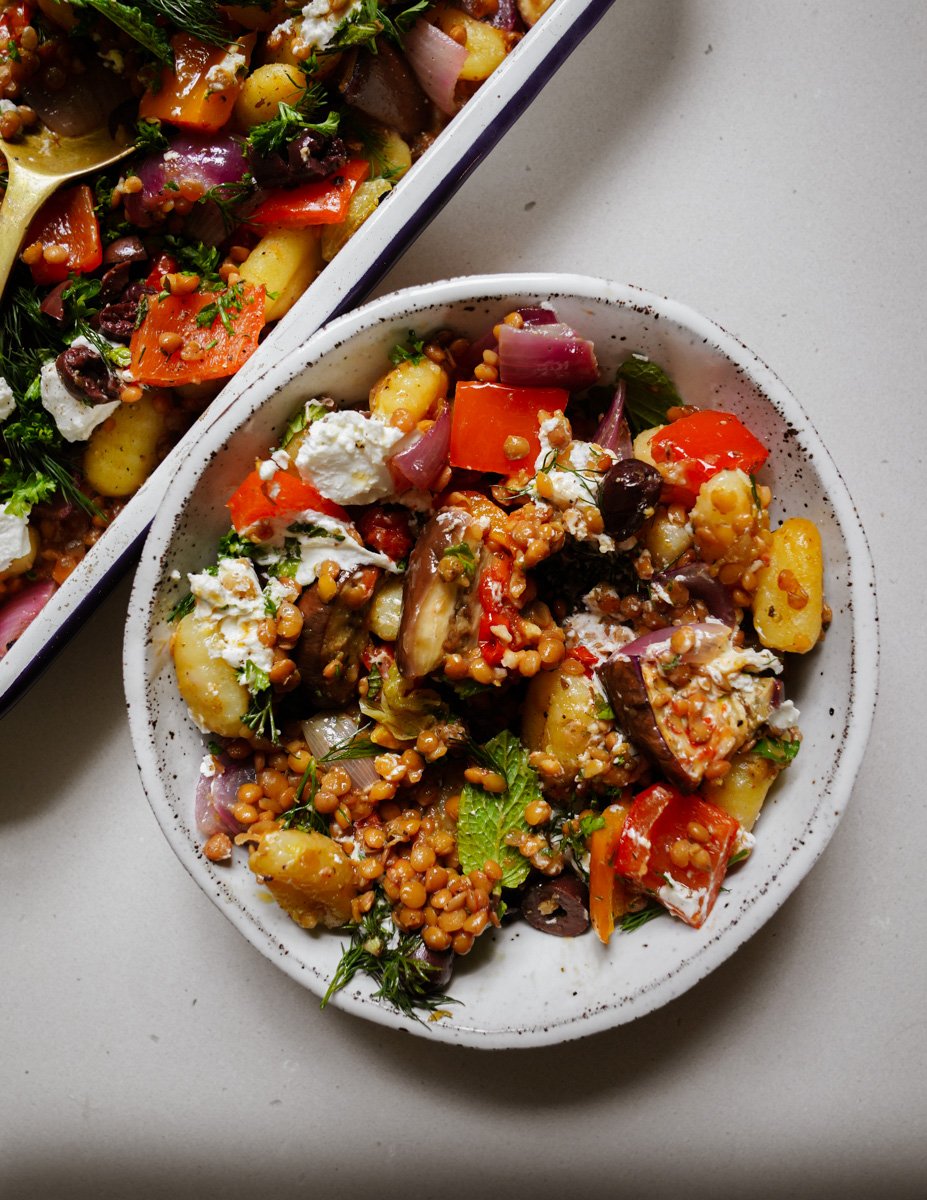
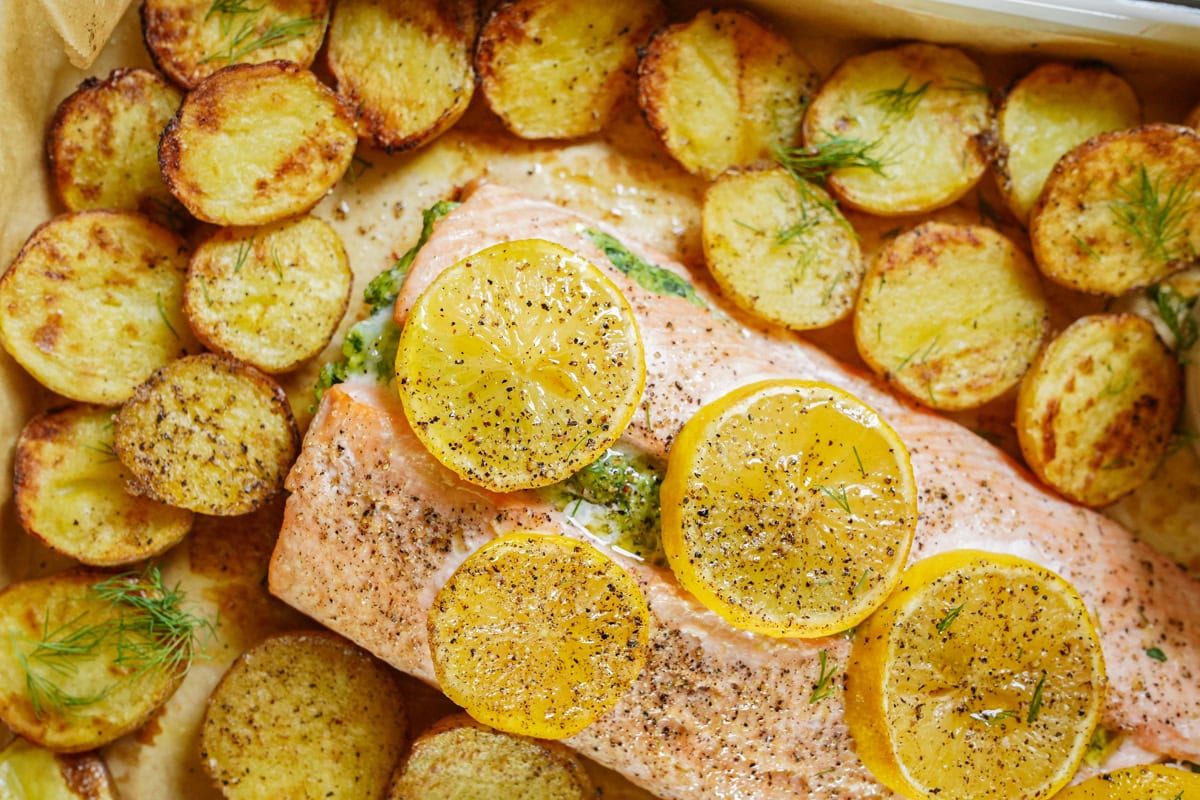
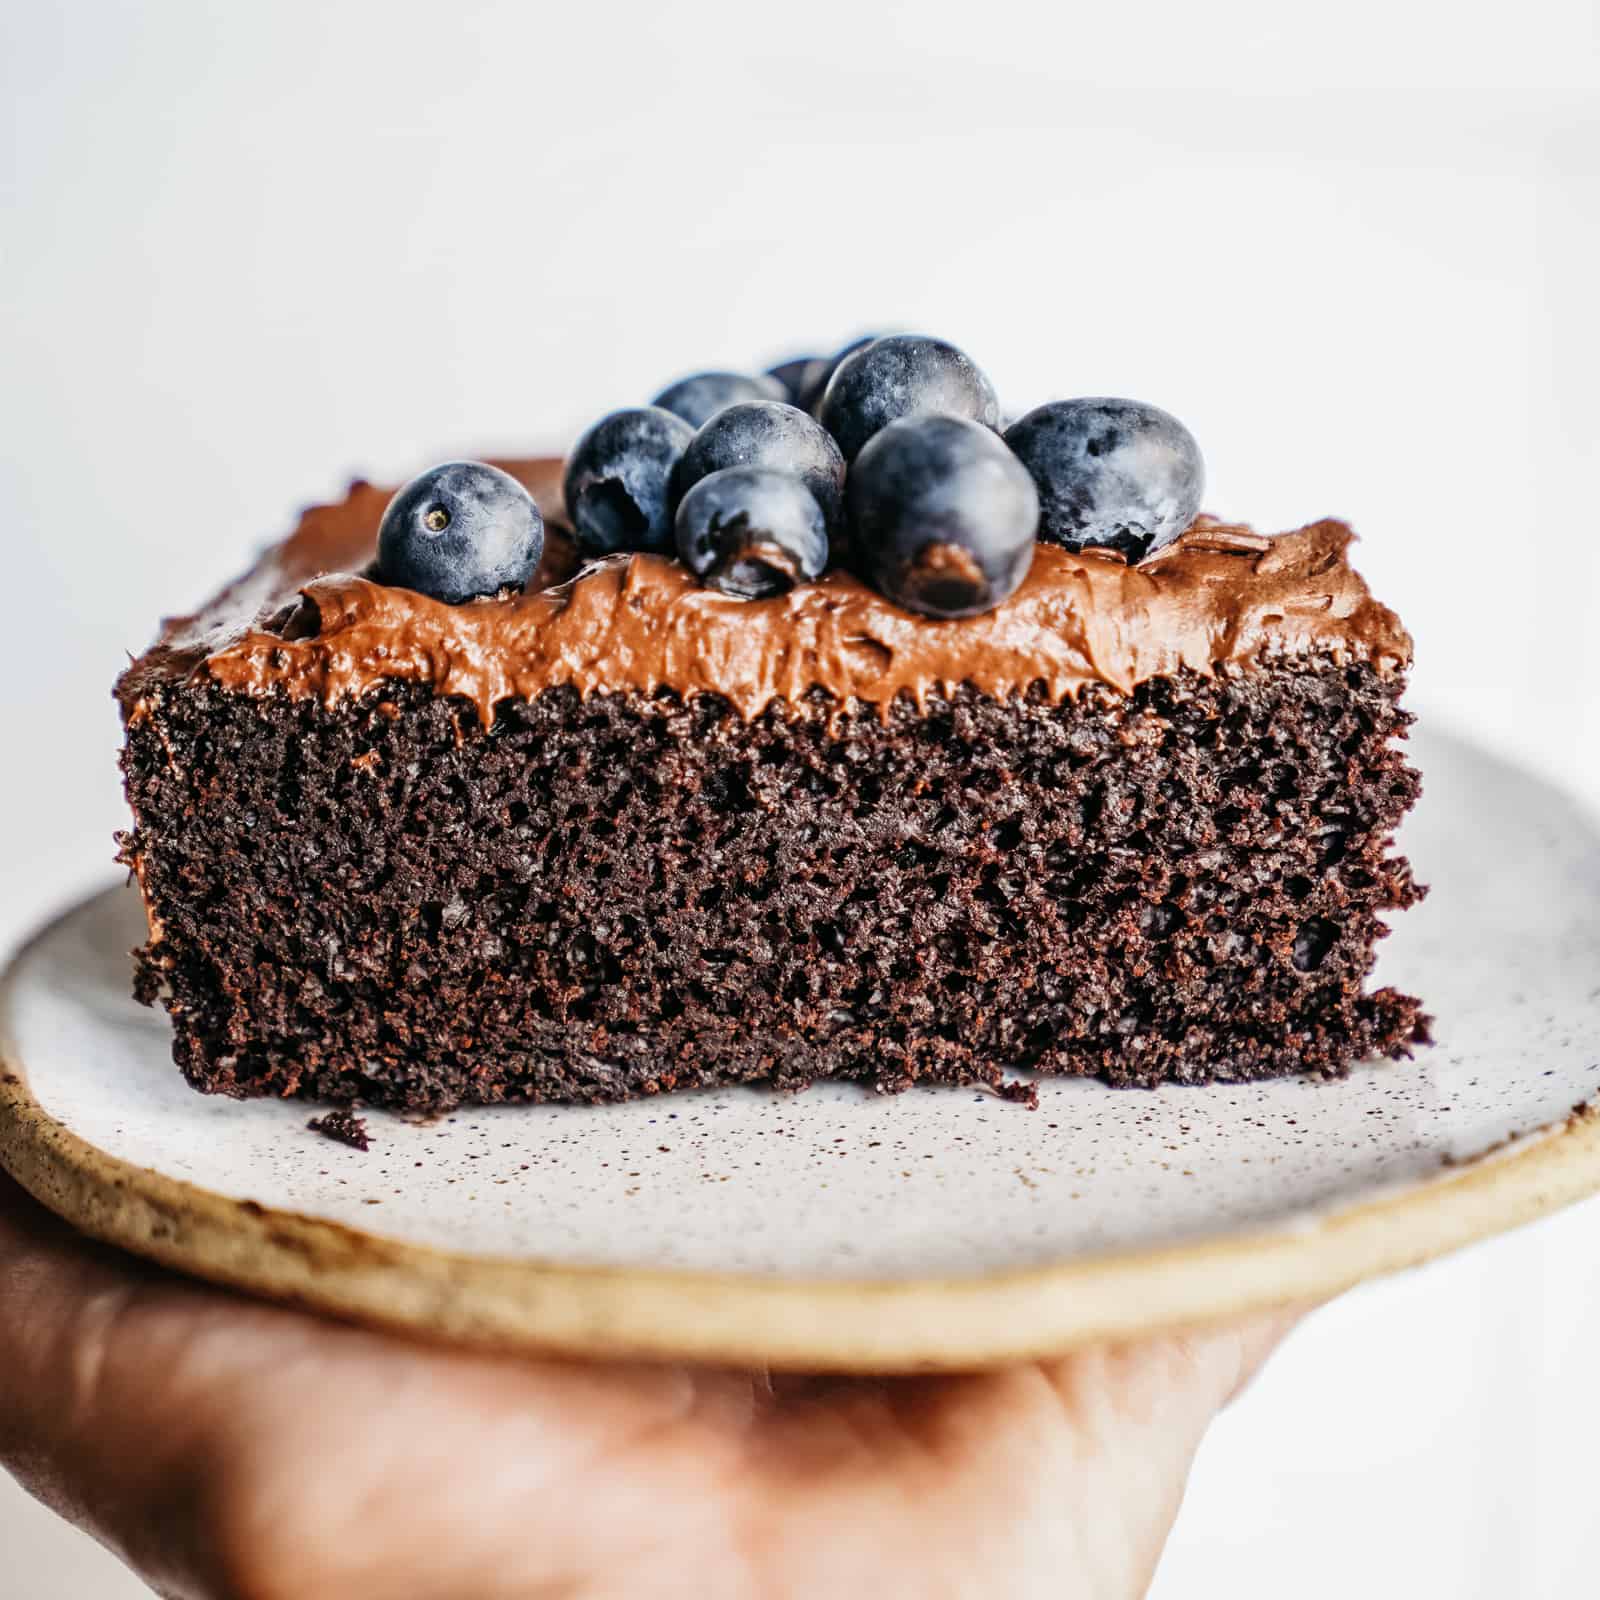
4. Angles are everything
One of the biggest food photography tricks is to choose the right angle, and it’ll make all the difference. Some dishes are better with the side view and others are better from a birds-eye view. When you establish which is best for which recipe, you’ll really see an increase in readers’ sense of urgency to give your recipe a try because you’ll have made the food look incredible! If you aren’t sure what angle will look best, try multiple angles until you start to get the hang of it. To give you an idea, here are some foods that look better at particular angles…
- Side view: Burgers, waffles, pancakes, pot pies, brownies, bread, etc. Why? Because the details are head-on and we want to show that off.
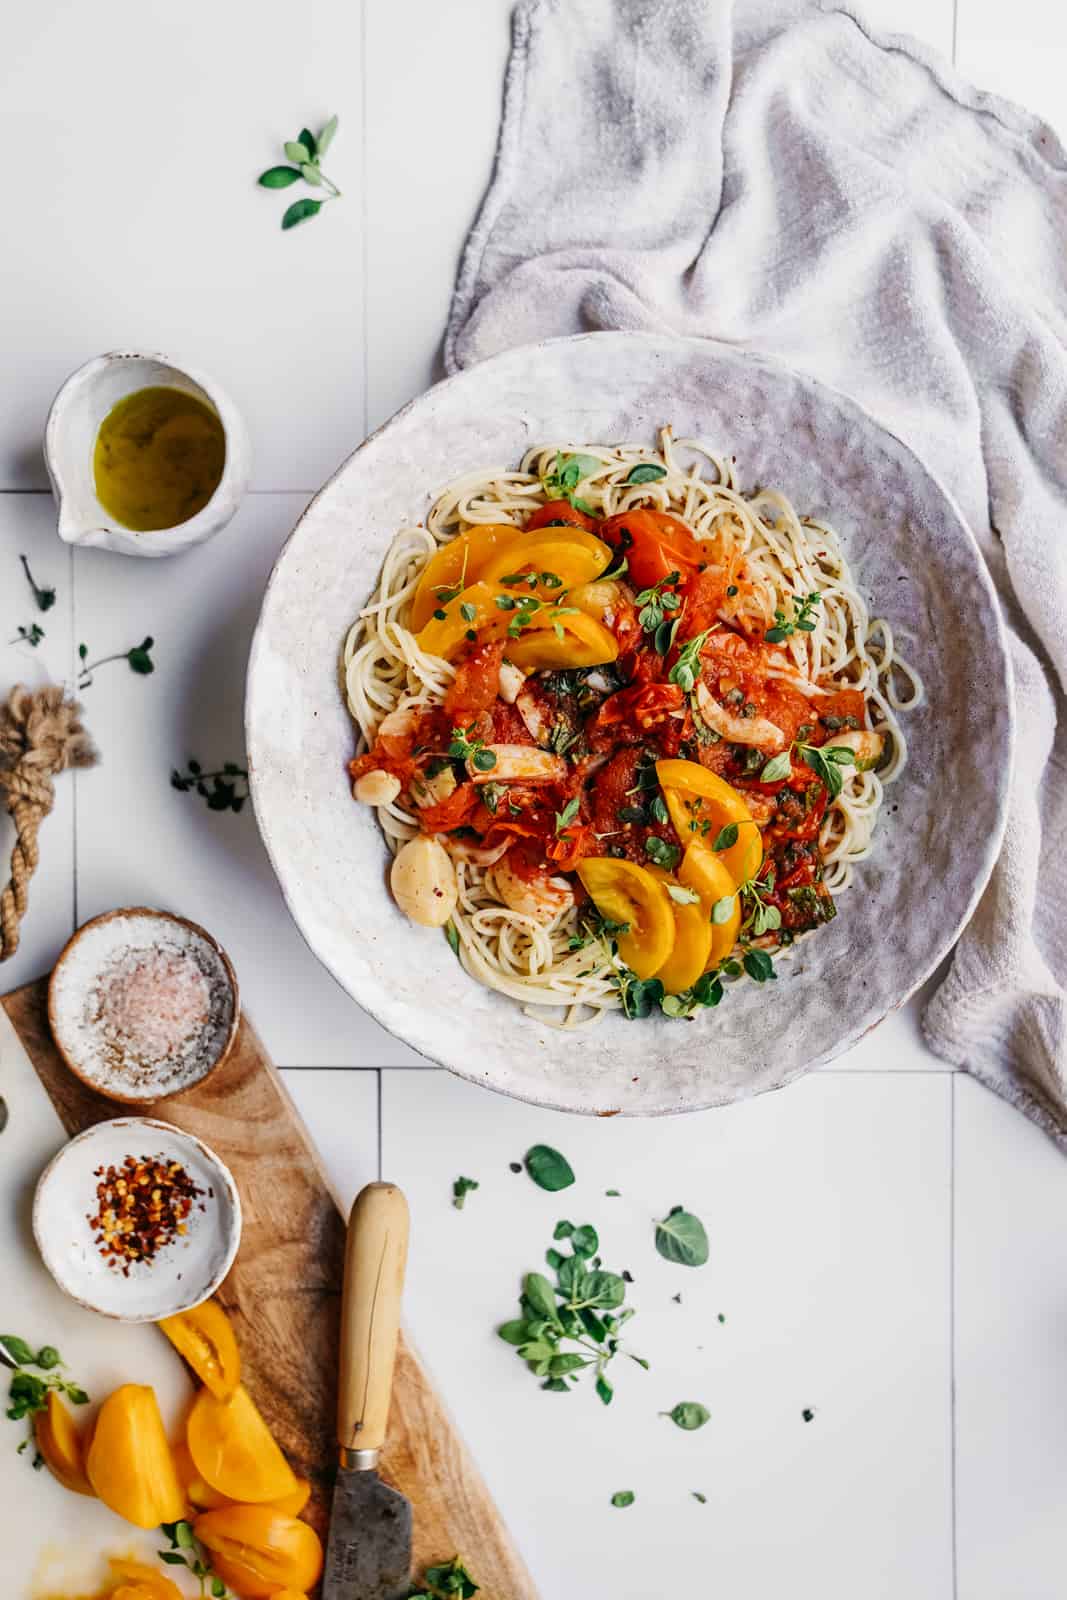
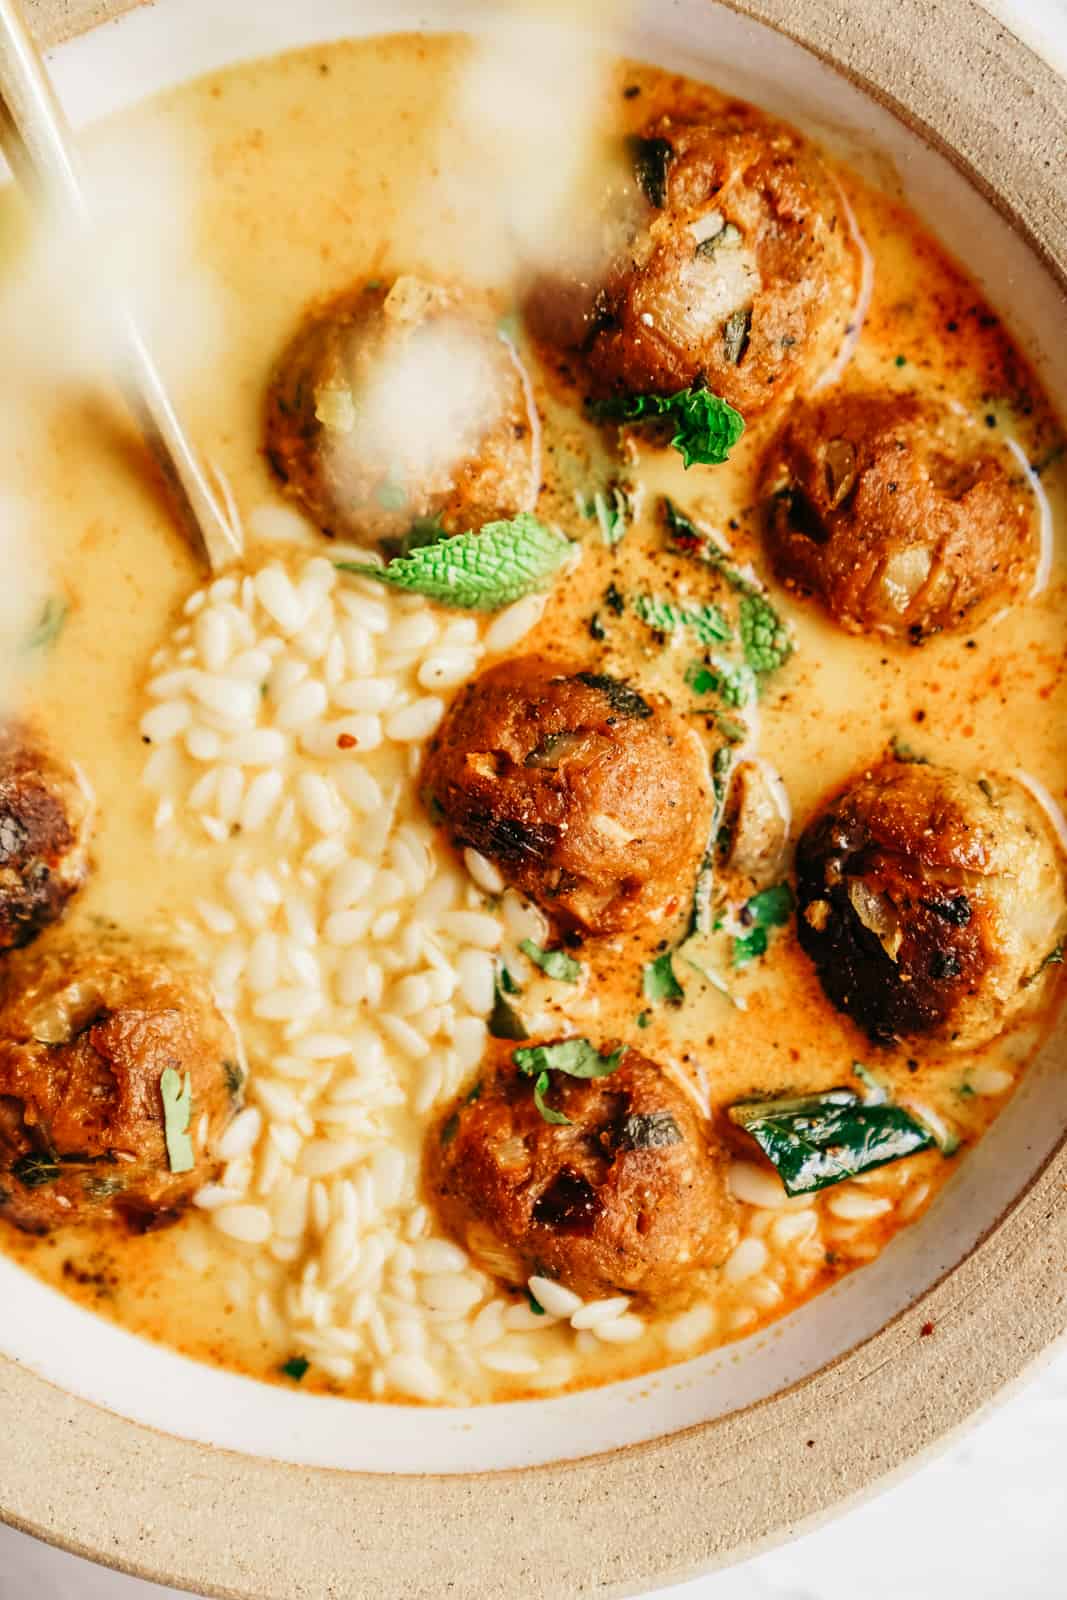
- Birds-eye view: Soups, stews, toasts, cakes, platters, etc. Why? The story is on the plate and you want to show off all the colors from the top! Imagine shooting a soup from a side view, all you would see is the bowl, that’s no fun!
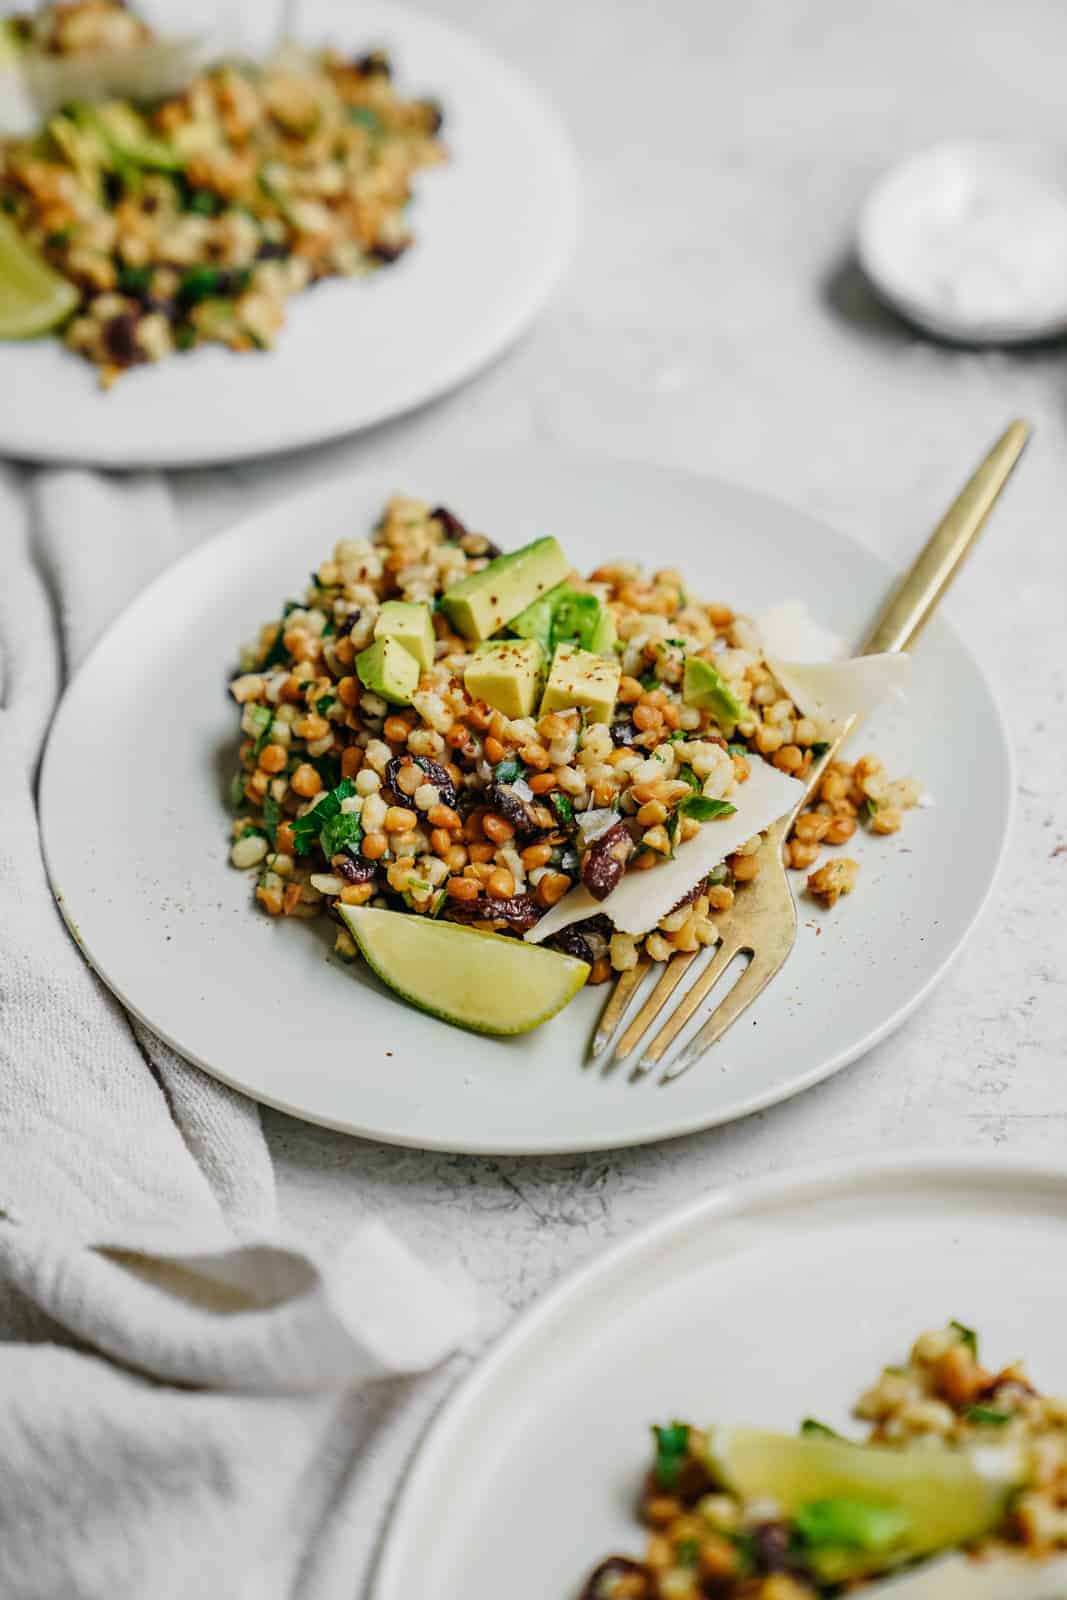
Play with ingredients to make the food as props. Highlight the ingredients that make the dish pop!
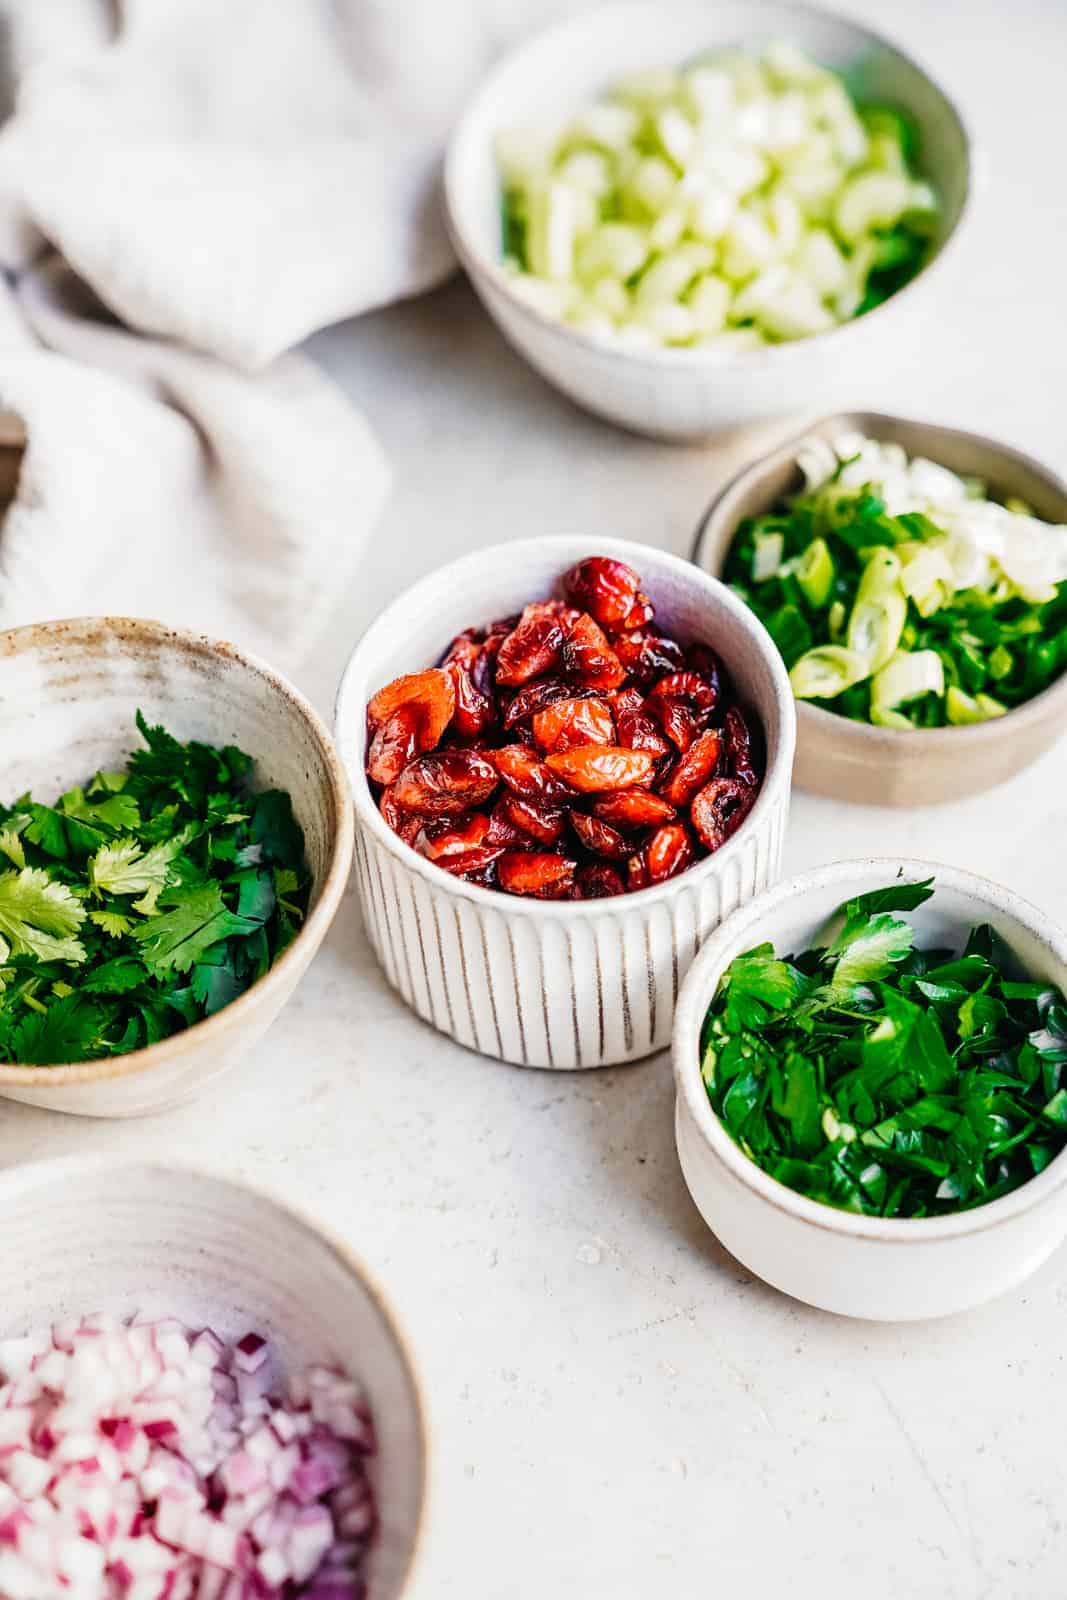
Food can be a prop too! Utilize fresh herbs or garnishes in your photography.
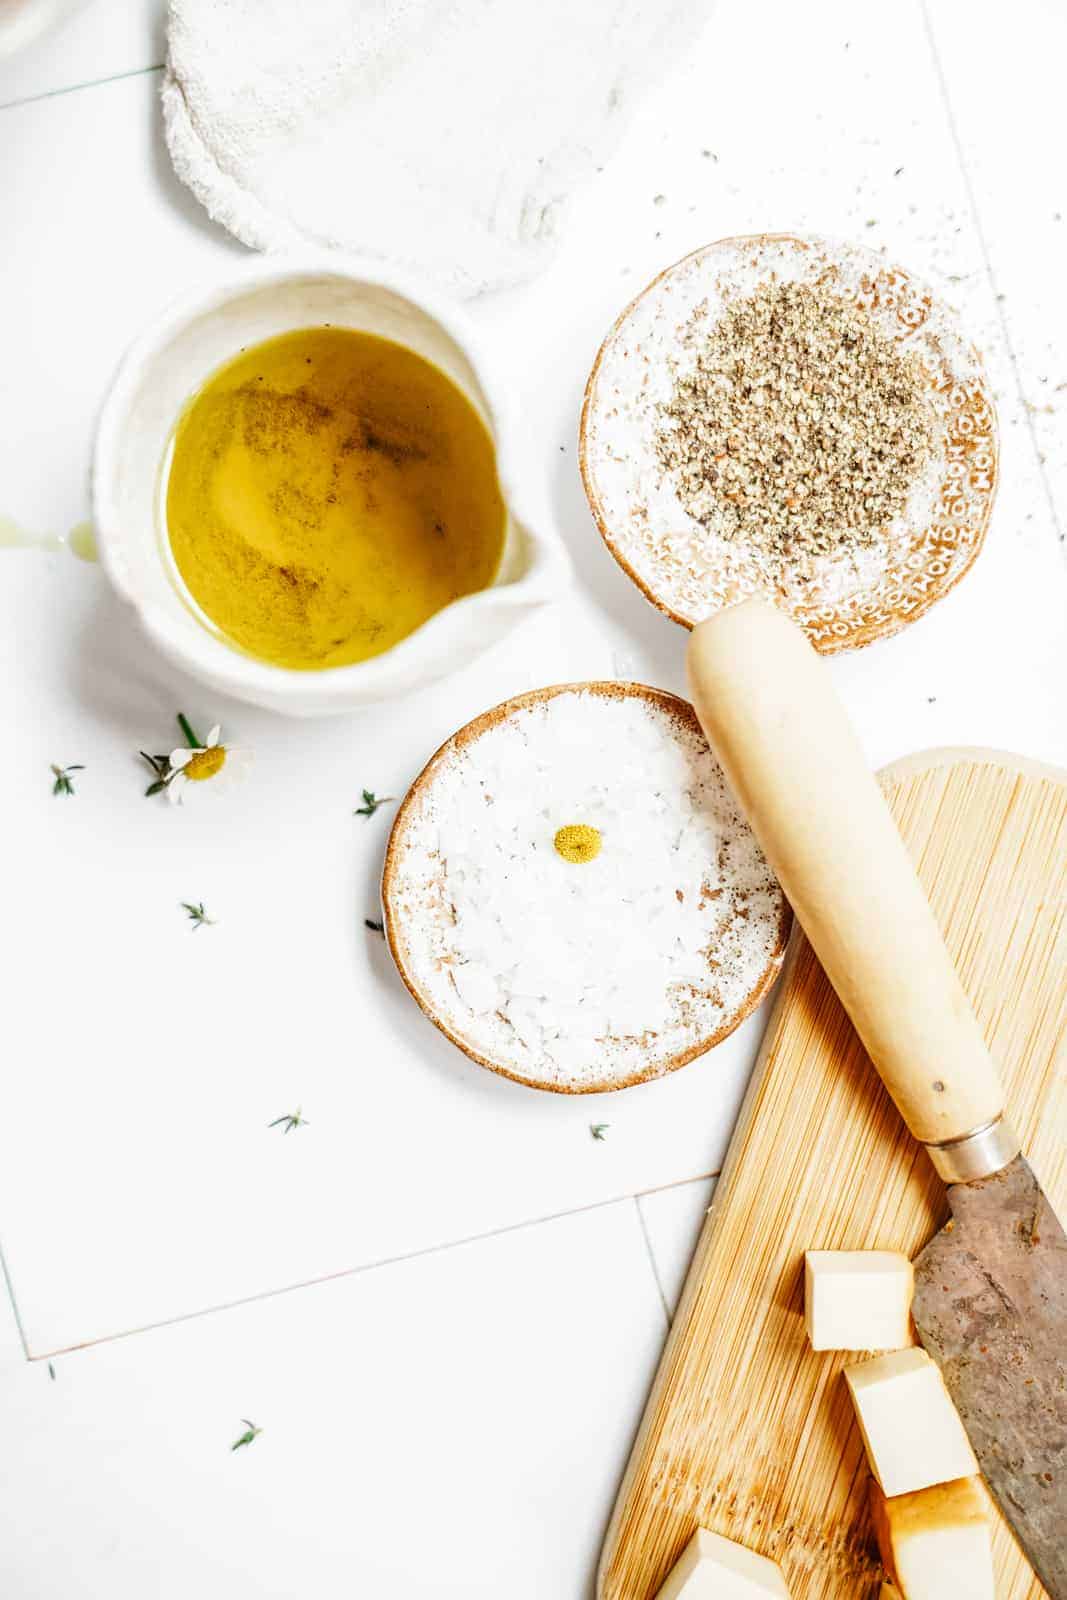
5. Use props
Props can really set the story line for your photo and give it more depth. However, you don’t want to overdo it. You want your photos to be full of detail, but you don’t want the props to take over the shot or upstage your main subject, aka the food.
For full details and recommendations on the props you should have on hand, check out my guide on propping and lighting here.
I love using vintage props that are dull and full of texture. I also try and avoid crazy shine and gloss because I am not a fan of this style and they create too much glare in my photos. But there are endless possibilities on the props you can use. For example:
- Choose the plate you use wisely and don’t use a plate with a glare. Opt for matte or gorgeous ceramic.
- Use accessories like napkins or utensils
- Garnish the dish
- Get creative with your backgrounds
- If the food is busy, make sure your props aren’t, and if your setting/food isn’t so busy then add some flare and character using your plates, bowls, etc.
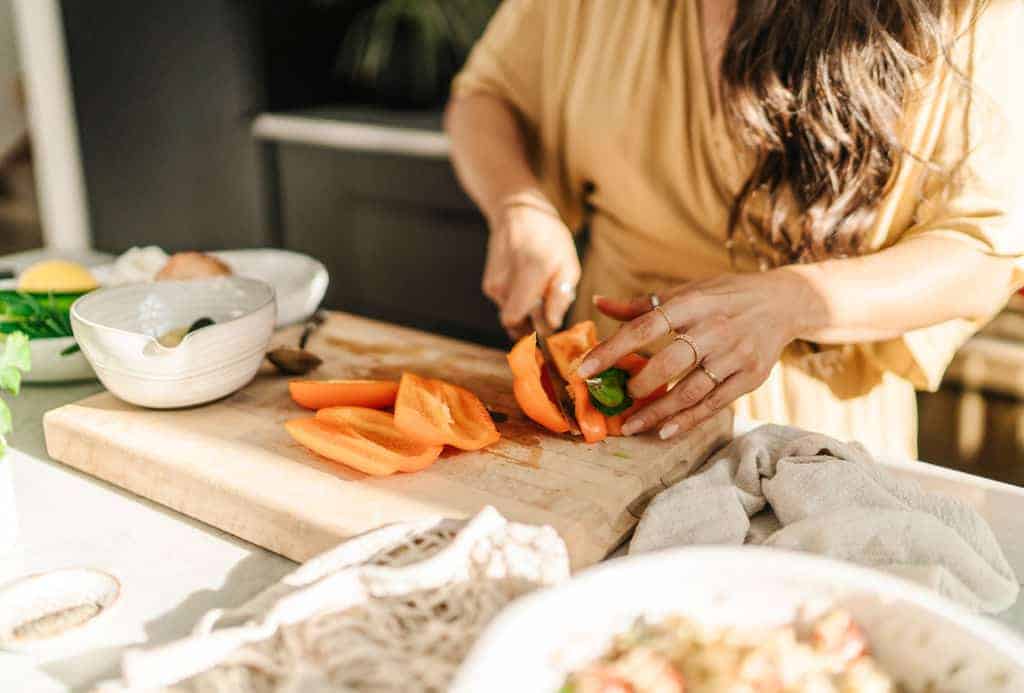
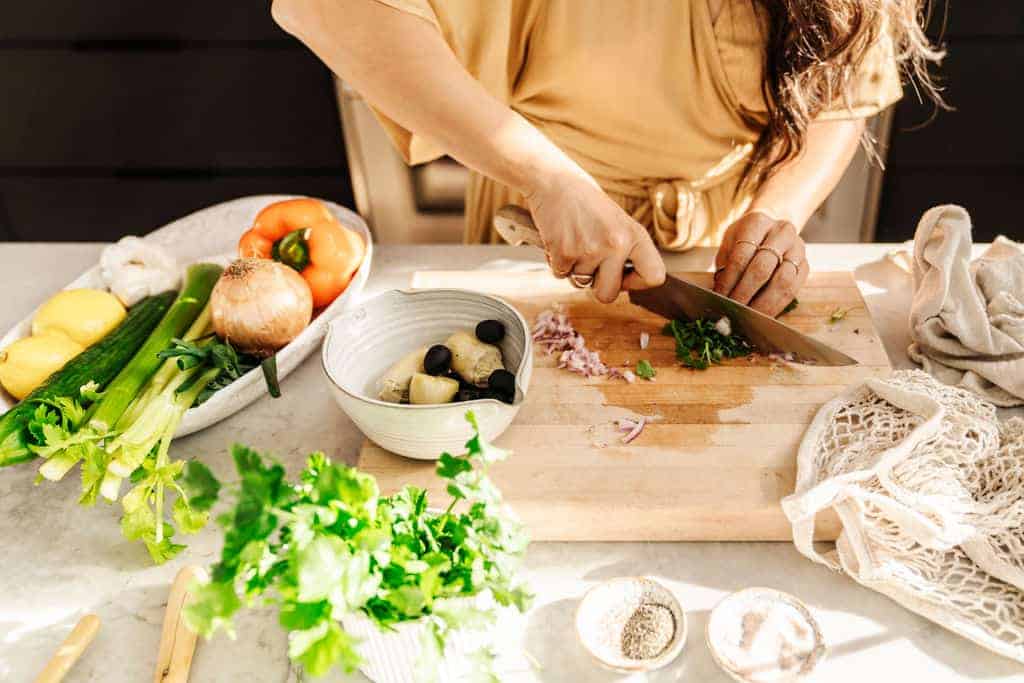
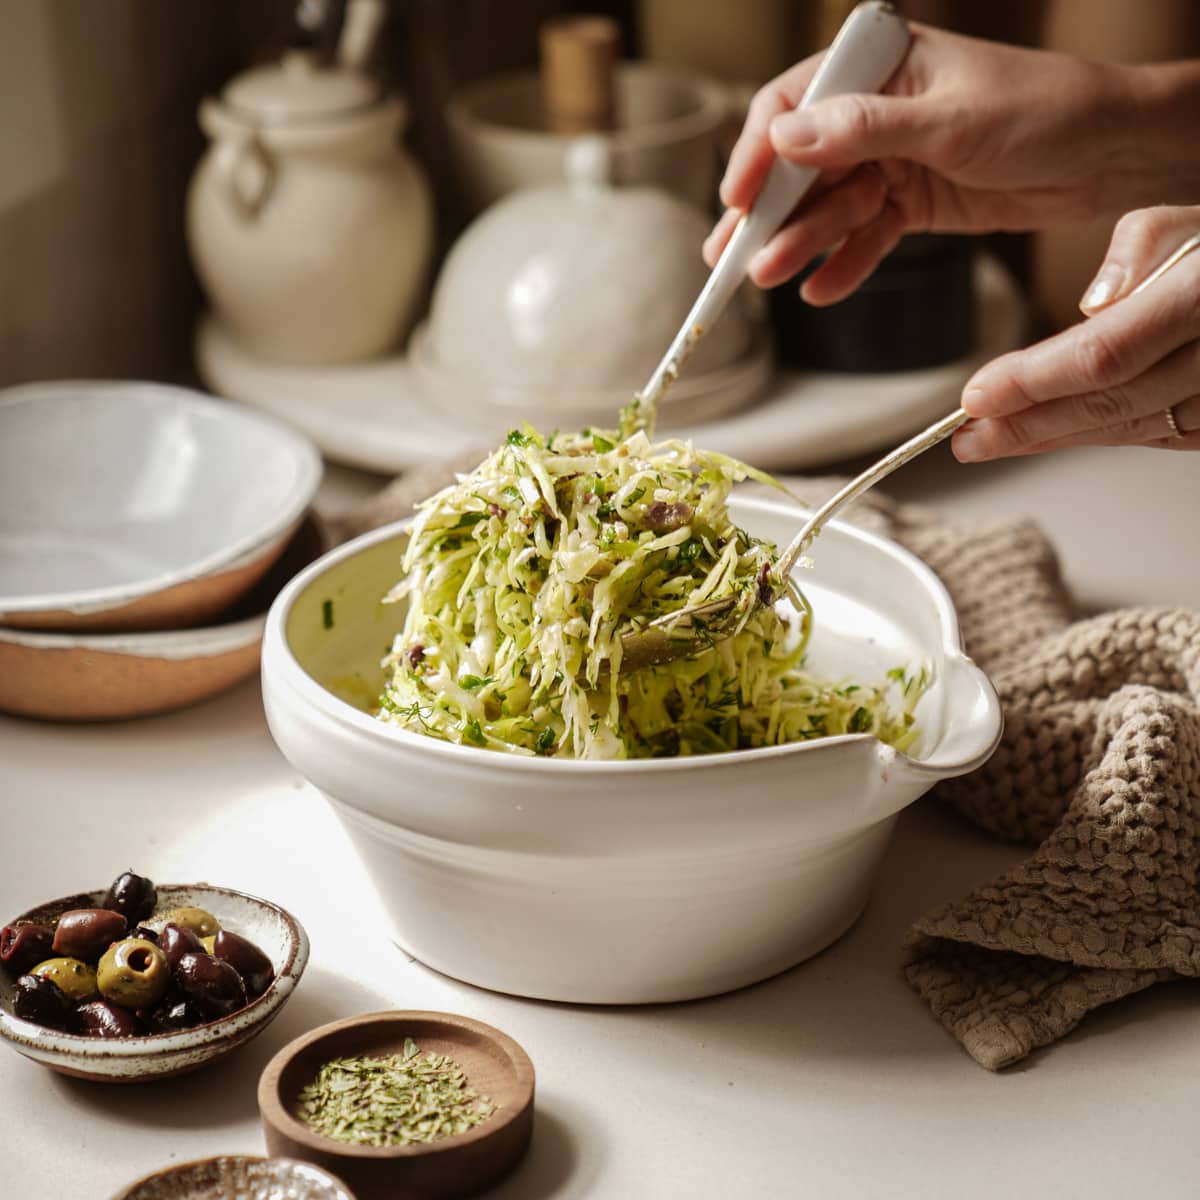
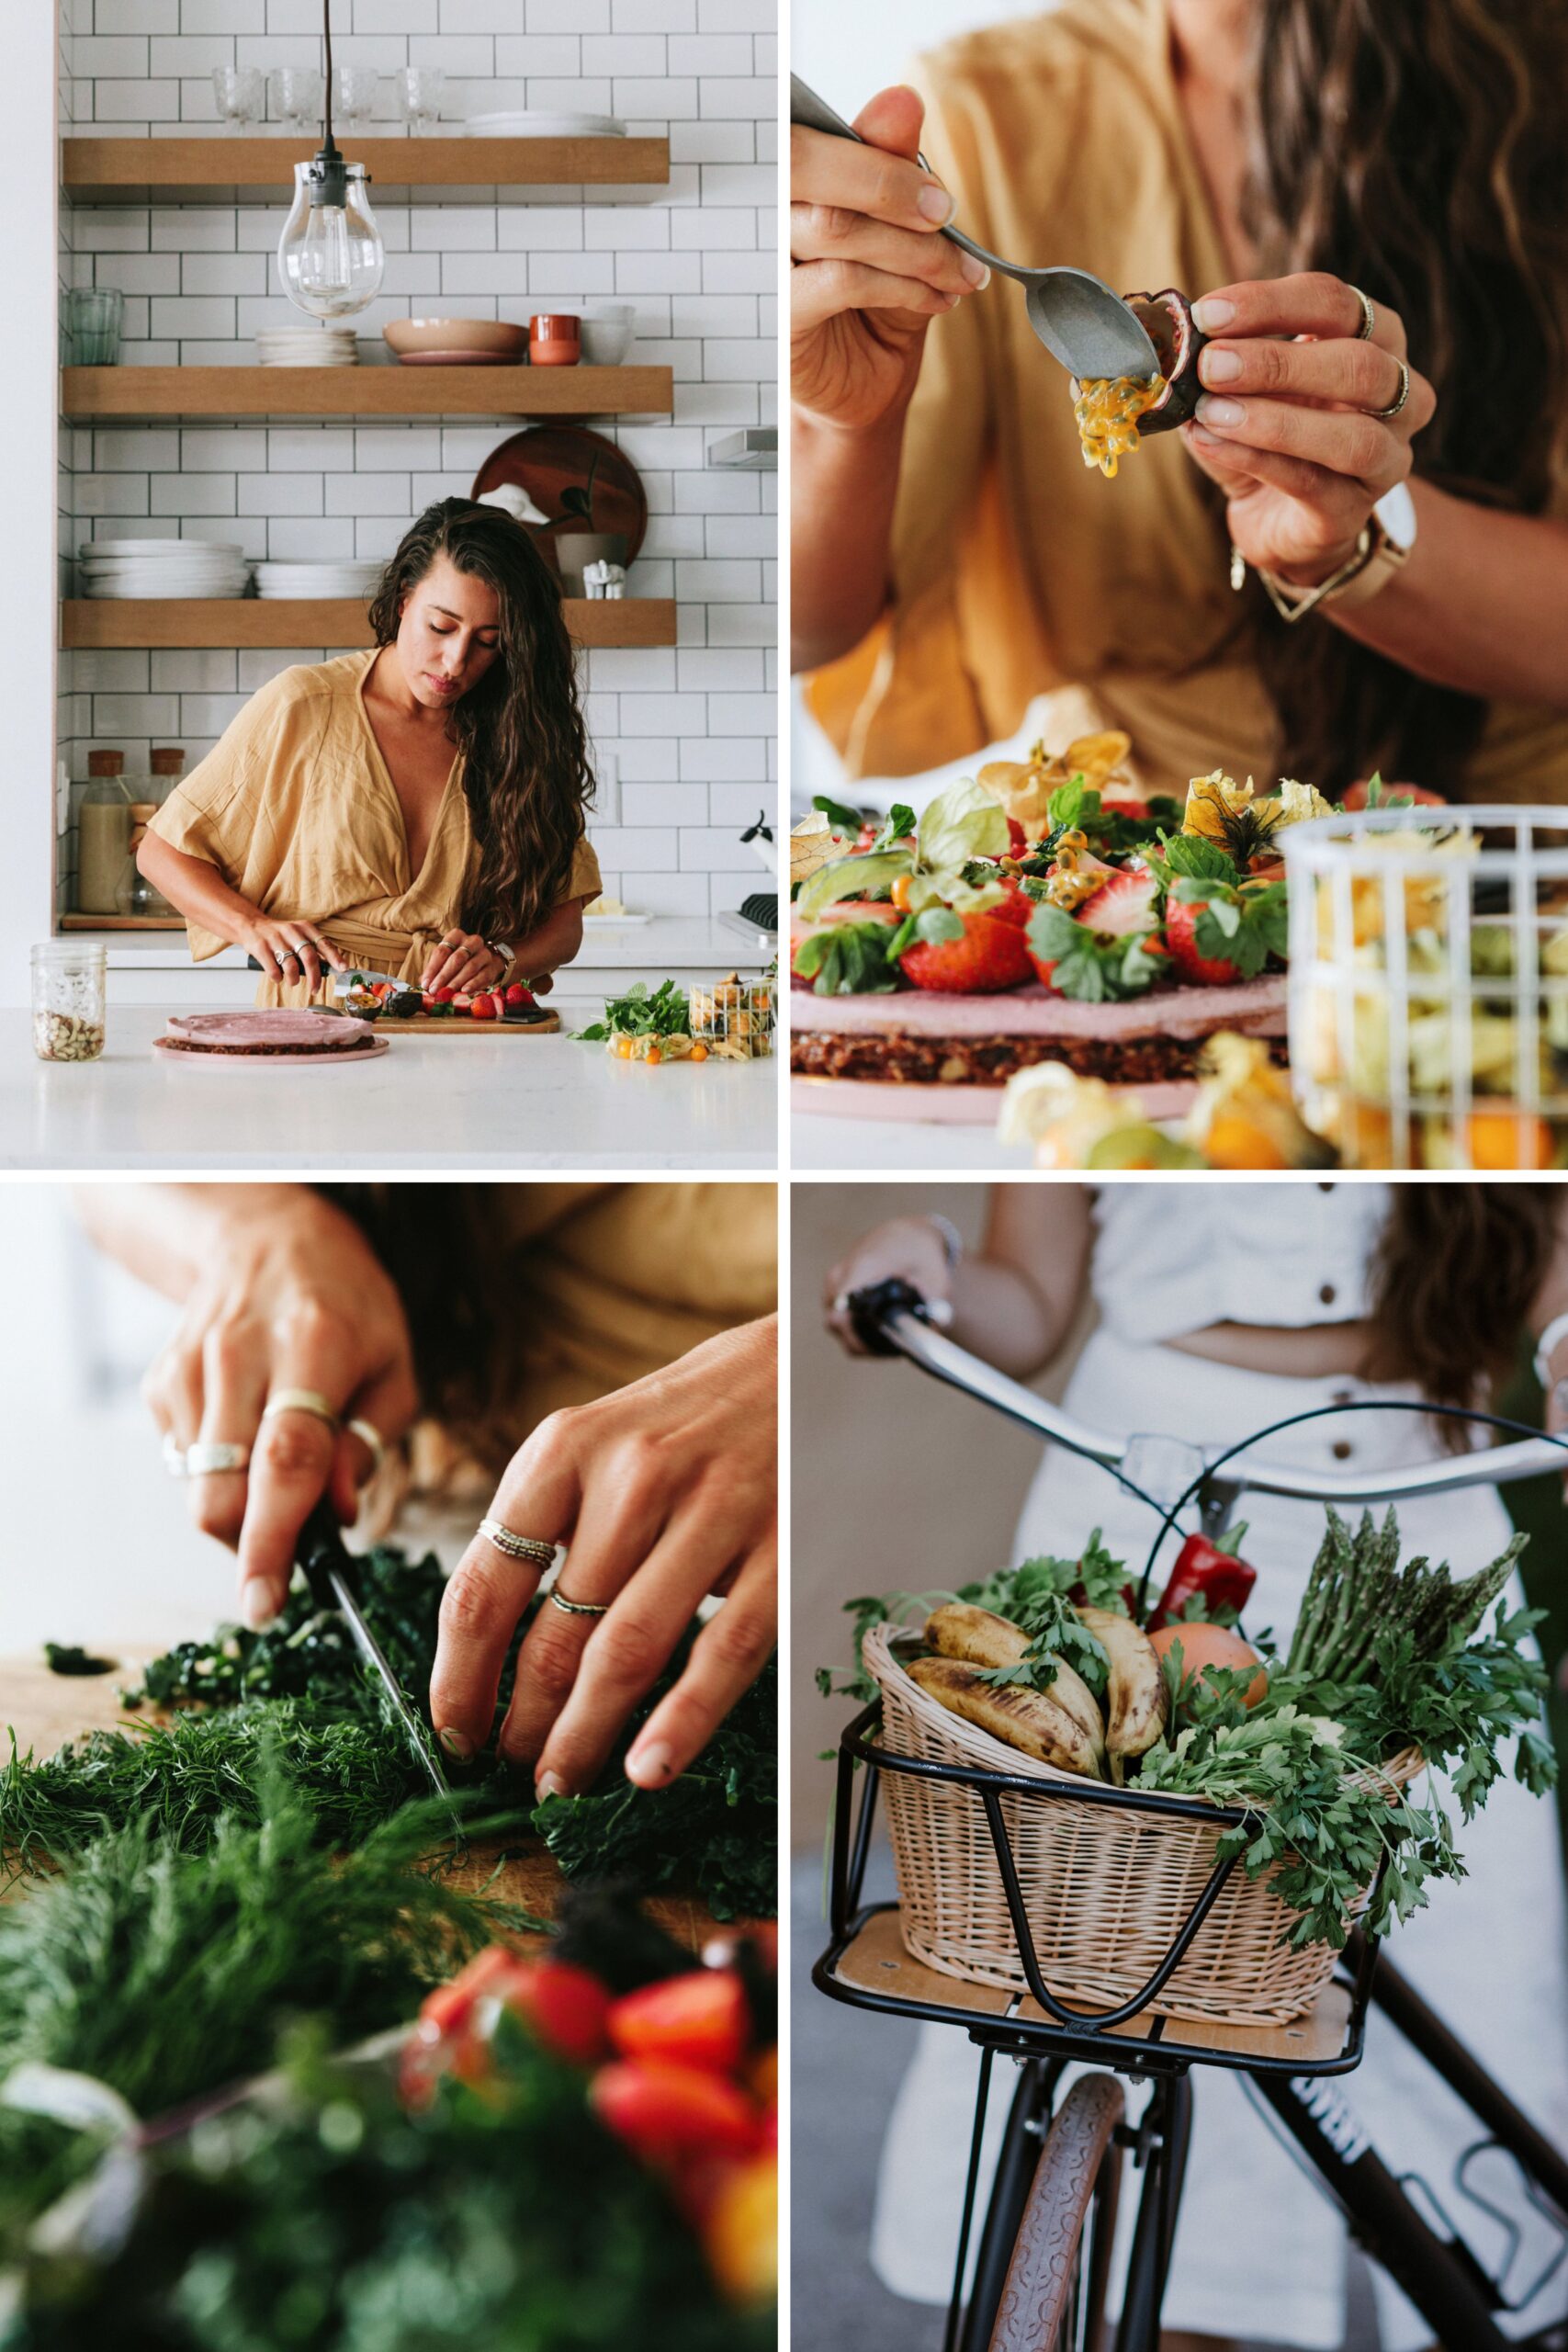
6. Never forget to interact with your food
Interact with the food! For example, cutting it, using a hand with a fork, etc. You can interact with your food by using your hands, adding yourself to the image (or a friend to the image) by holding the bowl, eating the food, cutting the food, or whatever it may be.
Why? This creates a story and makes it more real versus just looking like fake pretty food. It also adds character and creates a style to your feed and photography.
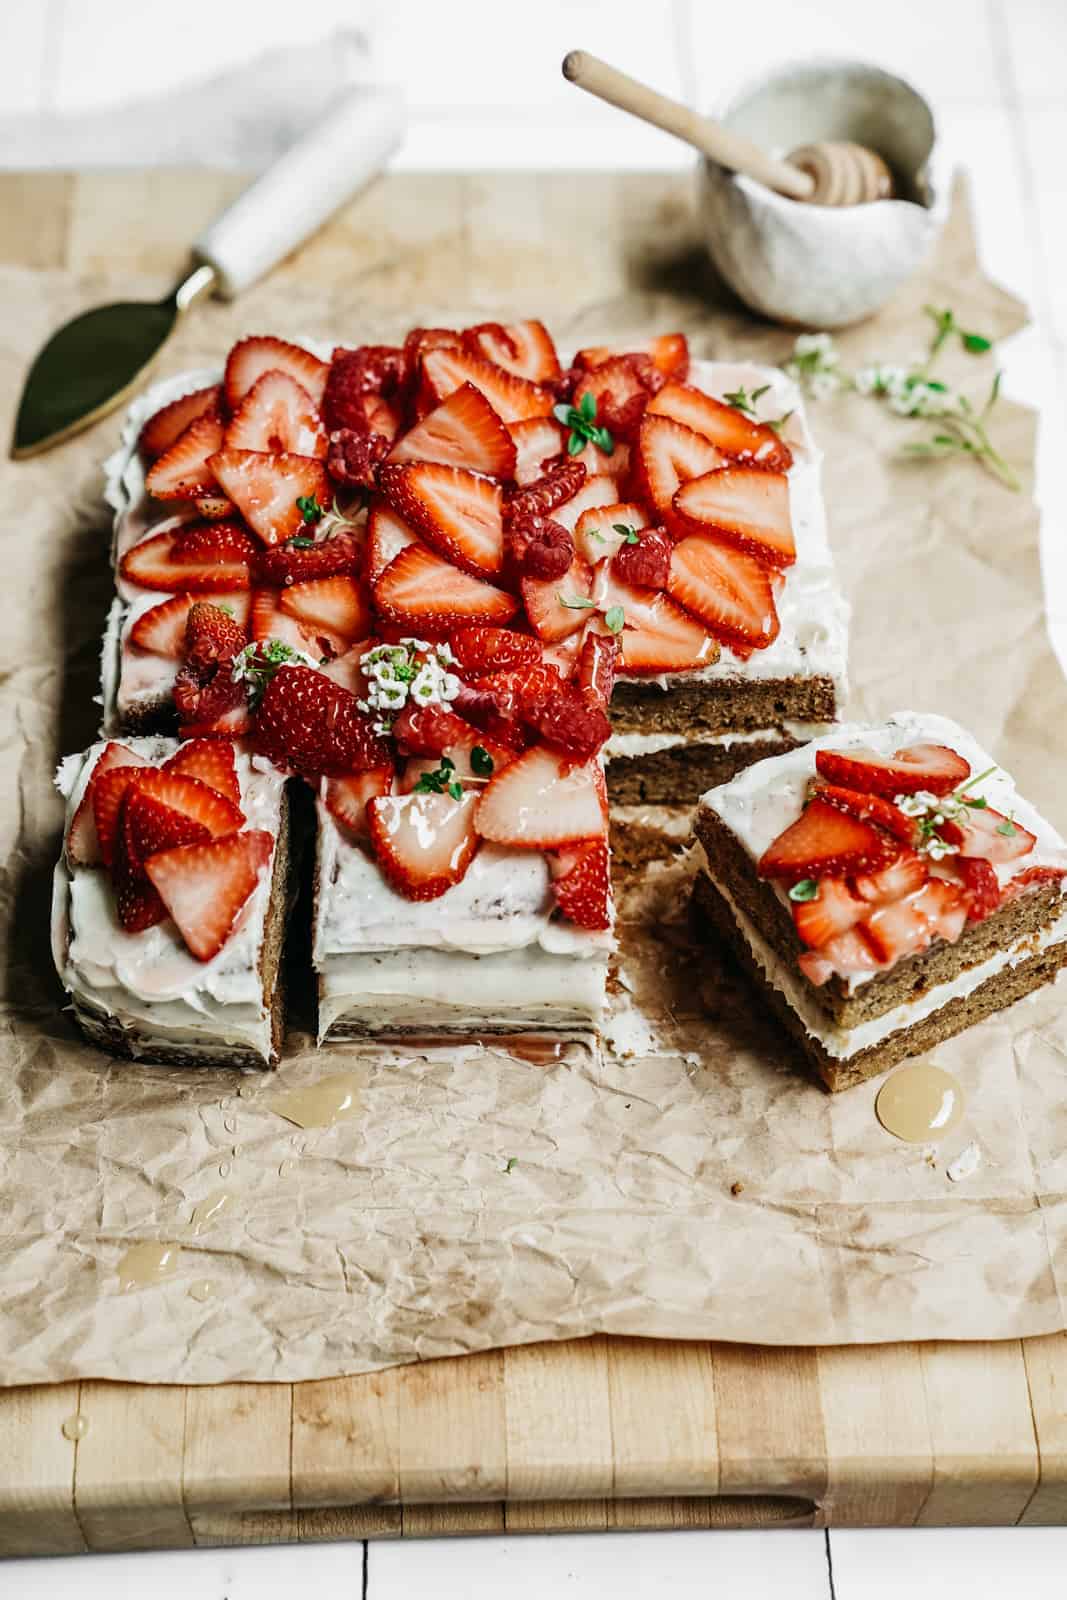
If you can, show the reader/viewer as much of the recipe as possible. For example, if the inside of the cake is double layered, then show us!
If the cake only has a single layer, still show us!
Food photography is so important when presenting your recipes to the public. Why would they make the recipe if it didn’t make them drool just looking at the photo? Also, if you want to build a following on social media, your photos are going to play a big part in that. People want pretty photos and they’ll follow people and accounts that deliver them!


Lastly, don’t forget to follow along @mediabymaria for more tips and resources on turning your food blog into a profitable business. We are cooking up some exciting new things so make sure to get on the list here!
Do you have some food photography tricks that you think people need to know? Share them below in the comments!