30 Minute Meals
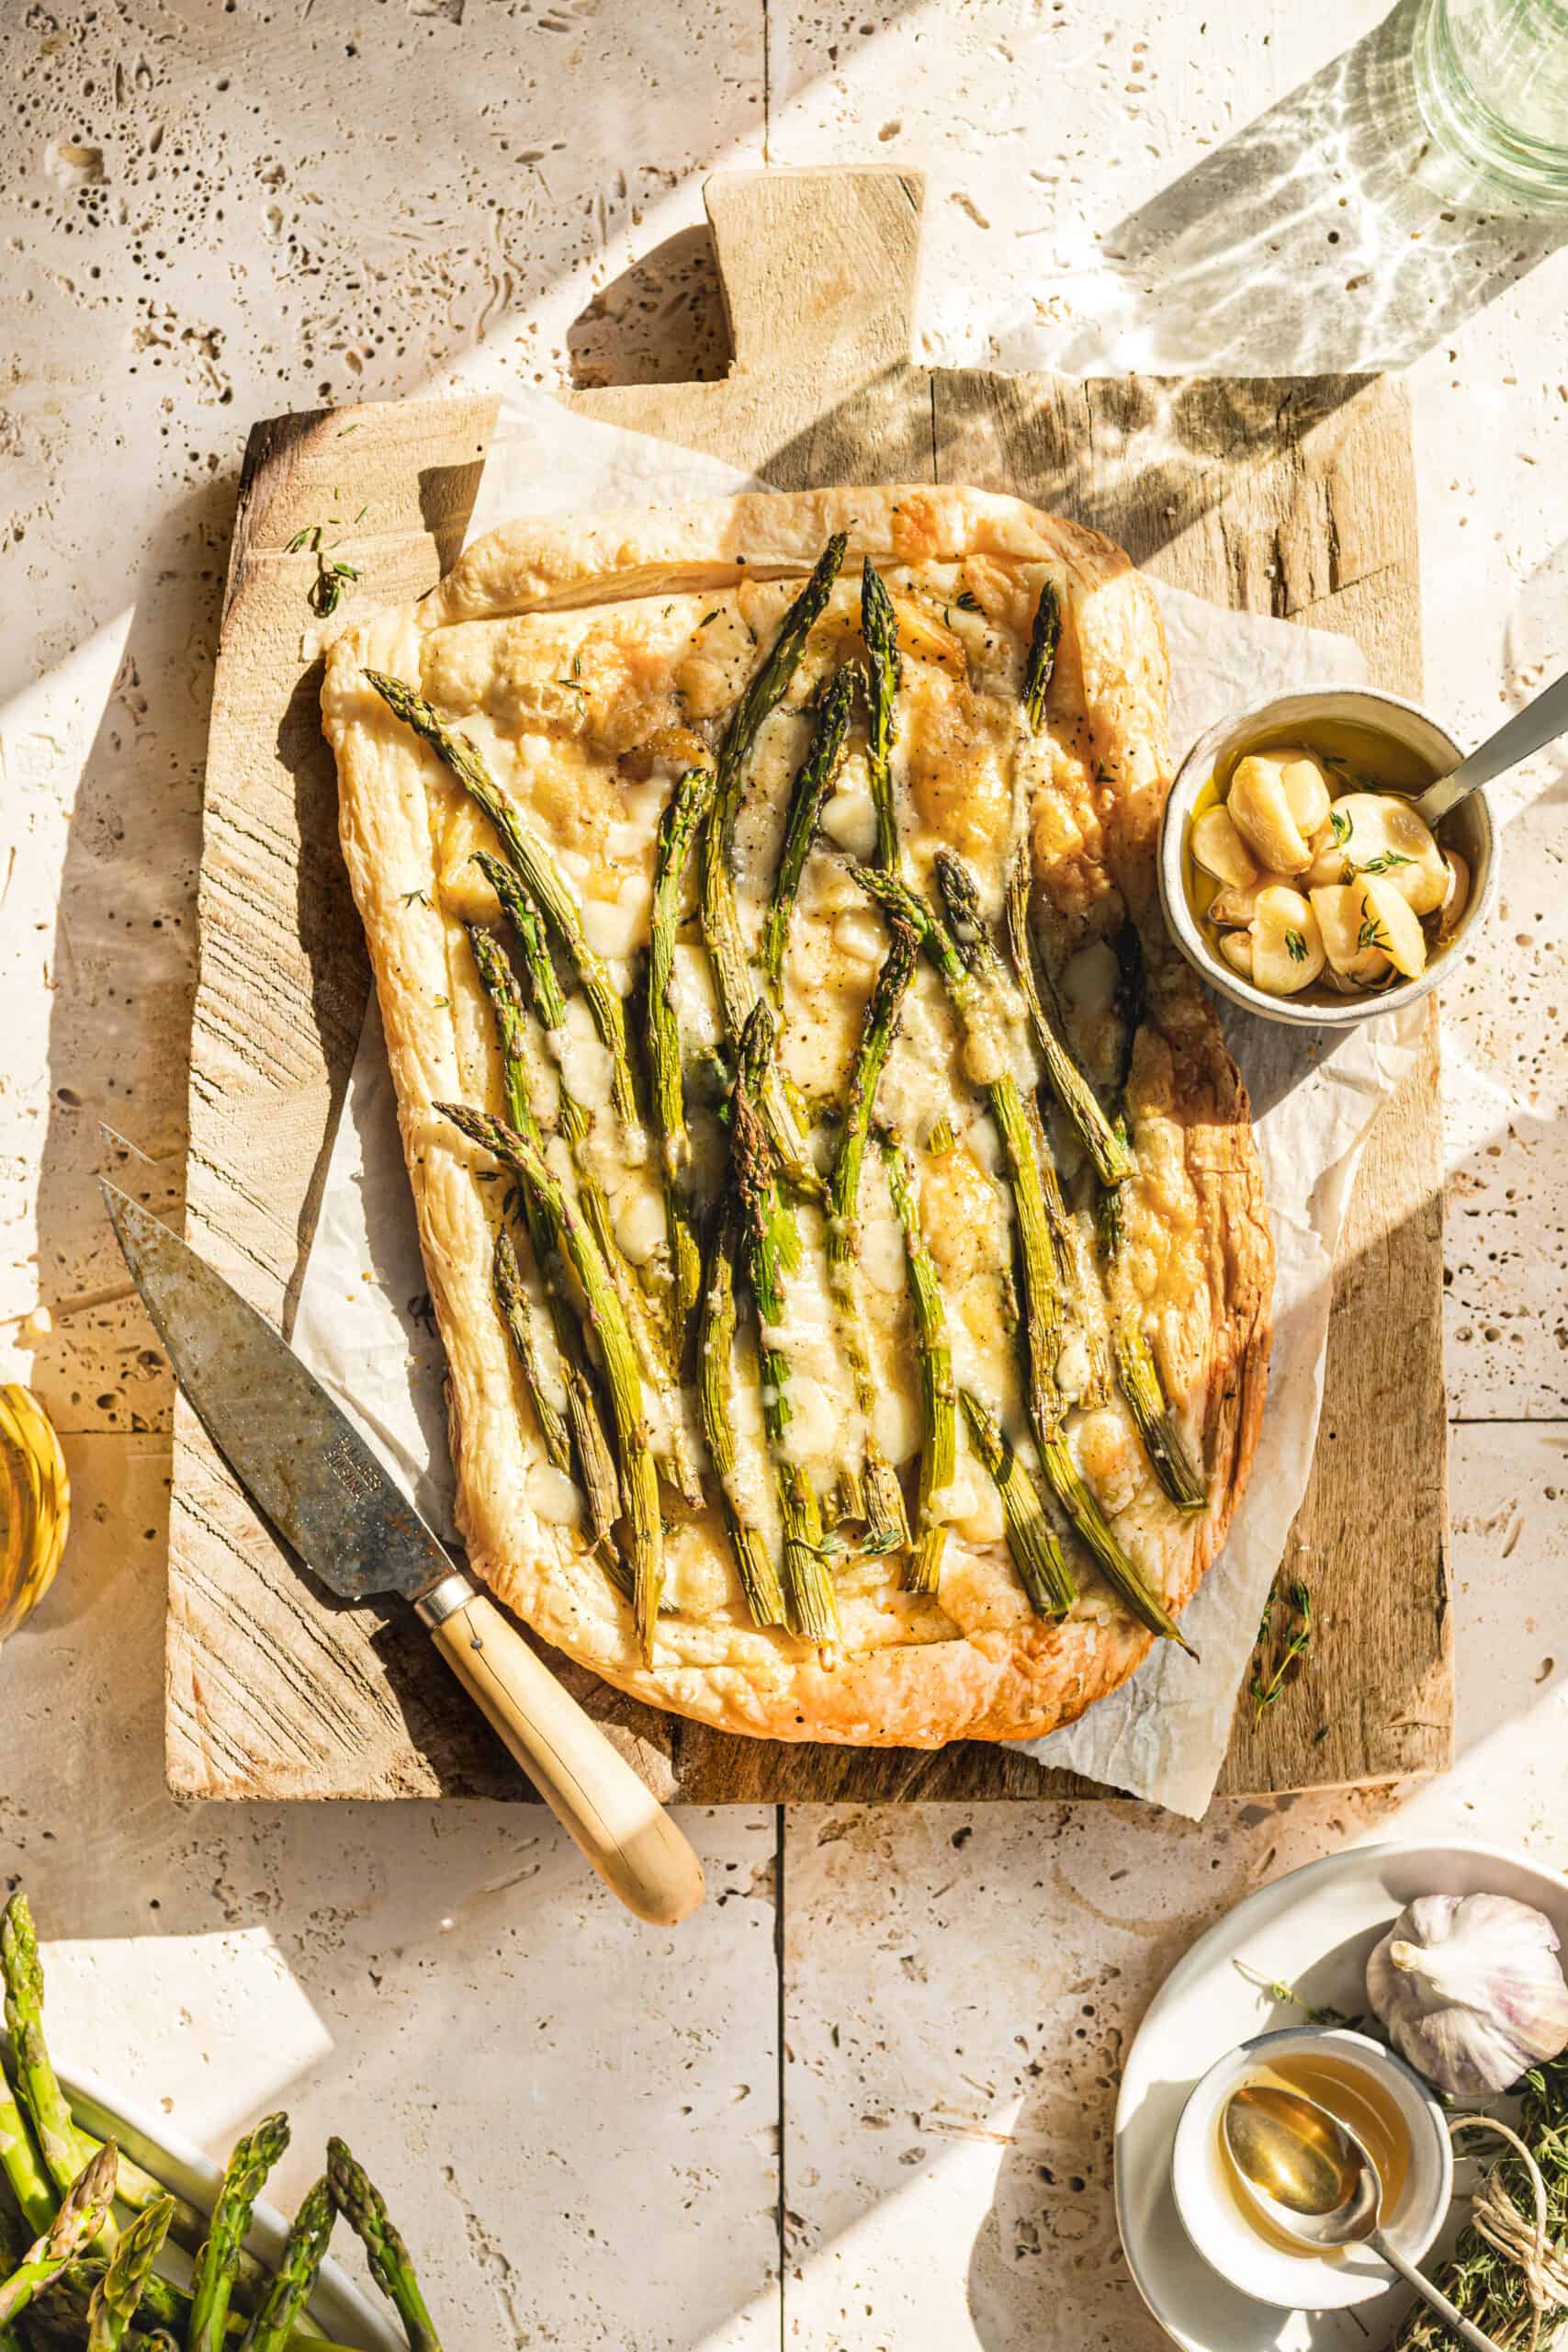
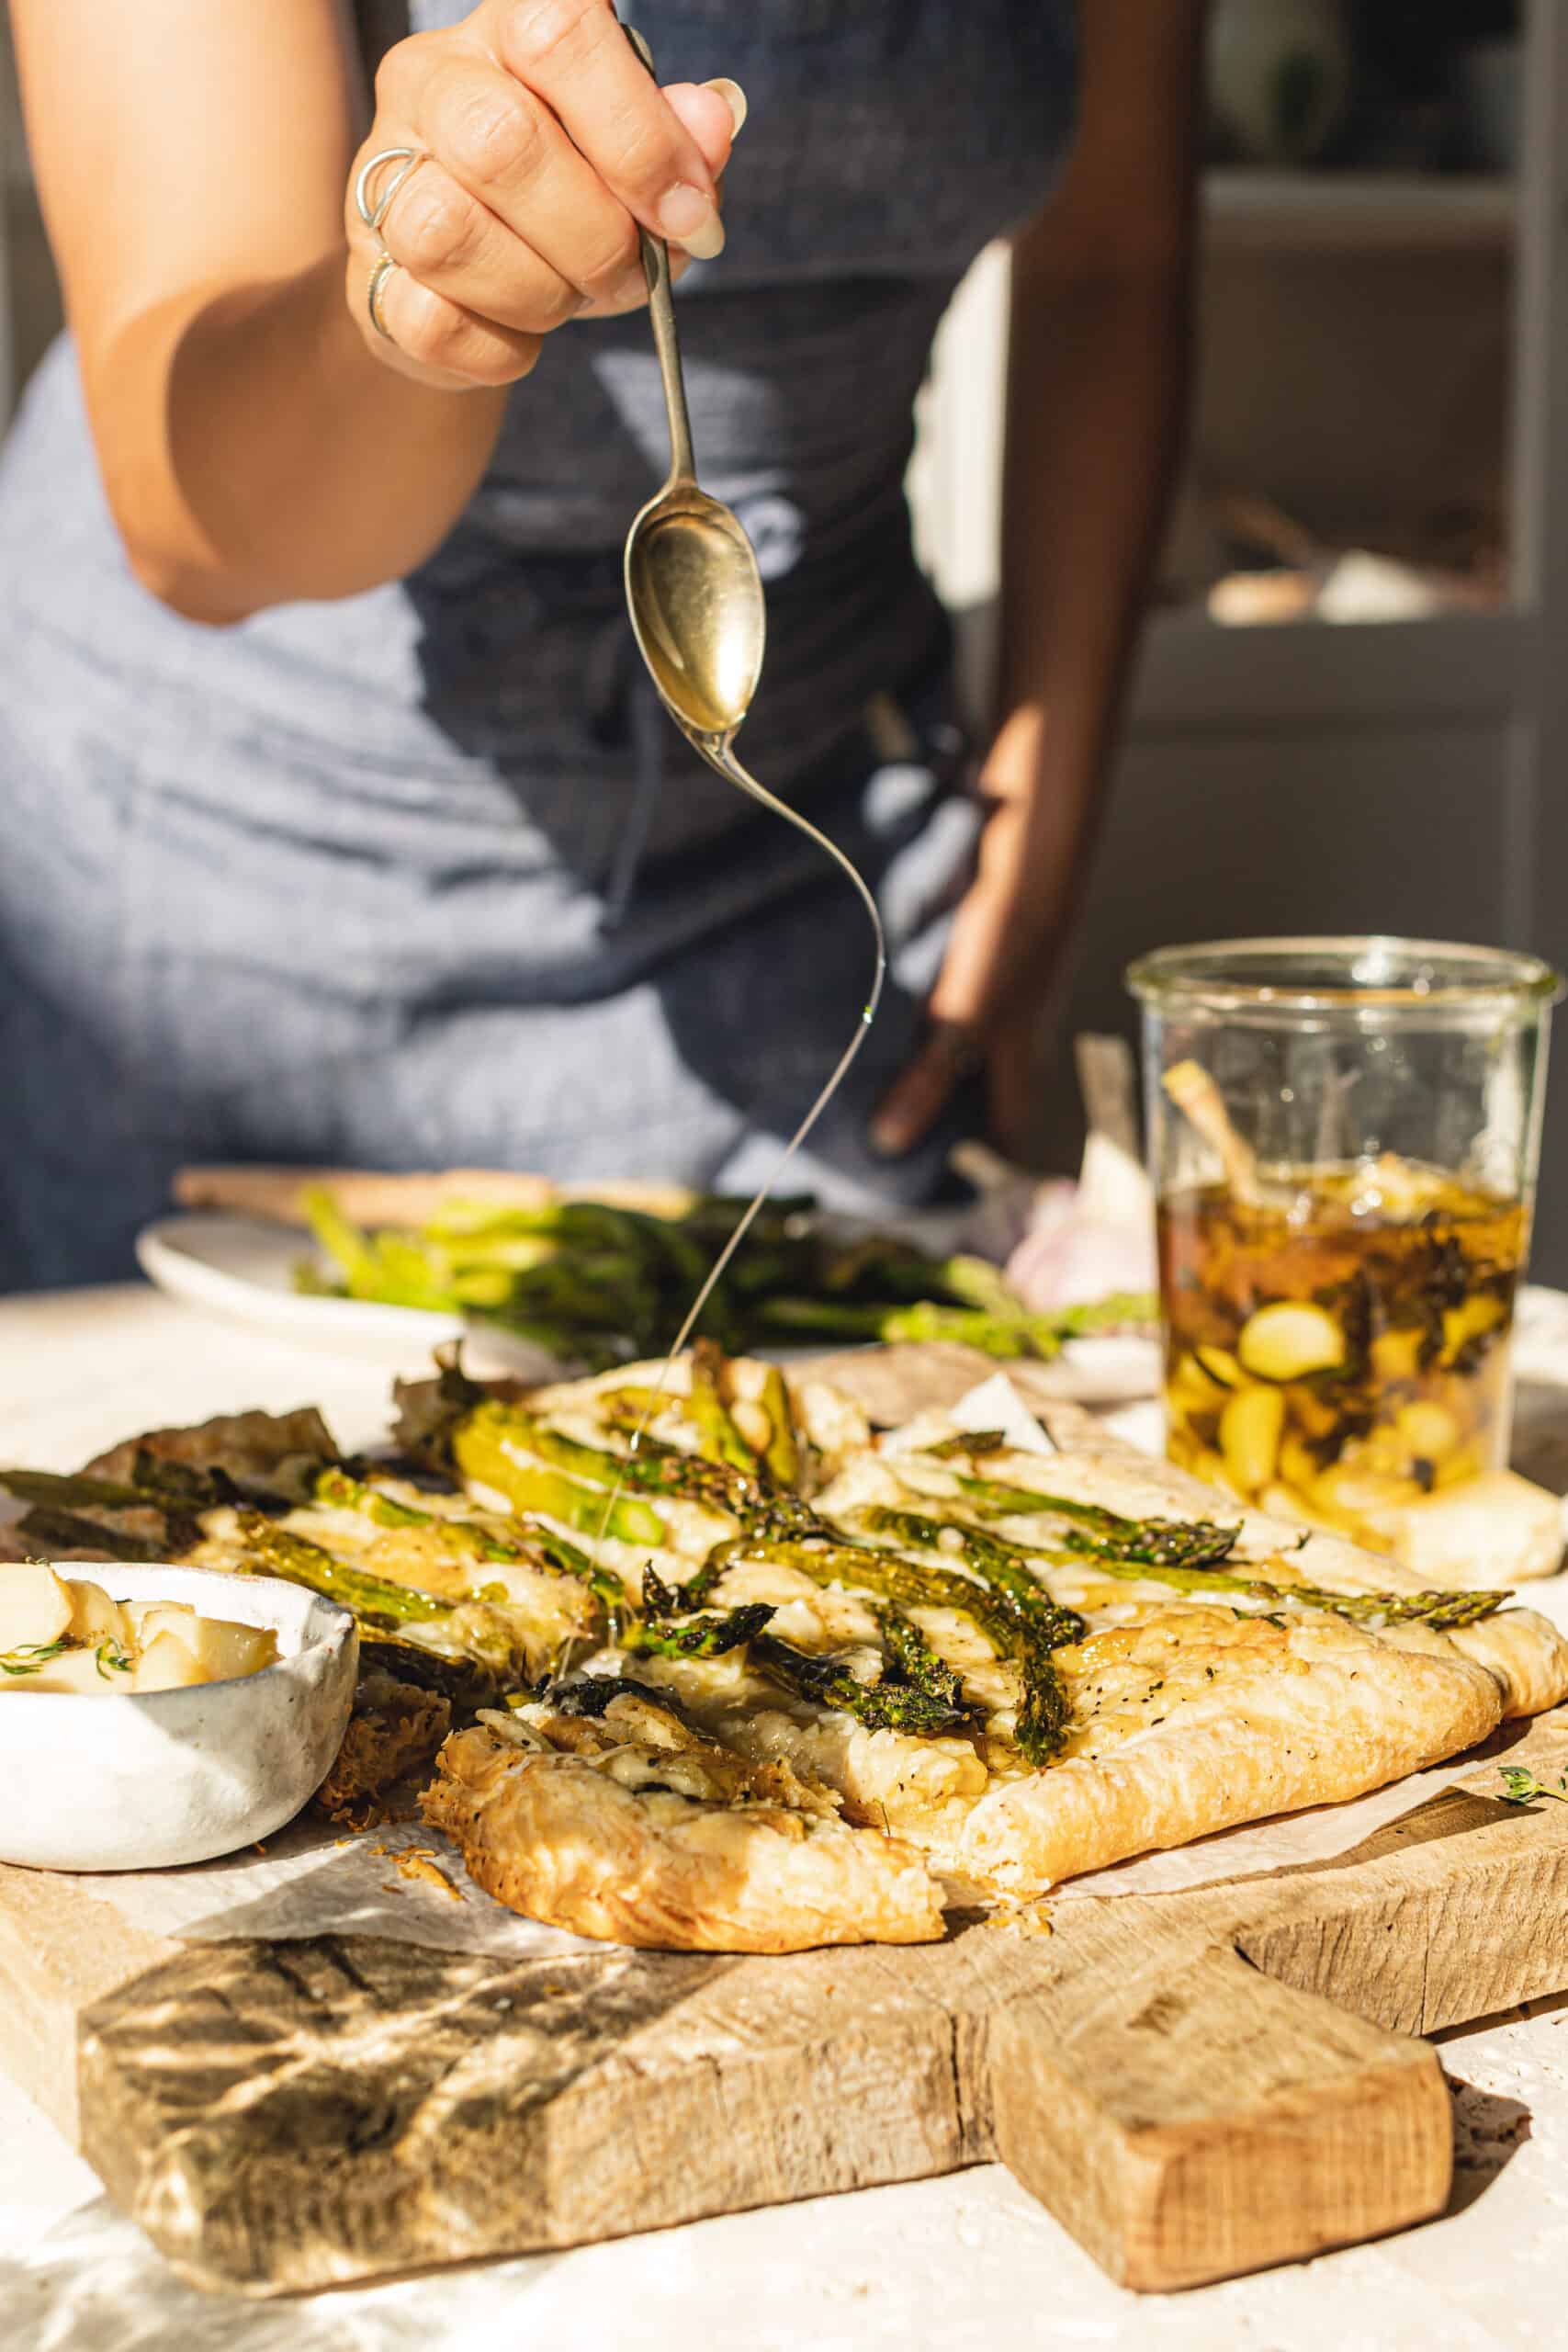
Asparagus and Cheese Tart
Prep
10 minutes
Cook
25 minutes
Yield
4
🥧 This Asparagus and Cheese Tart celebrates spring vegetables in buttery puff pastry! Ready in 35 minutes and perfect for any gathering!
I am someone who totally believes in balance and spreading my wings to share a little bit more about what I eat when I am not eating plant-based. Yes, you heard that correctly – I’m not vegan! And eat non-vegan meals. Although the majority of my diet is plant-based, I do believe in giving myself some freedom to eat and give my body what it wants. So this asparagus and cheese tart recipe is not entirely vegan, however, you can totally make it with your favorite vegan substitutes.
❤️ Why You’ll Love This Asparagus and Cheese Tart
- Vegetarian-Friendly: Perfect for vegetarian diets while being easily adaptable for vegan preferences too.
- Perfect Appetizer: Makes an elegant snack or appetizer that impresses guests every time.
- Quick & Easy: Ready in under 35 minutes with less than 10 simple ingredients.
🍲 Ingredients
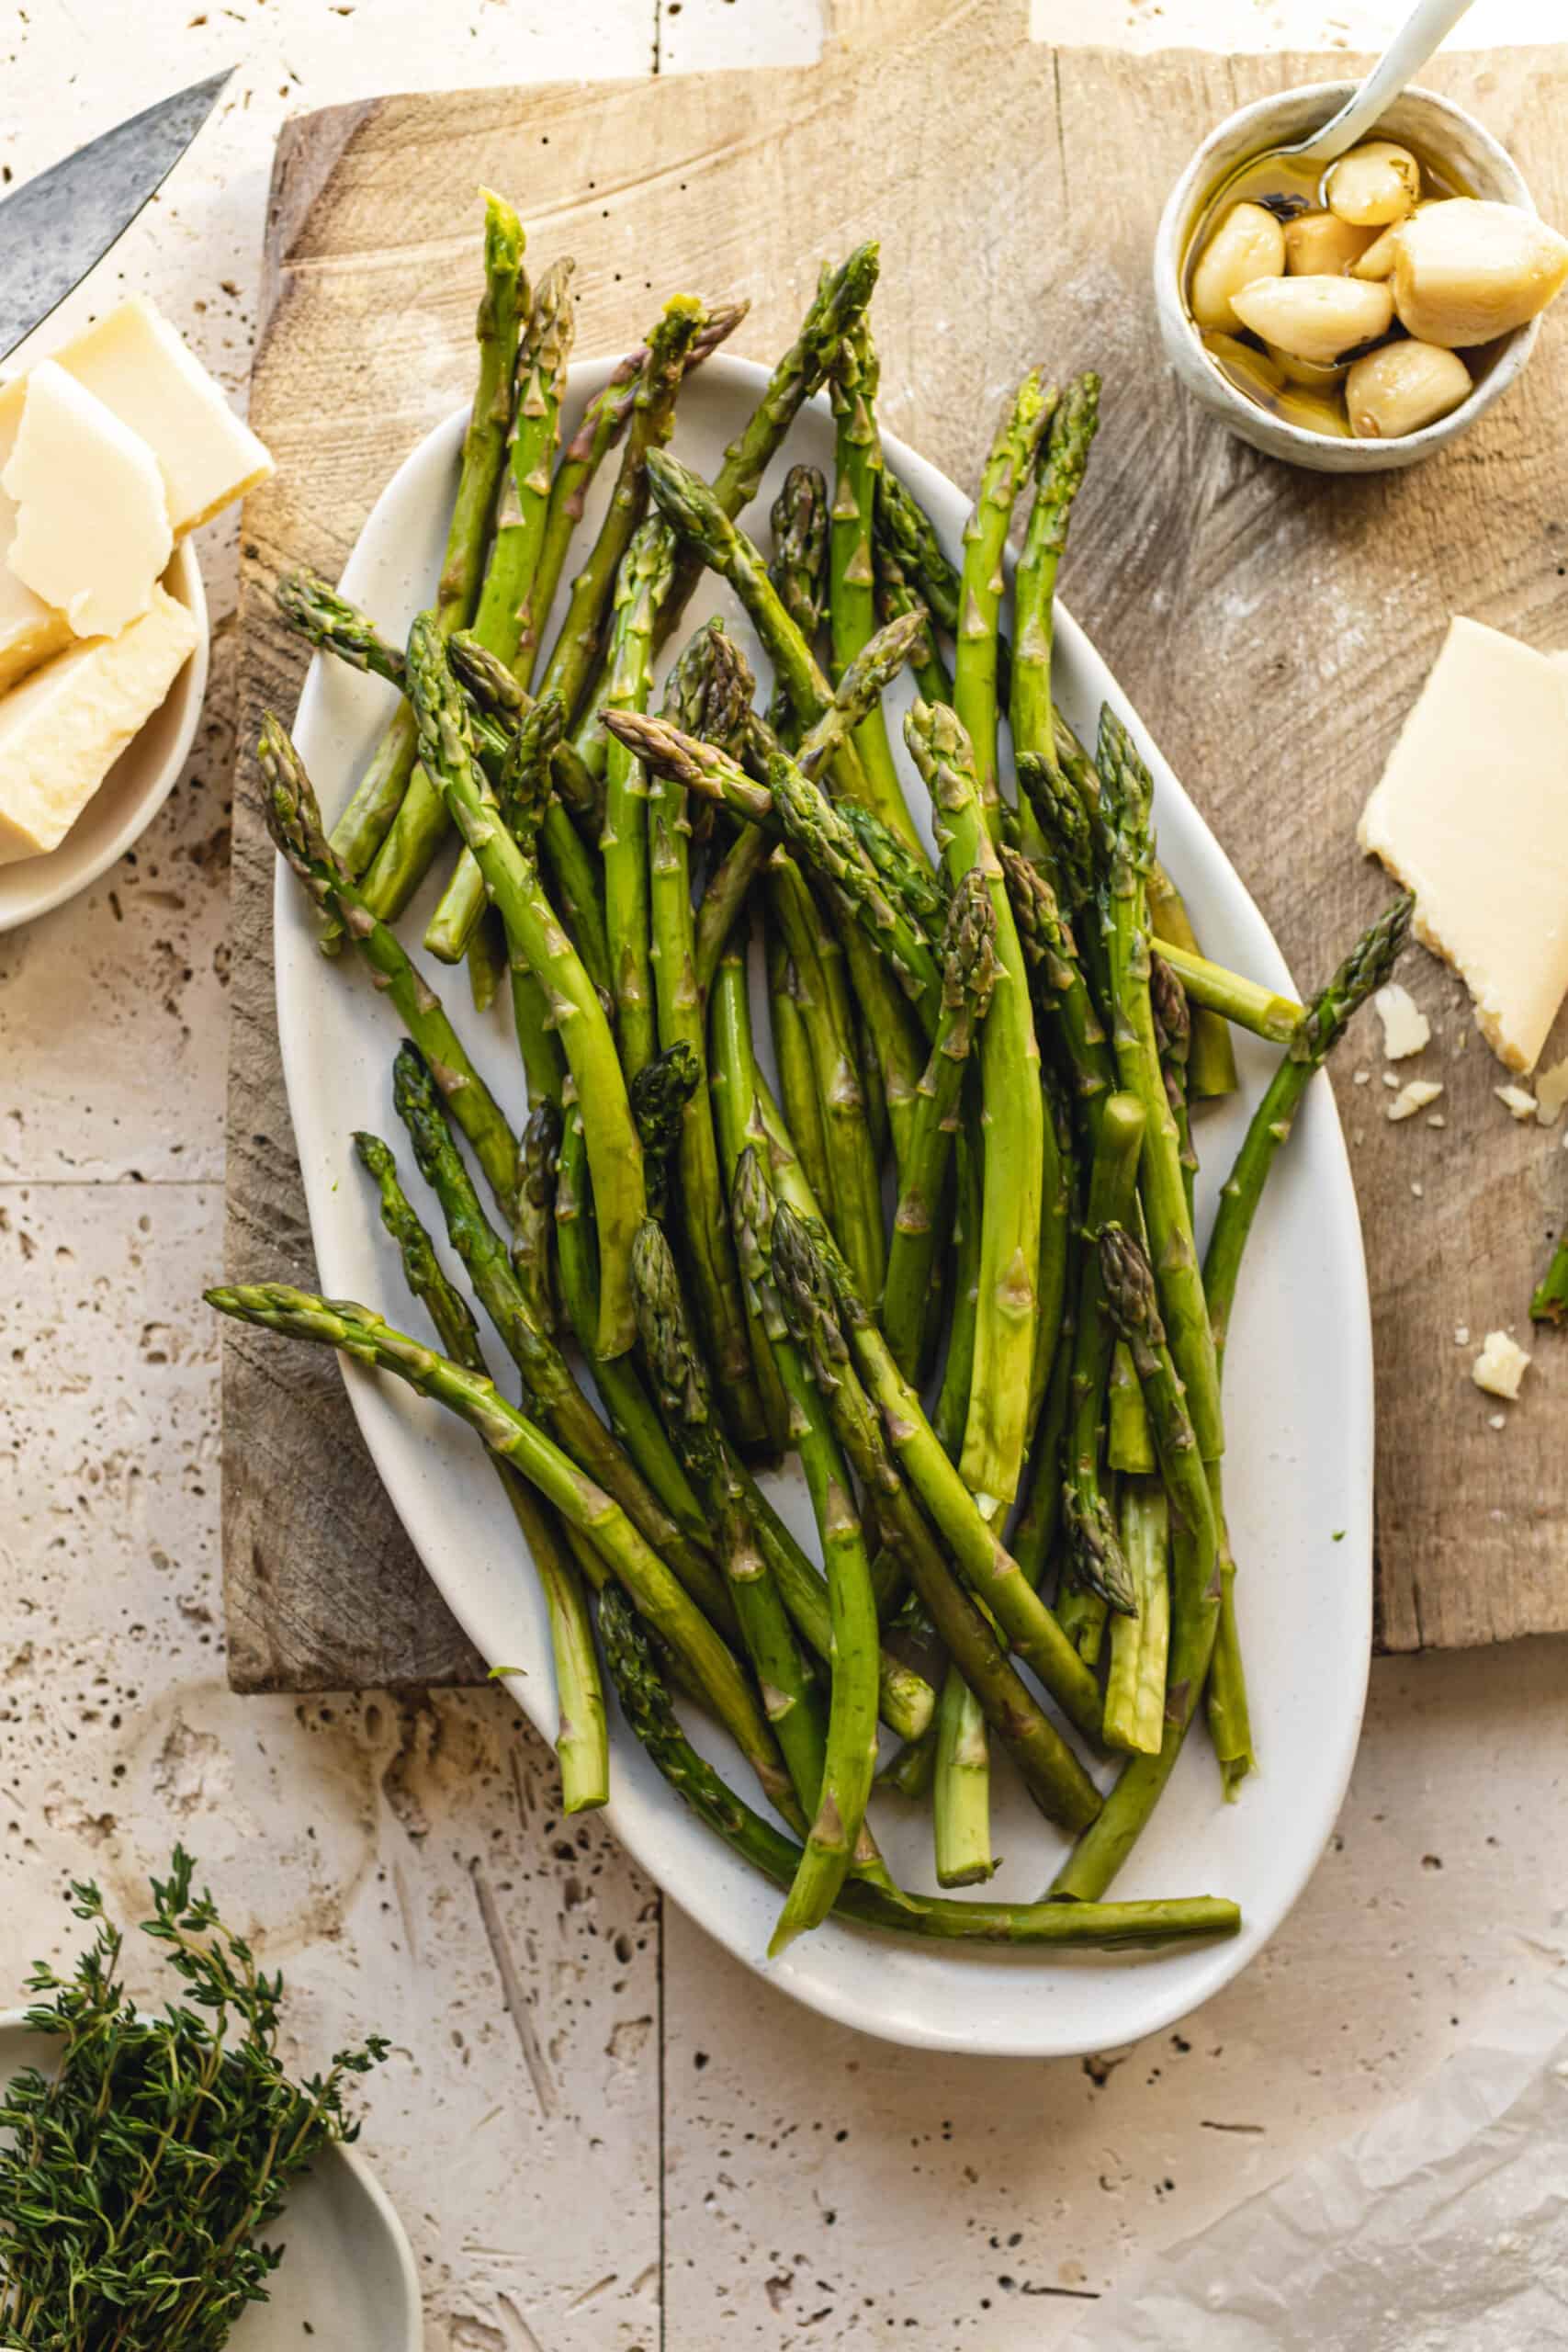
Fresh Asparagus – Spring asparagus is at its peak in terms of tenderness and flavor, offering a beautiful green color and crisp texture that contrasts perfectly with the flaky pastry. Asparagus is loaded with vitamins A, C, and K, plus folate and fiber, making this tart both delicious and nutritious while celebrating seasonal produce at its finest.
Swiss Cheese – I used a hard yellow Swiss cheese that melts beautifully and provides nutty, complex flavors that complement the asparagus perfectly. The cheese creates those gorgeous golden bubbles and adds richness that makes this asparagus and cheese tart so satisfying and restaurant-quality.
👩🍳 How to Make This Asparagus and Cheese Tart
- Preheat oven to 400 degrees F and line a baking sheet with parchment paper (lightly greased).
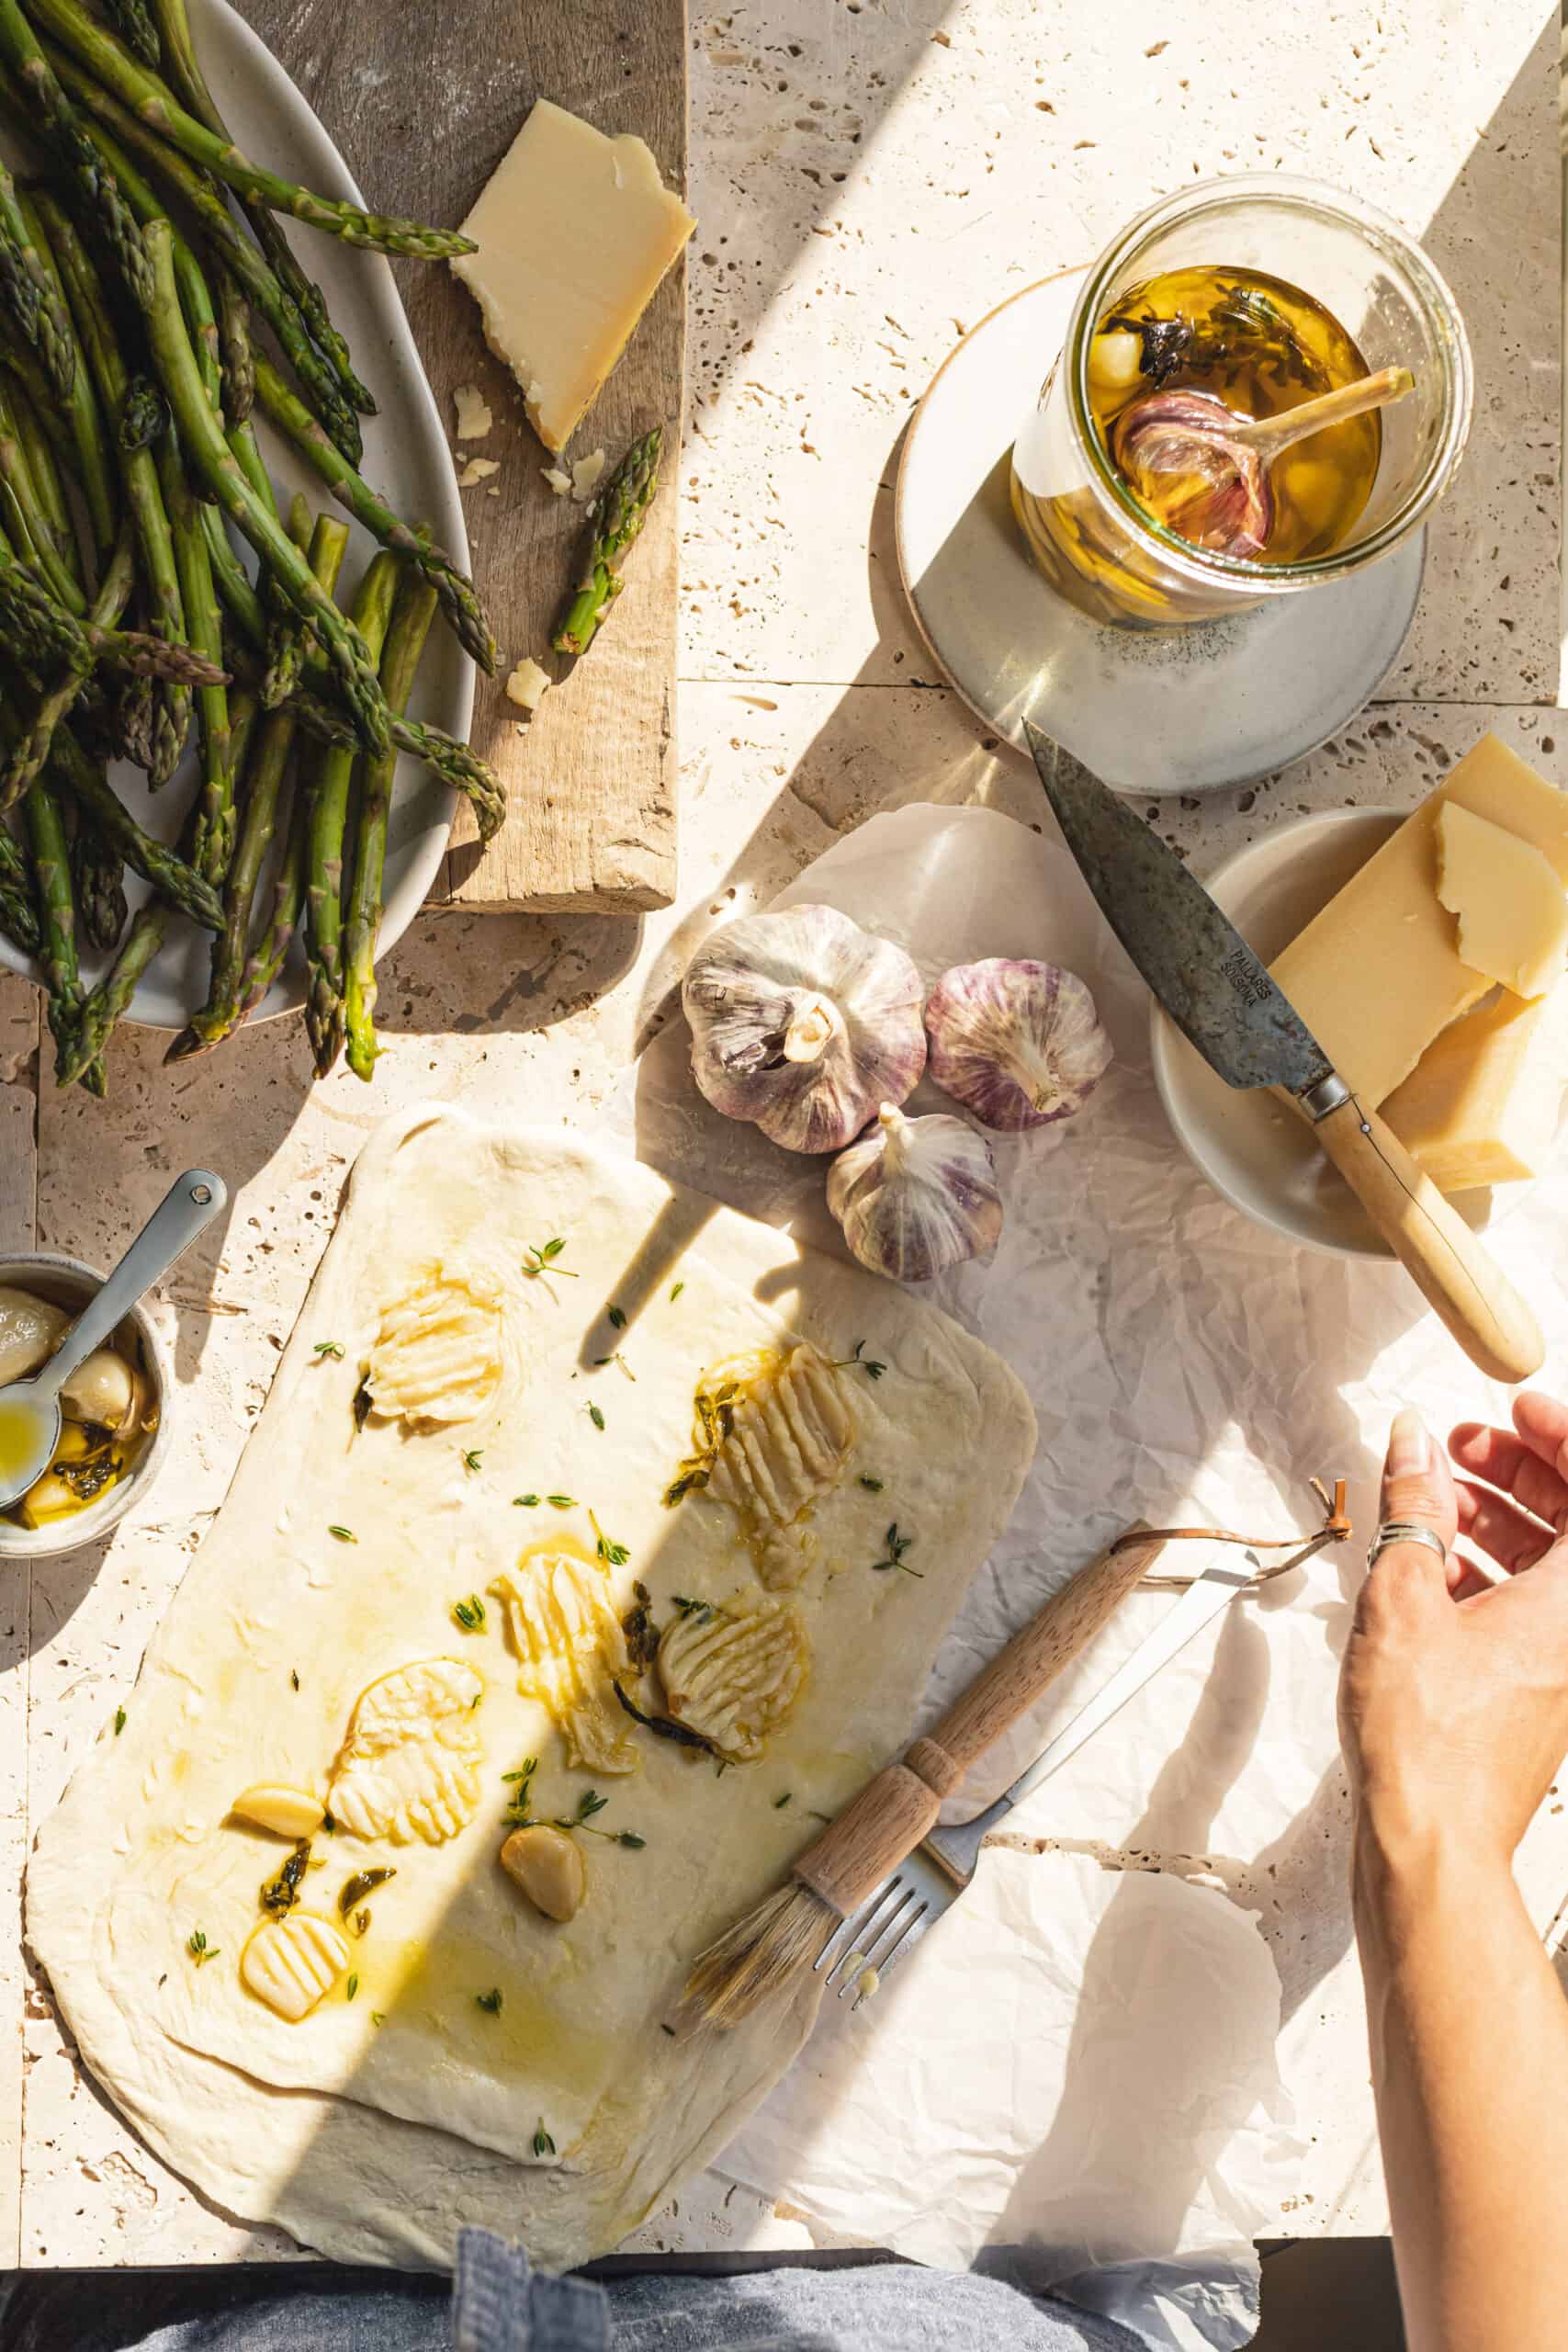
- Use a rolling pin to gently roll out puff pastry. Aim for a rectangle, roughly the same size as a standard baking sheet. Transfer to the parchment-lined baking sheet. Score the edges of the puffed pastry (around 1/2 – 1 inch ) and poke holes into the puffed pastry with a fork throughout.
- Add garlic confit and fresh thyme pieces to the puffed pastry. Randomly crushed some pieces of garlic and leave another whole.
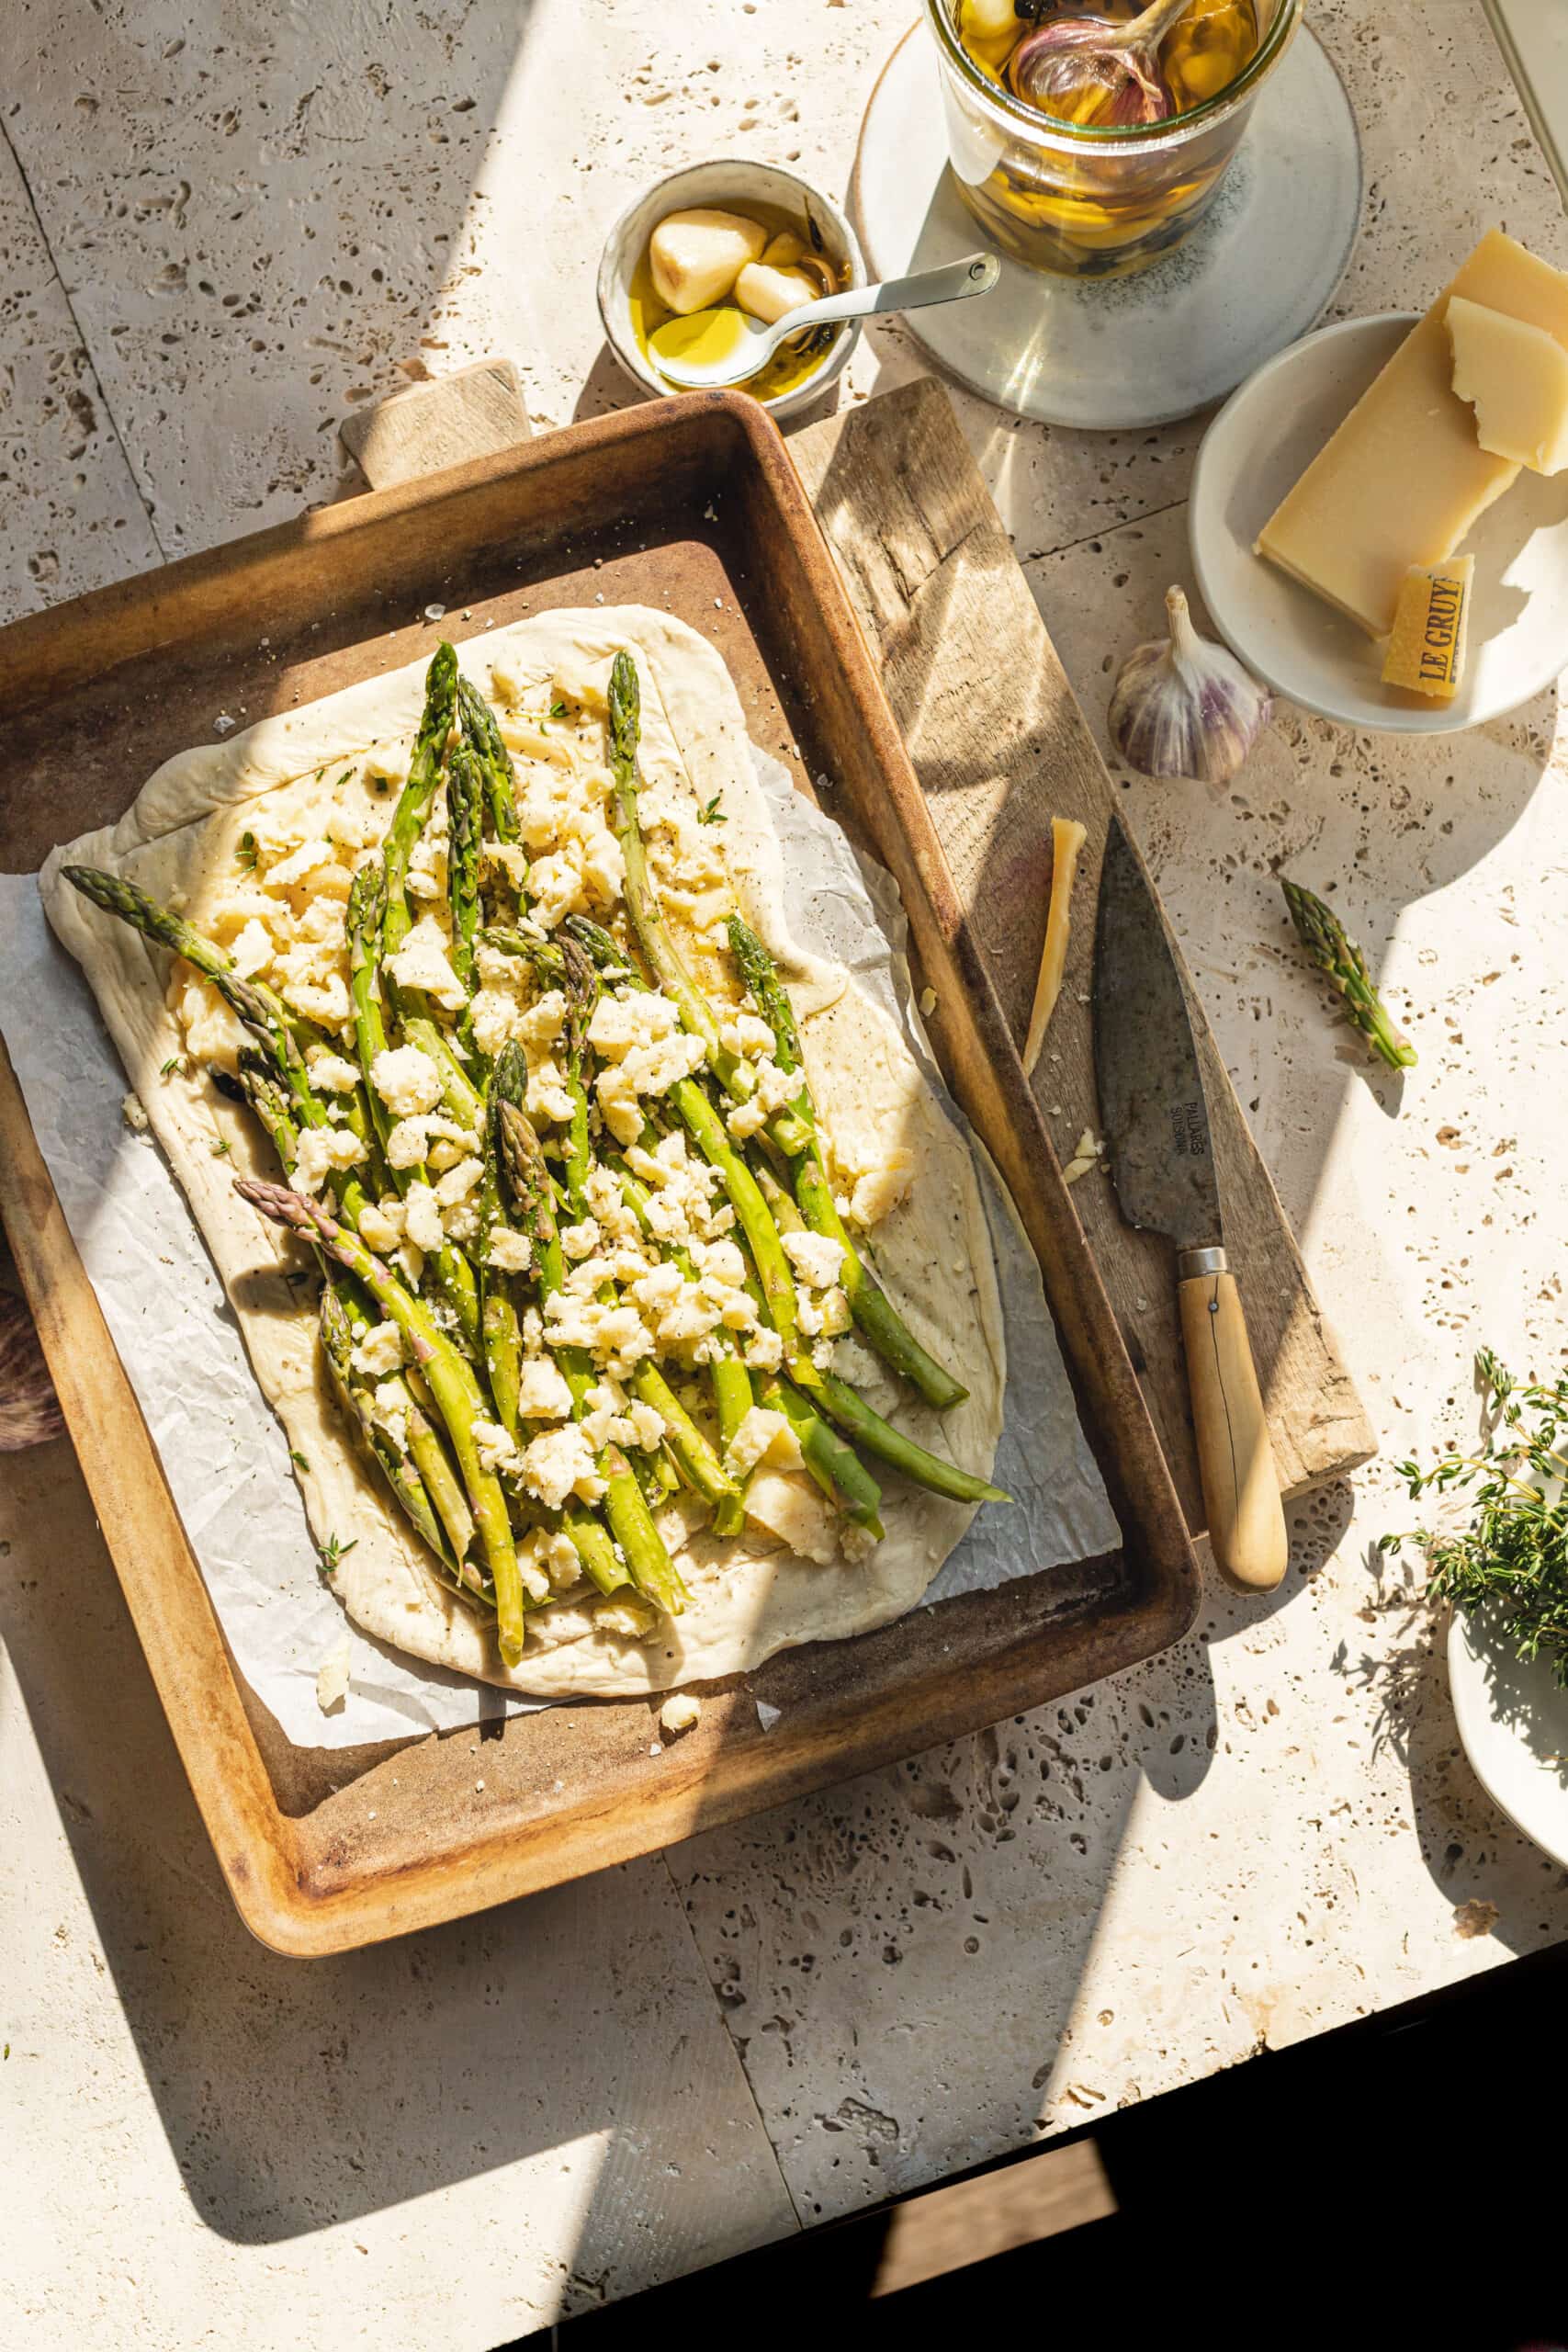
- Arrange asparagus spears as you please, have fun and get creative. Just stay within the scored border.
- Now add the cheese (stay within the border).
- Bake the tart for 25-30 minutes or until the crust is golden brown and quite puffed up.
- Serve immediately as desired, into triangles, squares etc. Highly recommend serving with honey!
Want something amazing to pair with this? Make sure to checkout my amazing garlic confit.
🪄 Tips and Tricks
- Pastry Prep: Scoring edges and poking holes prevents unwanted bubbling and ensures even baking.
- Garlic Texture: Vary the garlic confit pieces – some crushed, some whole – for interesting texture throughout.
- Arrangement: Get creative with asparagus placement for an Instagram-worthy presentation.
- Timing: Serve immediately while the pastry is crispy and the cheese is still bubbly and warm.
🗒 Variations
- Cheese: Use your favorite vegan cheese to make this completely plant-based without losing flavor.
- Sweetener: Drizzle with maple syrup instead of honey for a vegan alternative that adds the same delicious sweetness.
- Pastry: Ensure your puff pastry is vegan-friendly if making the full recipe plant-based.
- Asparagus: Broccolini or green beans work as alternatives when asparagus isn’t in season.
🗒 Best served with
- Roasted Chickpea Salad with Beets and Blackberry Dressing
- Crispy Quinoa + Chickpea Salad
- Honey Halloumi Kale Salad
- Vegan Gnocchi Soup
👝 How to Store Leftovers
This asparagus and cheese tart is best enjoyed fresh and warm from the oven. Leftover pieces can be stored in the refrigerator for up to 2 days and reheated in a 350°F oven for 5-8 minutes to restore crispiness.
🤔 Common Questions
Switch the Swiss cheese for your favorite vegan cheese alternative and drizzle with maple syrup instead of honey for the perfect plant-based version.
You can assemble the tart up to 4 hours ahead and refrigerate, then bake just before serving for the best crispy texture.
I used hard yellow Swiss cheese, but Gruyère, aged cheddar, or any good melting cheese works beautifully with asparagus.
The asparagus should be tender but still have a slight bite – overcooking will make it mushy and lose that beautiful green color.
Absolutely! Just make sure it’s fully thawed before rolling and follow the same preparation steps for best results.
Aim for about 1/4 inch thickness – thick enough to puff nicely but thin enough to cook through evenly.
The contrast between the crispy pastry and warm, melted cheese is at its peak right out of the oven – it’s worth the timing effort!

Asparagus and Cheese Tart
Ingredients
- 1 sheet puff pastry thawed
- 10 large confit garlic cloves smashed and whole
- 1 bunch asparagus tough ends trimmed
- 1 cup gruyere cheese shredded or crumbled (vegan cheese works fine as well)
- small handful fresh thyme
- a sprinkling of flaky sea salt and fresh black pepper
- 2 tbsp. honey or maple syrup
Instructions
- Preheat oven to 400 degrees F and line a baking sheet with parchment paper (lightly greased).
- Use a rolling pin to gently roll out puff pastry. Aim for a rectangle, roughly the same size as a standard baking sheet. Transfer to the parchment-lined baking sheet. Score the edges of the puffed pastry (around 1/2 – 1 inch ) and poke holes into the puffed pastry with a fork throughout.
- Add garlic confit and fresh thyme pieces to the puffed pastry. Randomly crushed some pieces of garlic and leave another whole.
- Arrange asparagus spears as you please, have fun and get creative. Just stay within the scored border.
- Now add the cheese (stay within the border).
- Bake the tart for 25-30 minutes or until the crust is golden brown and quite puffed up.
- Serve immediately as desired, into triangles, squares etc. Highly recommend serving with honey!
Thank you for another amazing recipe, Maria!
You’re so welcome, Kathy!
This was incredible, thank you Maria!!
Thank you Jen!
Oh this looks so easy and I love how you can make it vegan or vegetarian!
Thank you so much, Lauren!