Gluten Free
Gluten-Free Chocolate Cake
Prep
25 minutes
Cook
17 minutes
Yield
1 Cake, Serves 2-3
Chocolate cake is so incredible and nostalgic that you shouldn’t have to live without it just because you don’t eat gluten in your diet. This gluten-free chocolate cake recipe is an easy, gluten-free spin to a classic recipe. You won’t even notice the difference, it’s so delicious!
Why you’ll love this gluten-free chocolate cake:
- Chocolate: Using cocoa powder to make this cake so chocolatey and delicious, and topping it with chocolate icing really makes this cake so loaded with chocolate and delicious
- Versatile: Make a buttercream, or vanilla icing instead, or add whatever fruit and decorations you want on the top. You can even turn this cake into cupcakes instead
- Easy: Make this in just 40-minutes. You don’t need to be a professional baker to pull this off
Ingredient Notes:
Gluten-Free Flour: My go-to for gluten-free flour is Bob’s Red Mill’s 1-to-1 baking flour. It is made with gluten-free flours, starches, and xanthan gum which makes it easy to easily swap regular flour in recipes with this substitute. No crazy calculations are required to figure out how to swap!
Cocoa Powder: Cocoa powder is what I use to make this recipe so chocolatey but did you know it actually has some health benefits? Cocoa powder is rich in theobromine that helps reduce inflammation and can protect you from diseases. It’s actually low in fat and sugar despite what you’d think!
How to make gluten-free chocolate cake:
- Preheat the oven to 350F and prepare the 4in cake pans with parchment paper circles at the bottom.
- In a kettle or a pot, boil 1 cup of water.
- In a large bowl, add the flour, sugar, baking powder, baking soda, and salt. Sift in the cocoa powder to remove lumps. Using a whisk, combine the dry ingredients until uniform.
- In a medium-size bowl, whisk together the eggs, oil, almond milk, and vanilla until combined.
- Add the wet ingredients to the large bowl, and using a hand mixer, whisk the ingredients together on medium speed for 20 – 30 seconds.
- Scrape the edges with a spatula, then measure out ½ cup of hot water. Pour this into the large bowl.
- On medium speed, mix the batter for 1 ½ – 2 minutes until uniform. Do not overmix.
- Scoop the batter evenly into the prepared cake pans. You can separate it into 3 or 4 of the pans, your choice.
- Bake for 16 – 18 minutes. Remove from the pan immediately and allow to cool on a wire rack.
- For the chocolate whipped cream, combine all of the ingredients into a medium-sized bowl.
- Whisk together thoroughly with a hand-mixer on medium-high speed until you create stiff peaks.
- To prepare the strawberries, cut off the tops and thinly slice them vertically. Set aside.
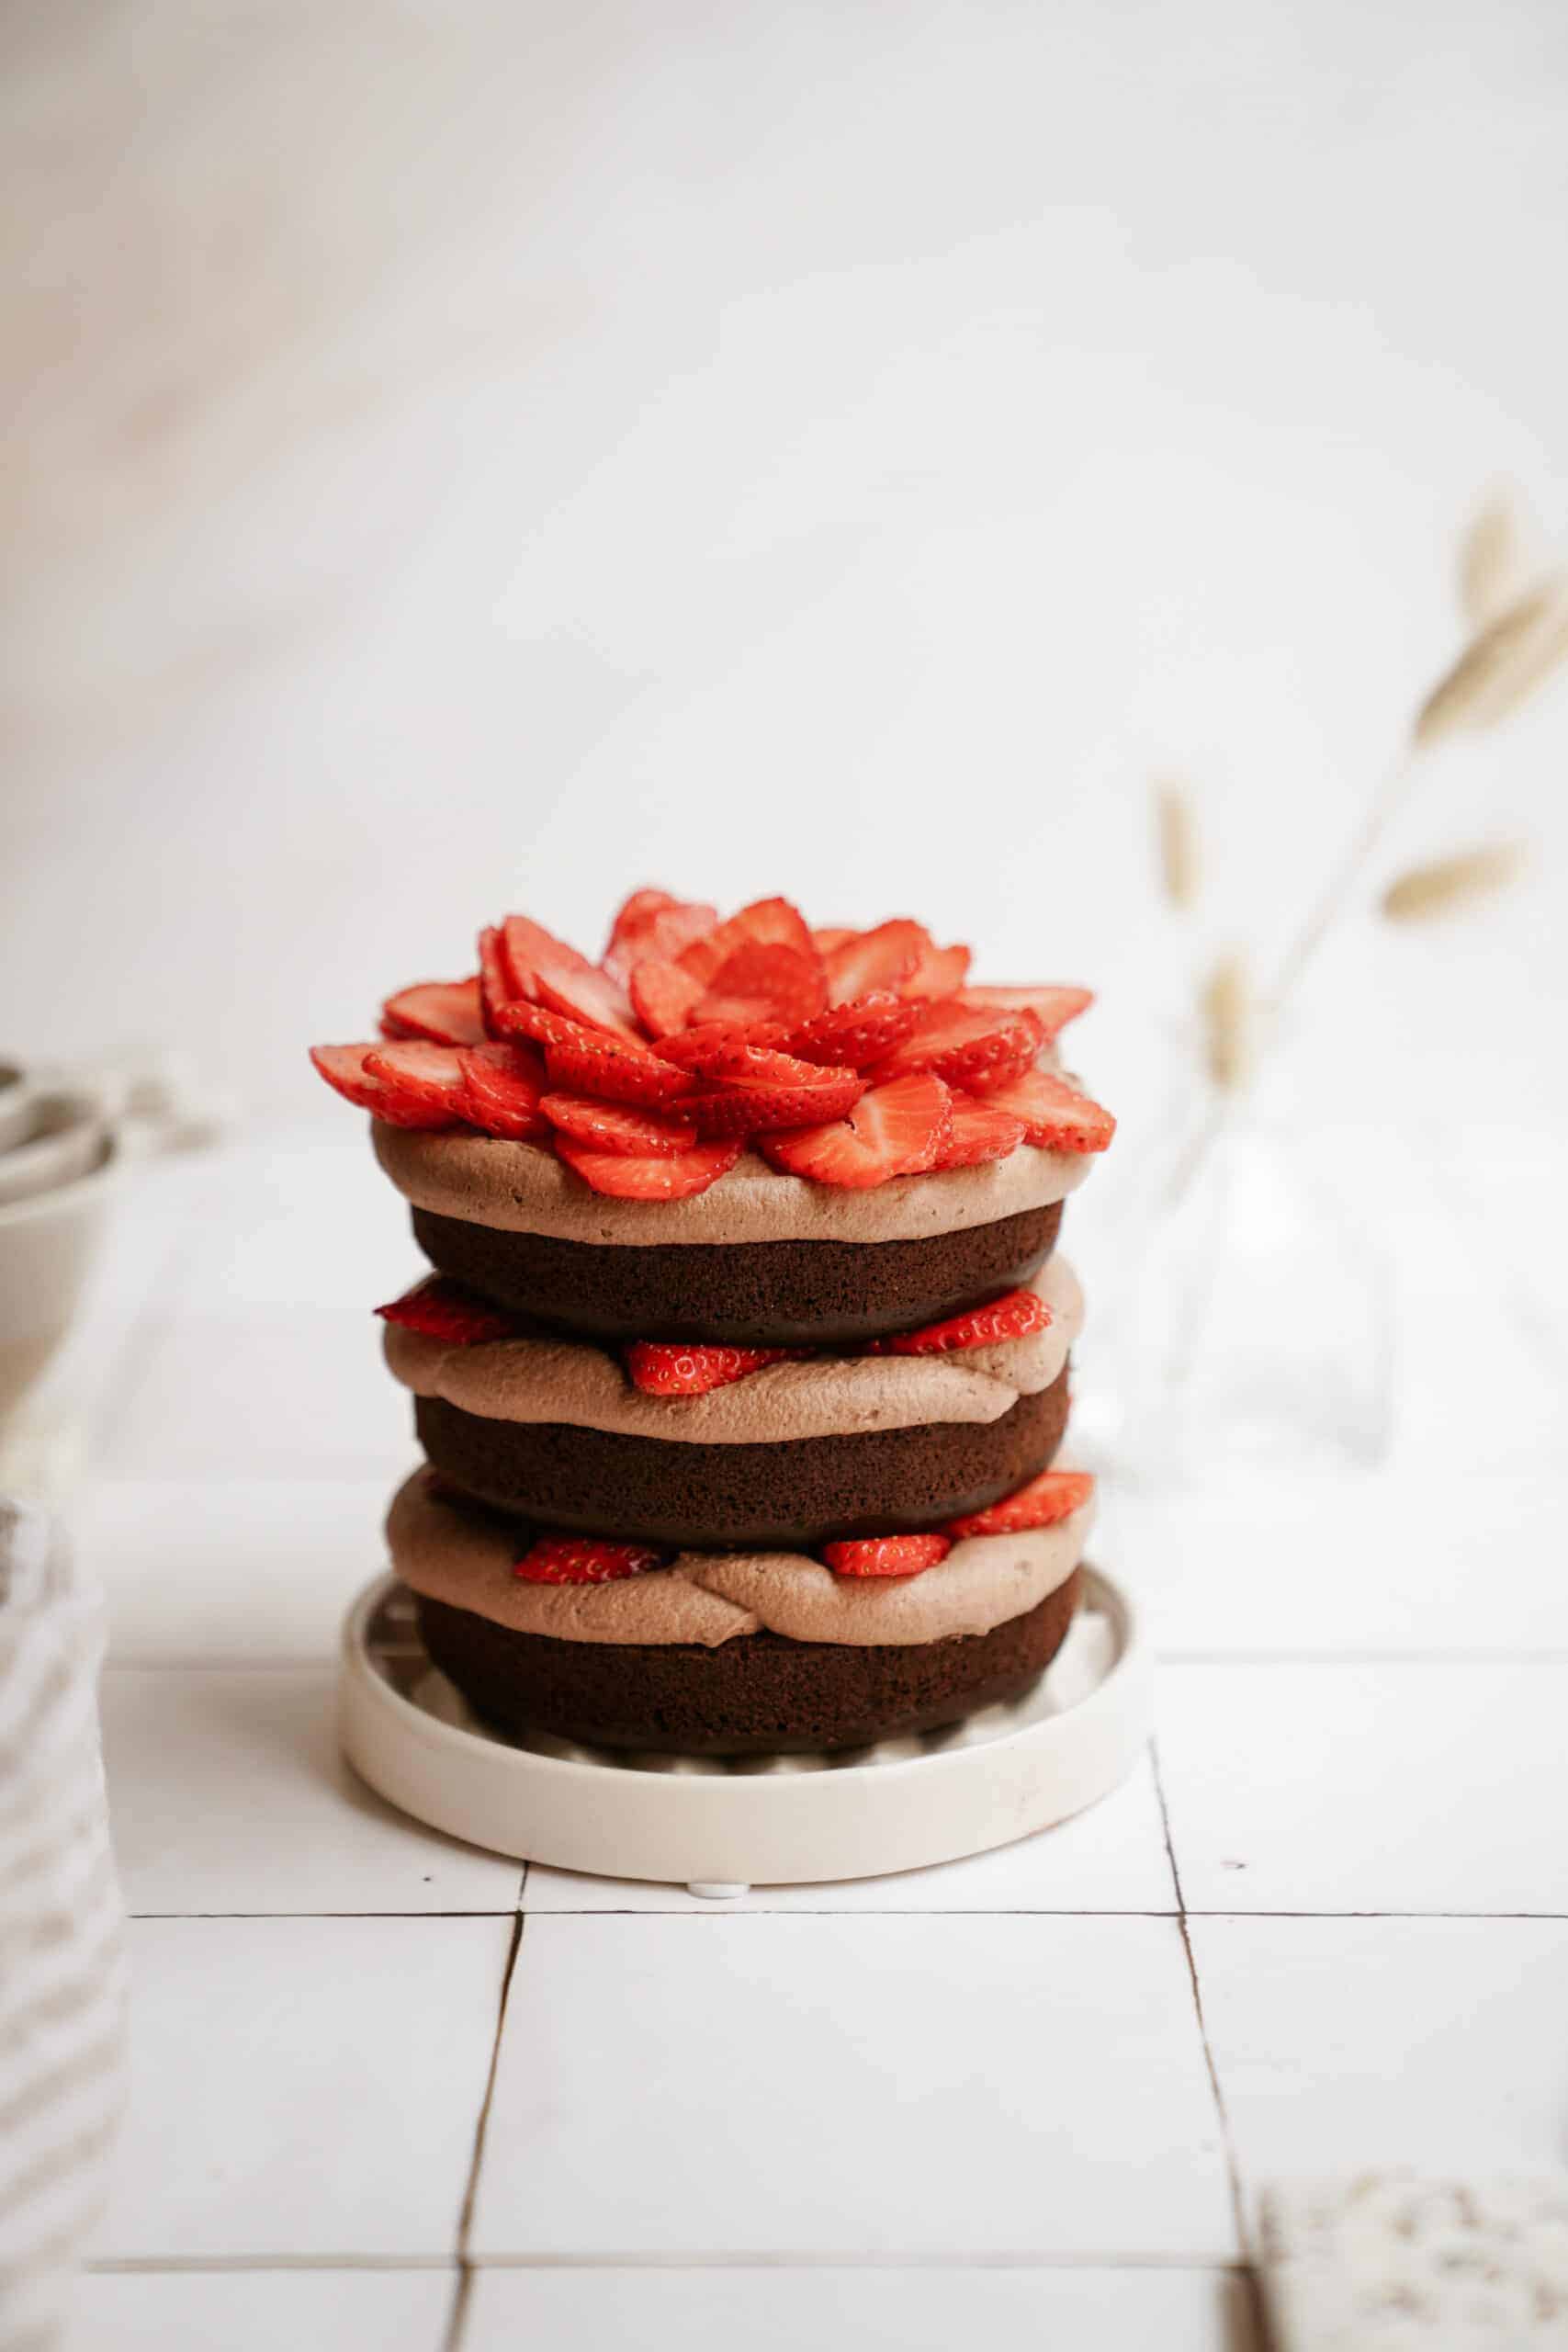
- To assemble, once completely cooled, place a small spoonful of chocolate whipped cream onto a serving plate or board. Set one cake layer upside down to reveal the flat side (remove parchment paper).
- Cover the layer with chocolate whipped cream, about ½ inch thick.
- Arrange the strawberry slices in a circle close to the edge of the whipped cream so the points stick out, arrange extra strawberries to fill the inside of the circle.
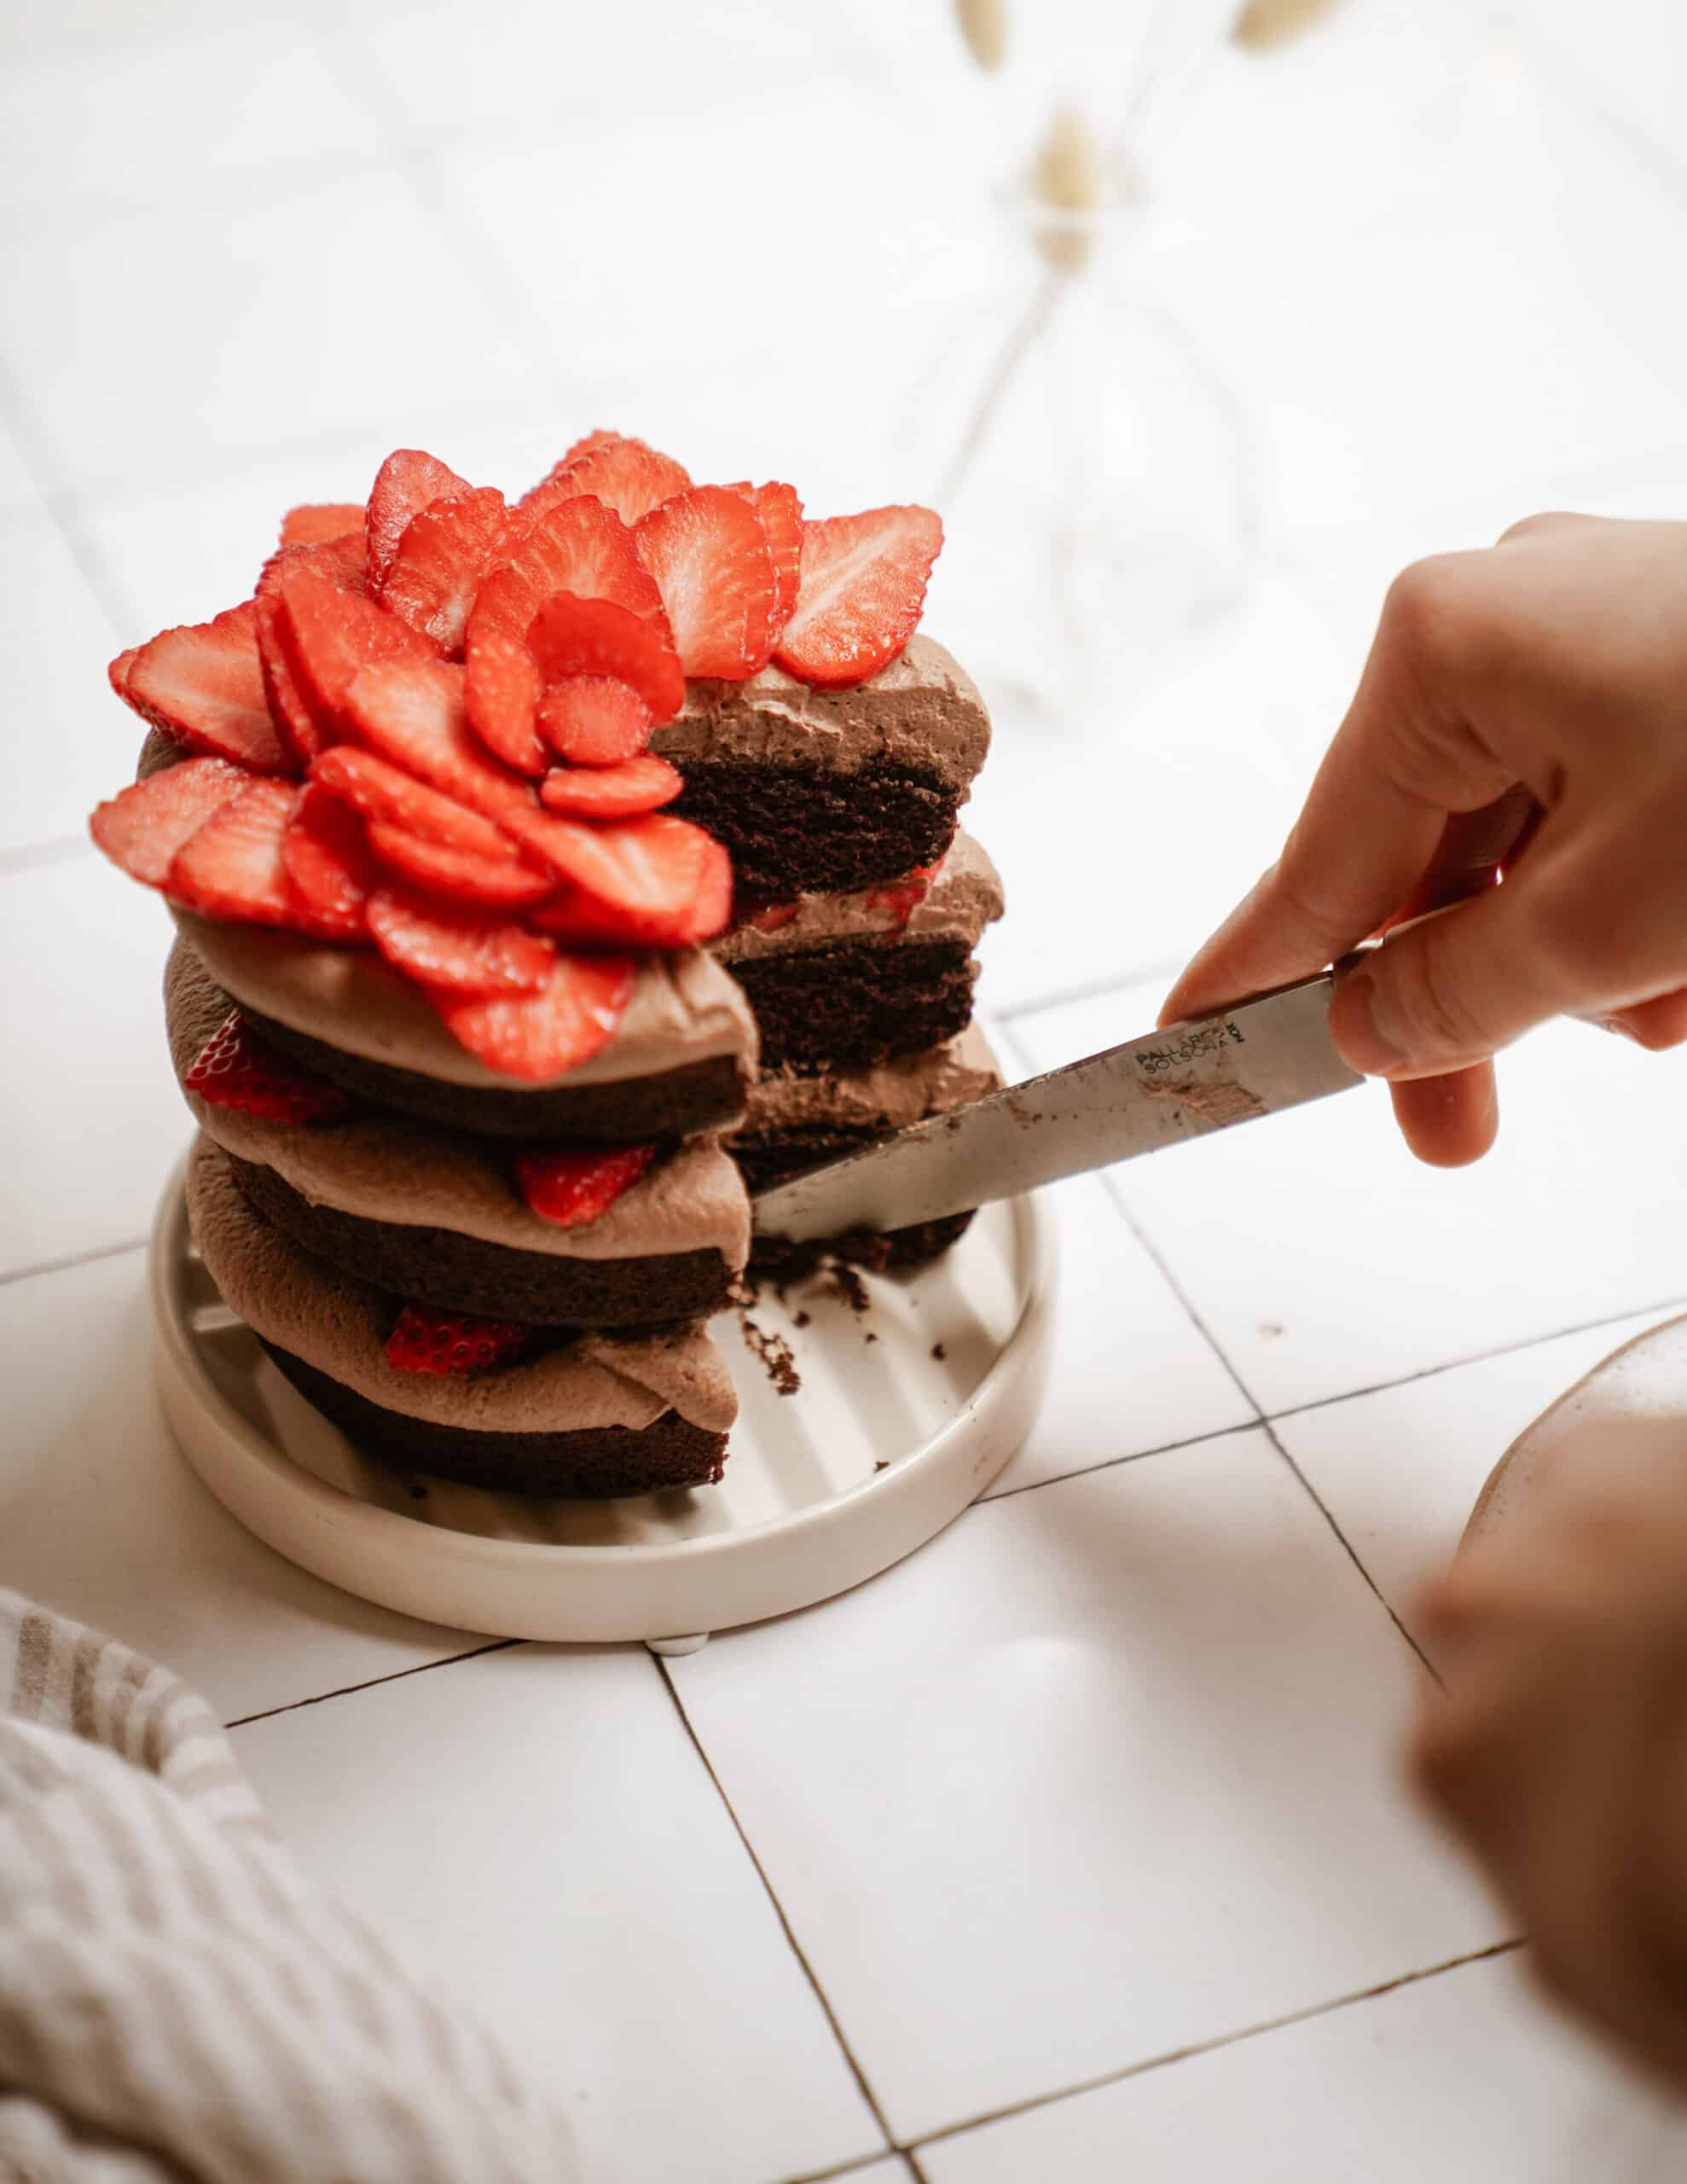
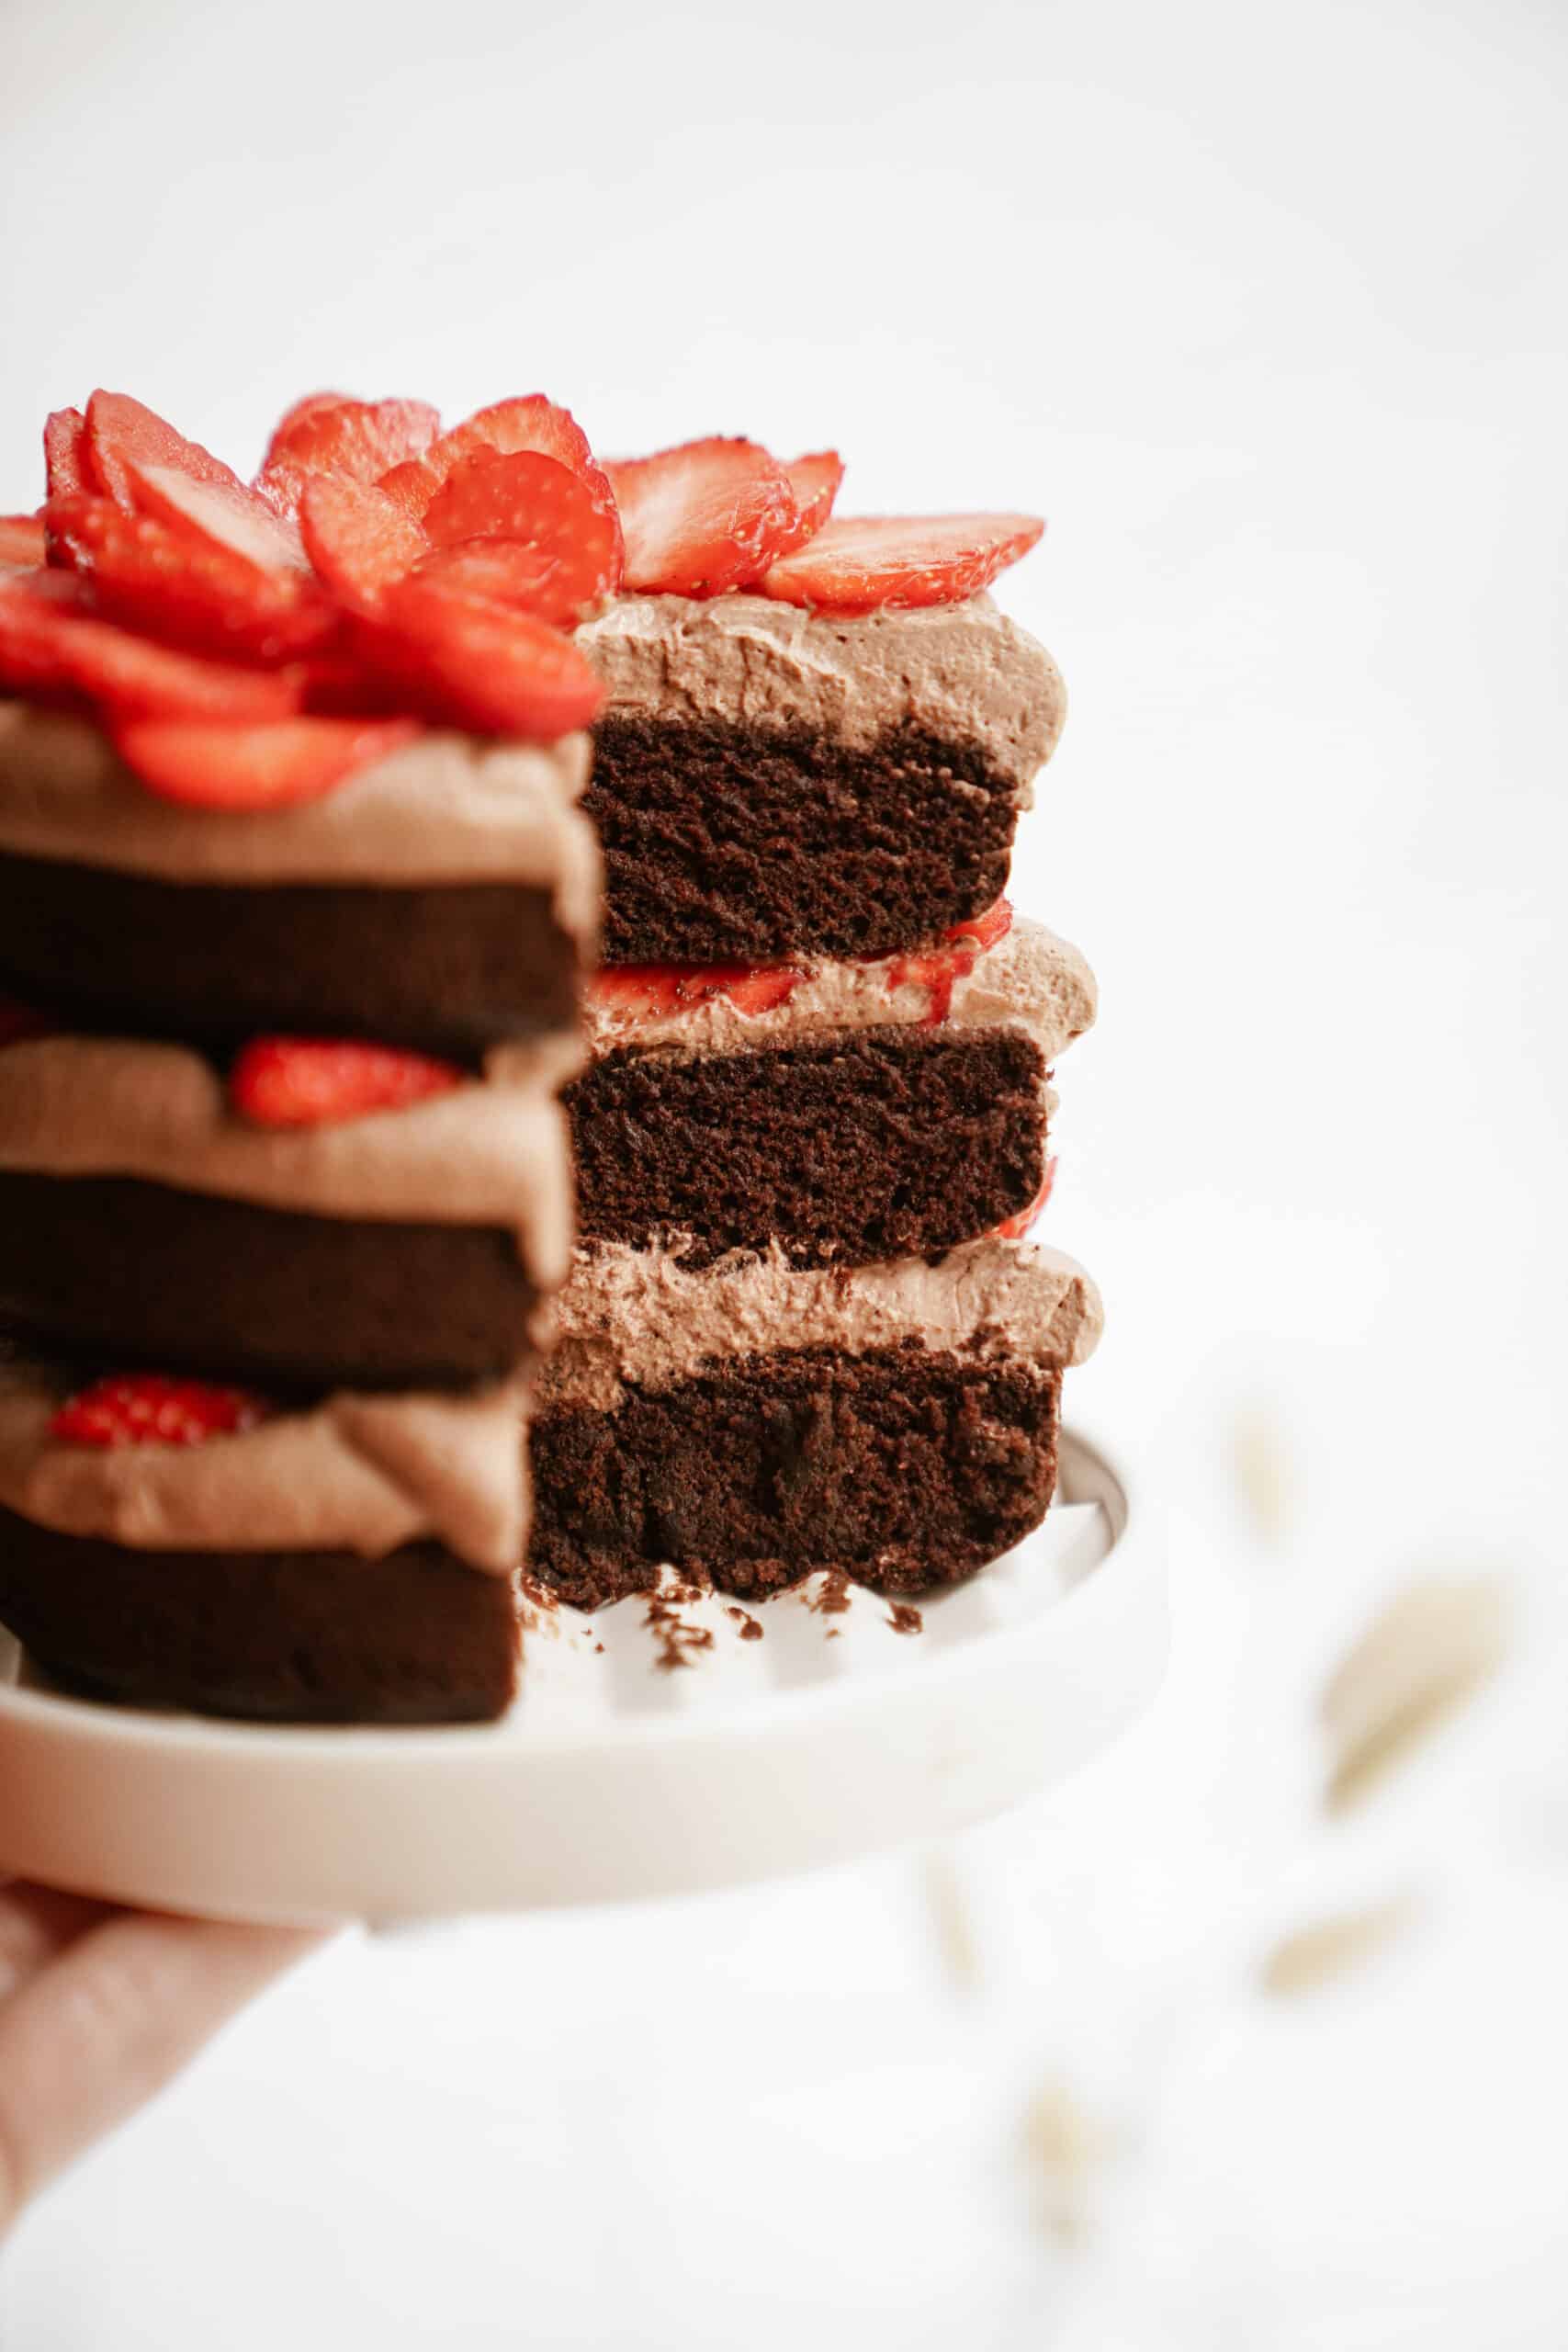
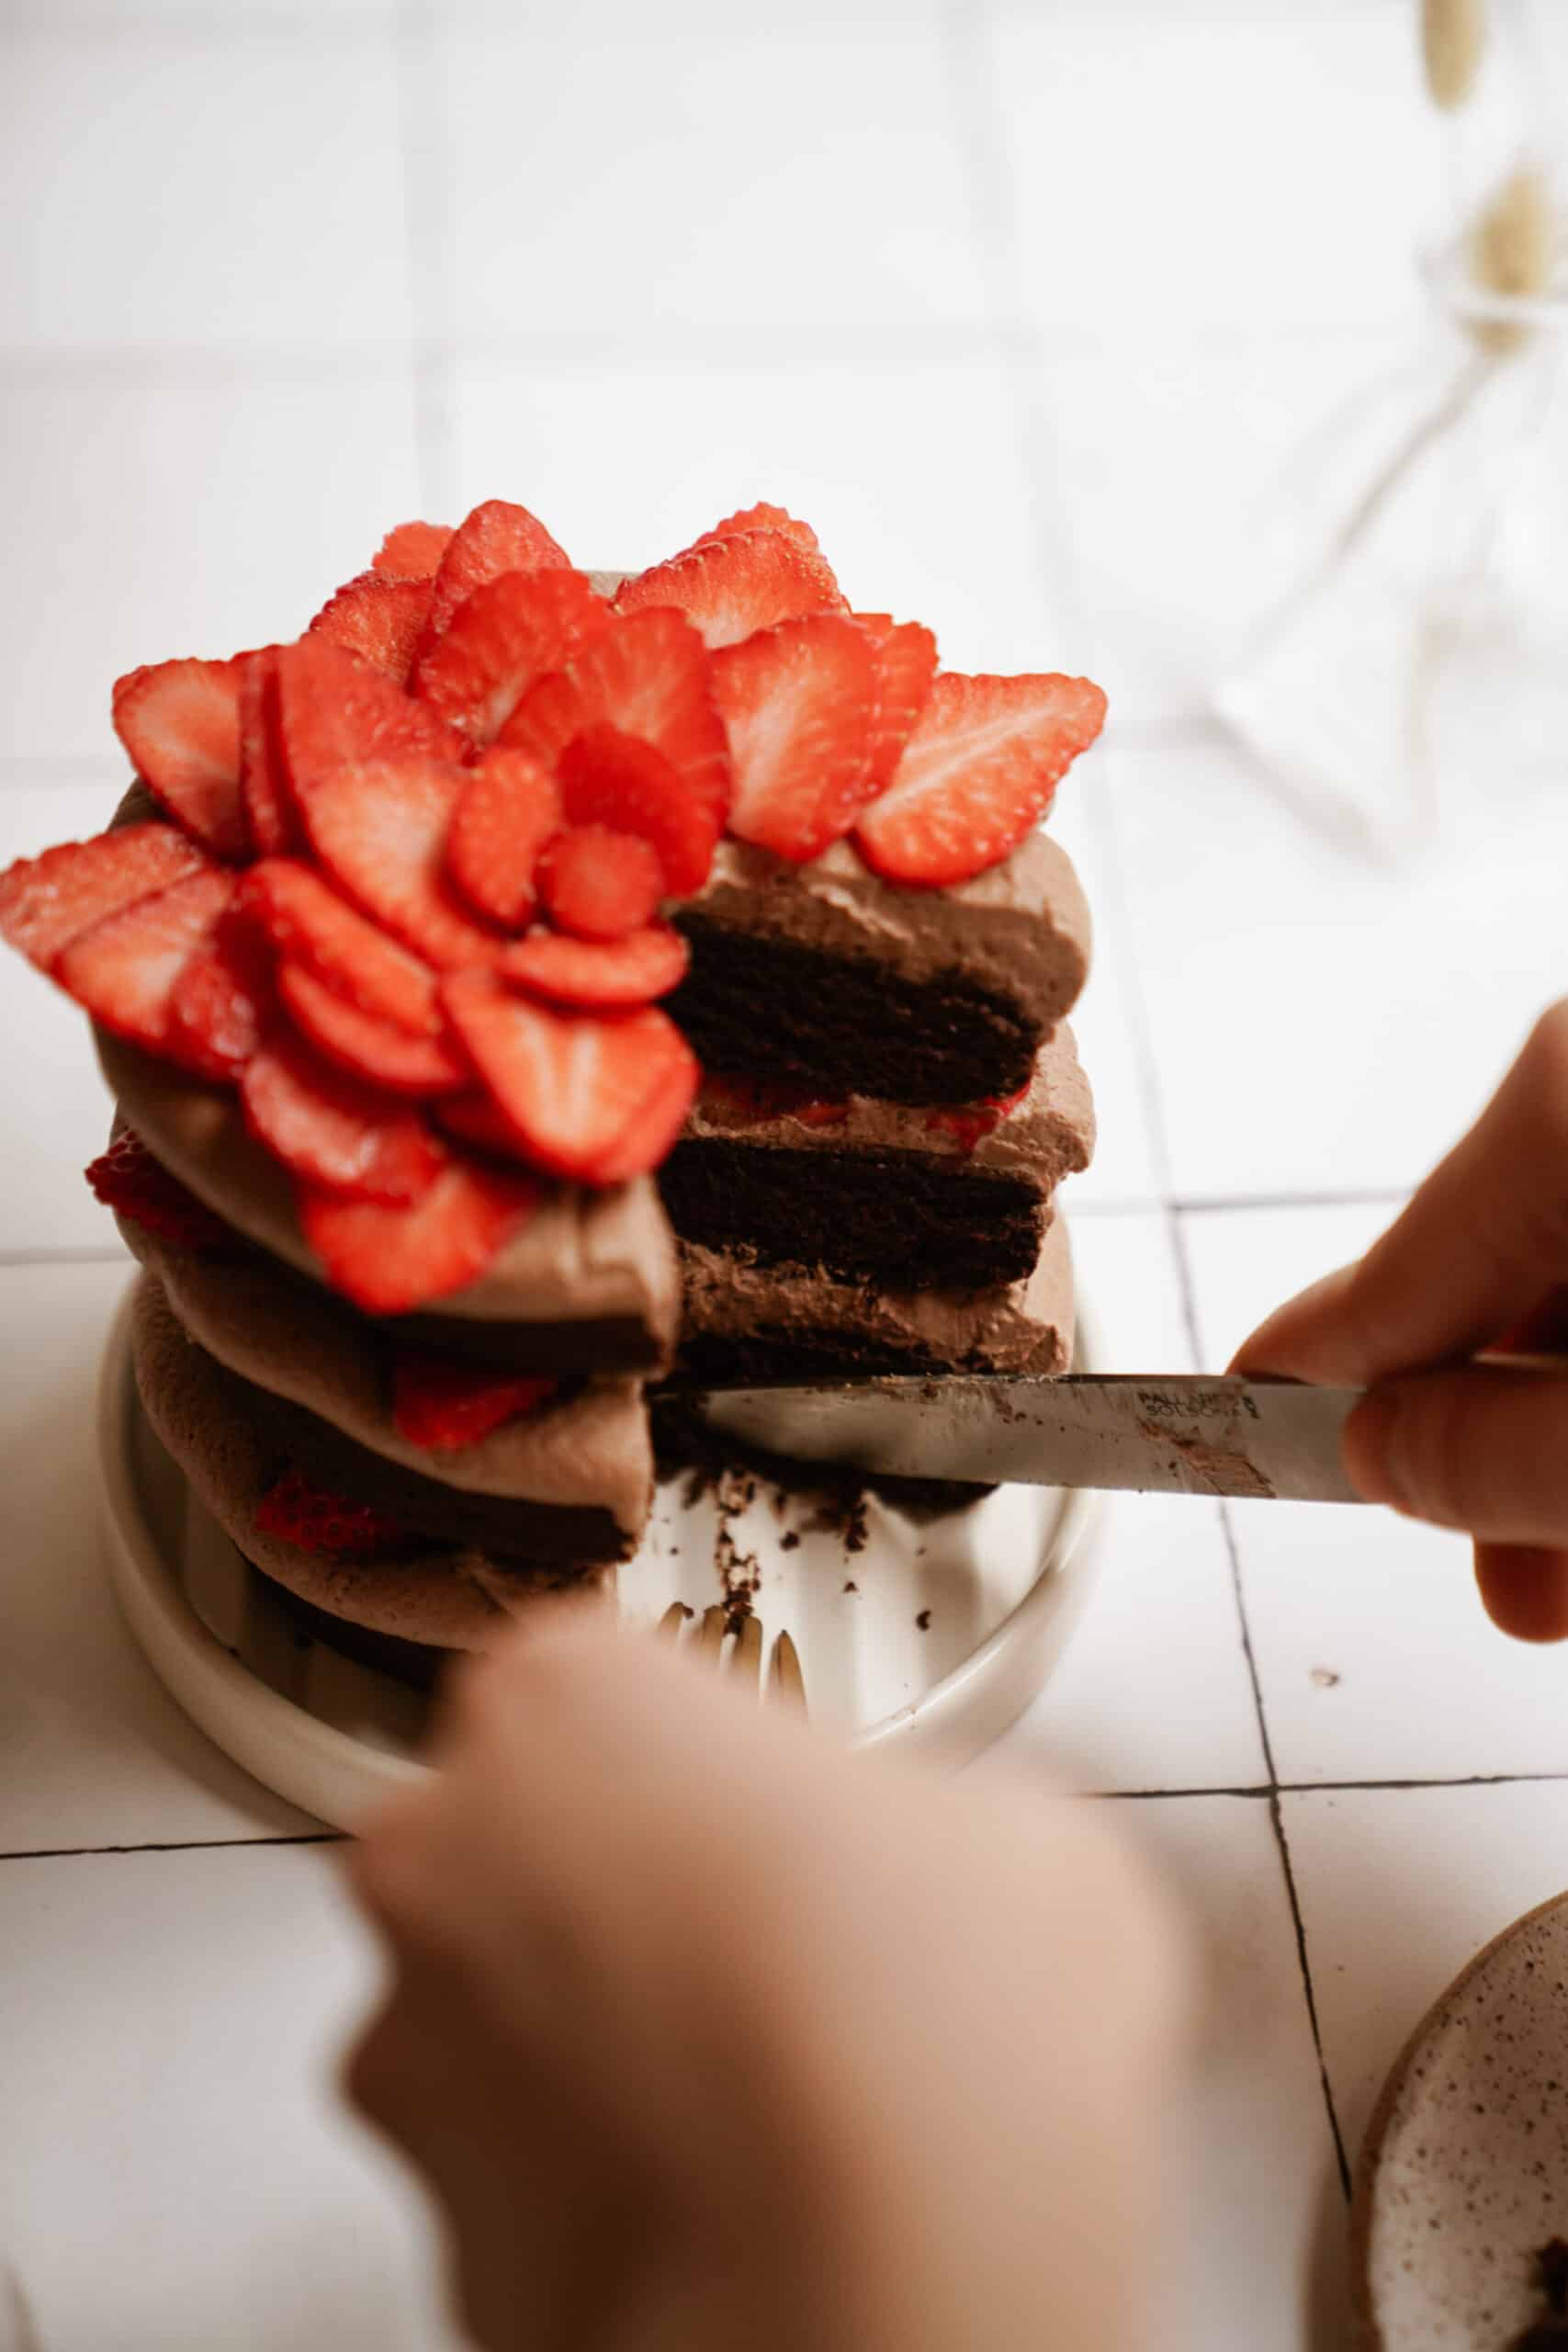
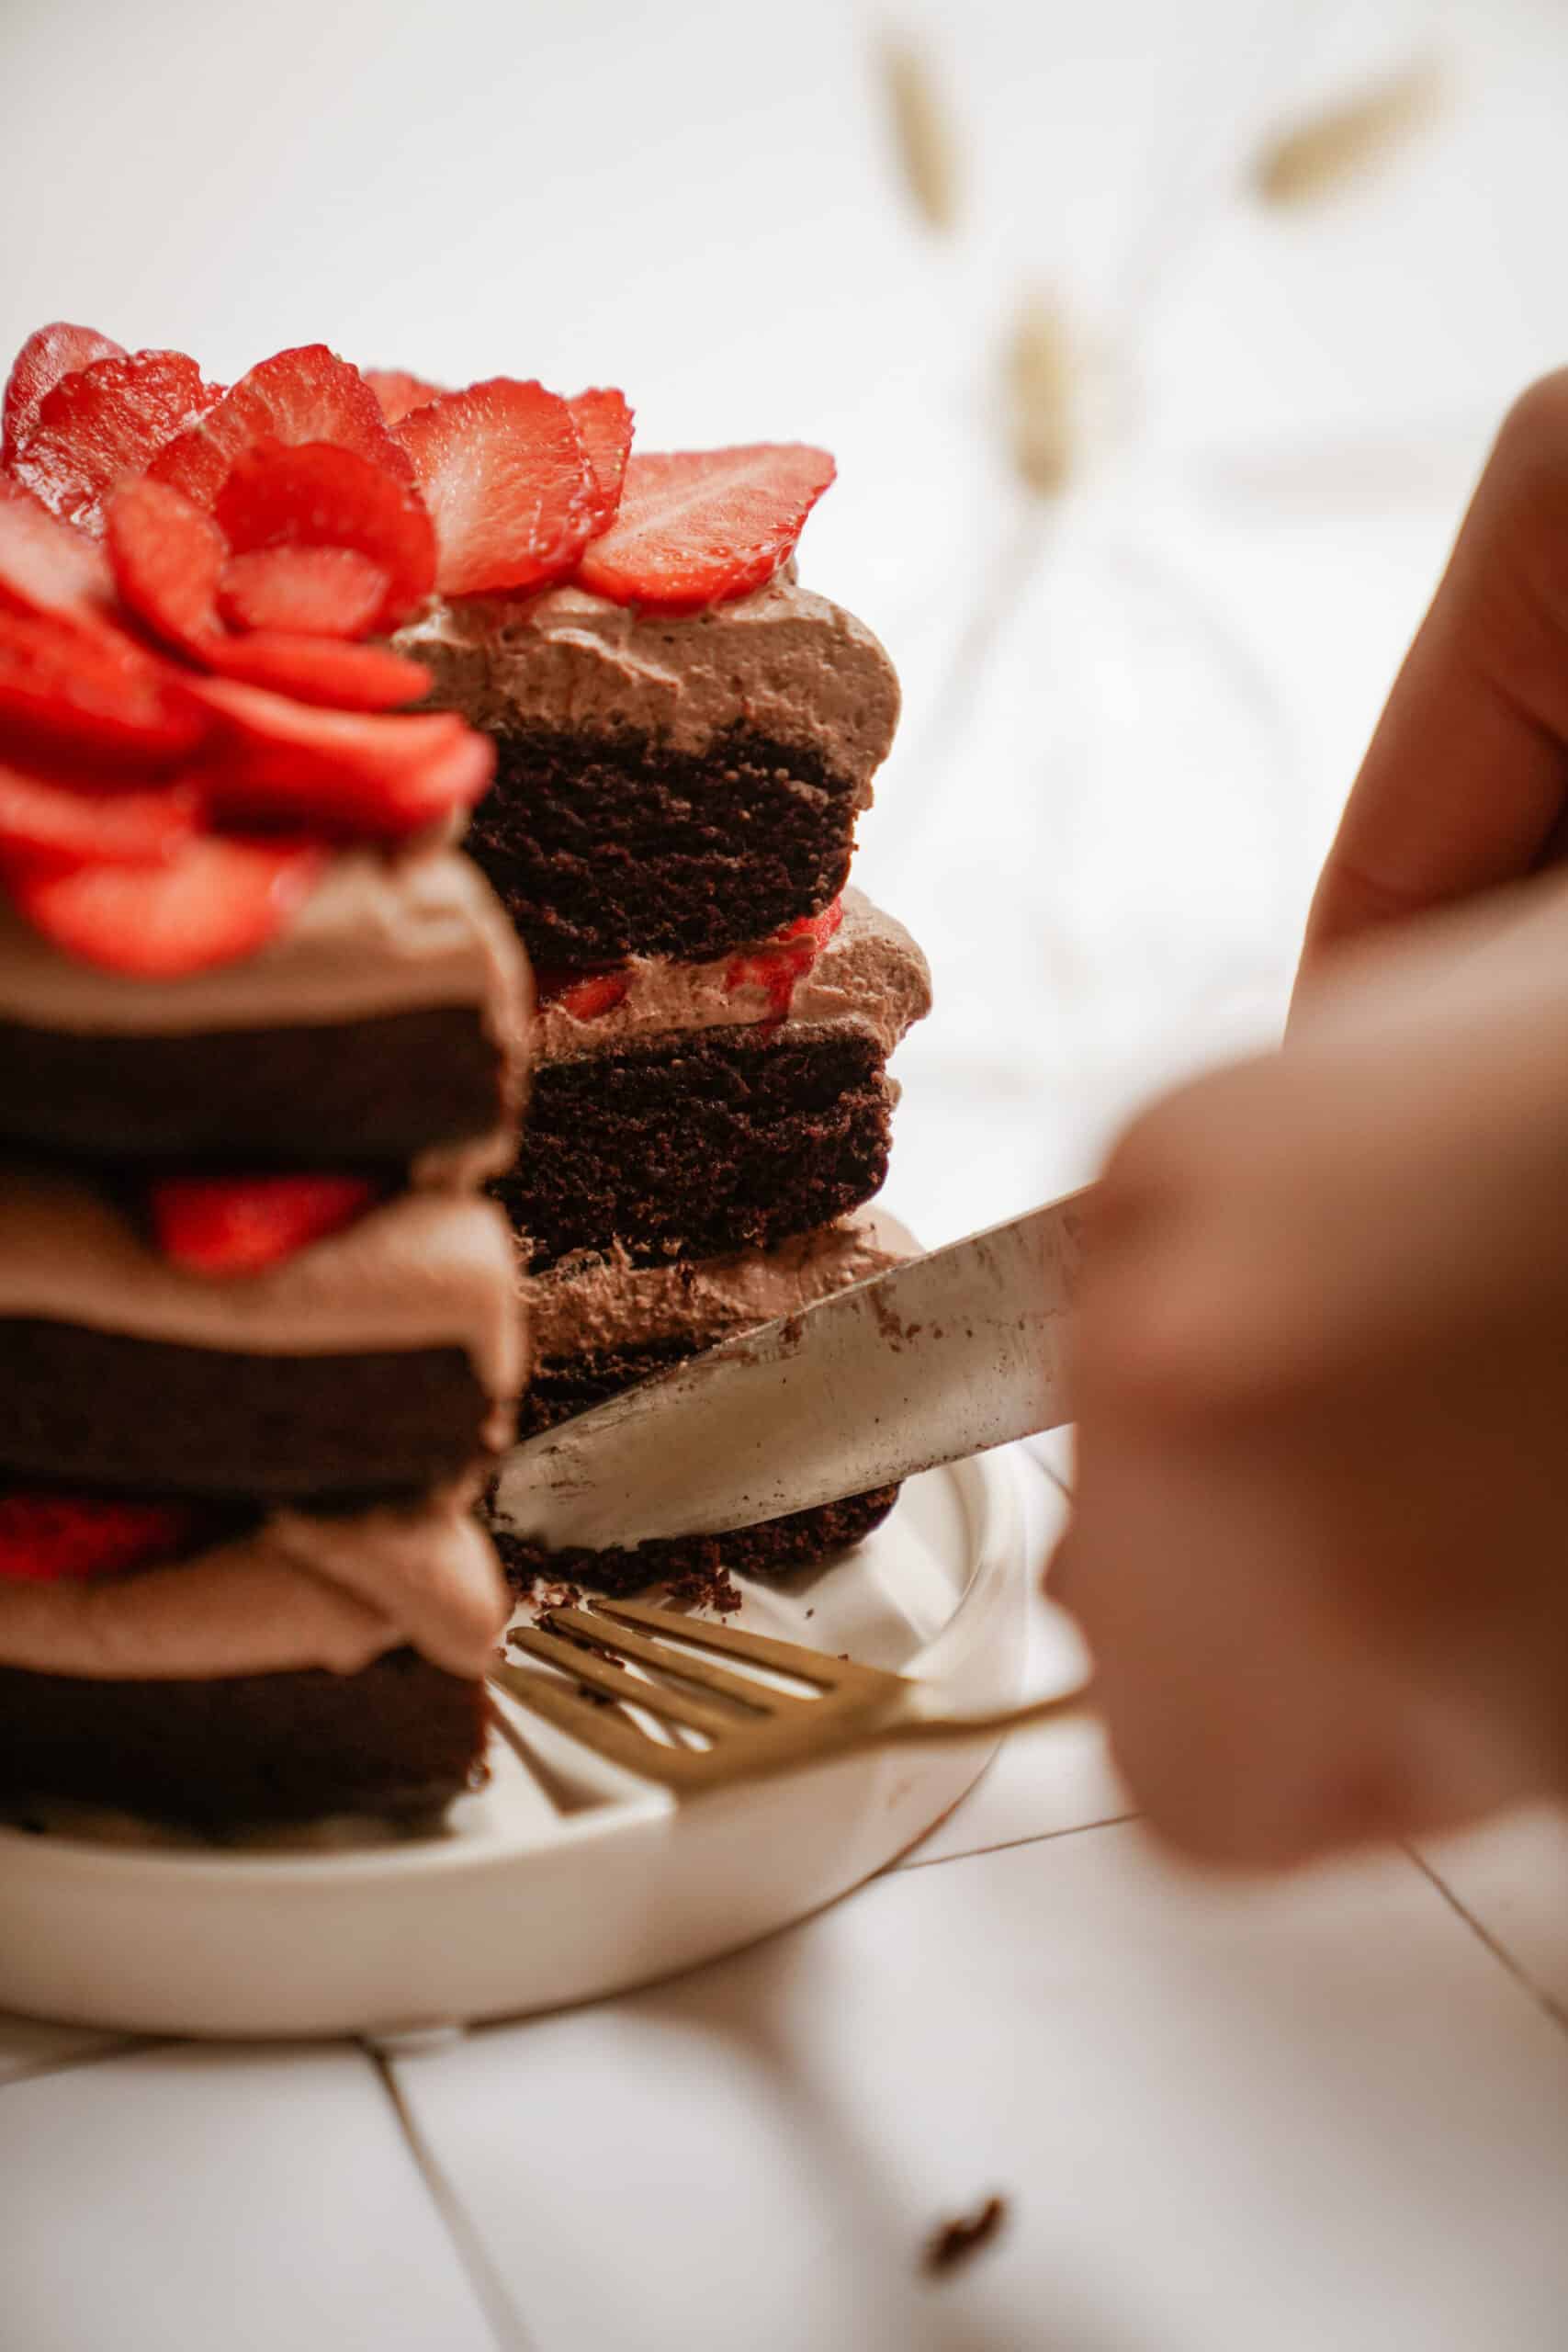
- Repeat these steps for every layer. Once you reach the top layer, to create the rose, continue arranging your strawberries in a circle, overlapping each other and working your way into the middle. Fill any gaps with more strawberry slices to allow some of the petals to stick upward. Keep adding until you are happy with your strawberry rose. Slice the nose of one strawberry and place it in the center to create the rosebud. Keep your cake in the fridge until ready to serve! Enjoy!!!
Expert Tips & FAQ:
My cakes are too round on top. If your cakes are too round on top, use a serrated knife to cut off the top.
How do I make this recipe vegan? Use coconut cream instead of whipping cream- be sure to add a small amount of regular coconut milk to lighten the texture. Use your favorite plant-based milk to make it nut-free!
I don’t like strawberries. Swap strawberries for raspberries if you desire! Arrange the raspberries upside down on the top layer and dust with powdered sugar.


Storage: Store the cake in the fridge in an airtight container for 2 – 3 days or in the freezer for 1 month.
Other sweet recipes you’ll love:
- Chocolate Brownie Whoopie Pie
- Brown Butter & White Chocolate Snickerdoodles
- Ferrero Rocher Cookies
- Red Velvet Cookies
For more eBooks:
If you want more deliciousness at the click of your finger, be sure to check out FoodByMaria’s Newest Mini Cookbooks. Limited time offer of 3 for $20USD.

Gluten-Free Chocolate Cake
Ingredients
For the Cake:
- 1 cup Bob’s Red Mill 1-1 Gluten-Free Flour
- ⅓ cup + 2 tbsp granulated sugar
- ¼ cup + 2 tbsp cocoa powder
- ¾ tsp baking powder
- ¾ tsp baking soda
- ½ tsp salt
- 1 egg
- 1 tbsp vanilla
- ¼ cup vegetable oil
- ½ cup + 2 tbsp almond milk
- ¼ cup hot water
Chocolate Whipped Cream:
- 1.5 cups whipping cream
- 3 tbsp cocoa powder
- 3 tbsp powdered sugar
- 1 tsp vanilla
- pinch salt
To Garnish:
- ½ lb strawberries
Instructions
- Preheat the oven to 350F and prepare the 4in cake pans with parchment paper circles at the bottom.
- In a kettle or a pot, boil 1 cup of water.
- In a large bowl, add the flour, sugar, baking powder, baking soda, and salt. Sift in the cocoa powder to remove lumps. Using a whisk, combine the dry ingredients until uniform.
- In a medium-size bowl, whisk together the eggs, oil, almond milk, and vanilla until combined.
- Add the wet ingredients to the large bowl, and using a hand mixer, whisk the ingredients together on medium speed for 20 - 30 seconds.
- Scrape the edges with a spatula, then measure out ½ cup of hot water. Pour this into the large bowl.
- On medium speed, mix the batter for 1 ½ - 2 minutes until uniform. Do not overmix.
- Scoop the batter evenly into the prepared cake pans. You can separate it into 3 or 4 of the pans, your choice.
- Bake for 16 - 18 minutes. Remove from the pan immediately and allow to cool on a wire rack.
- For the chocolate whipped cream, combine all of the ingredients into a medium-sized bowl.
- Whisk together thoroughly with a hand-mixer on medium-high speed until you create stiff peaks.
- To prepare the strawberries, cut off the tops and thinly slice them vertically. Set aside.
- To assemble, once completely cooled, place a small spoonful of chocolate whipped cream onto a serving plate or board. Set one cake layer upside down to reveal the flat side (remove parchment paper).
- Cover the layer with chocolate whipped cream, about ½ inch thick.
- Arrange the strawberry slices in a circle close to the edge of the whipped cream so the points stick out, arrange extra strawberries to fill the inside of the circle.
- Repeat these steps for every layer. Once you reach the top layer, to create the rose, continue arranging your strawberries in a circle, overlapping each other and working your way into the middle. Fill any gaps with more strawberry slices to allow some of the petals to stick upward. Keep adding until you are happy with your strawberry rose. Slice the nose of one strawberry and place it in the center to create the rosebud. Keep your cake in the fridge until ready to serve! Enjoy!!!