This post may contain affiliate links. Please read our disclosure policy.
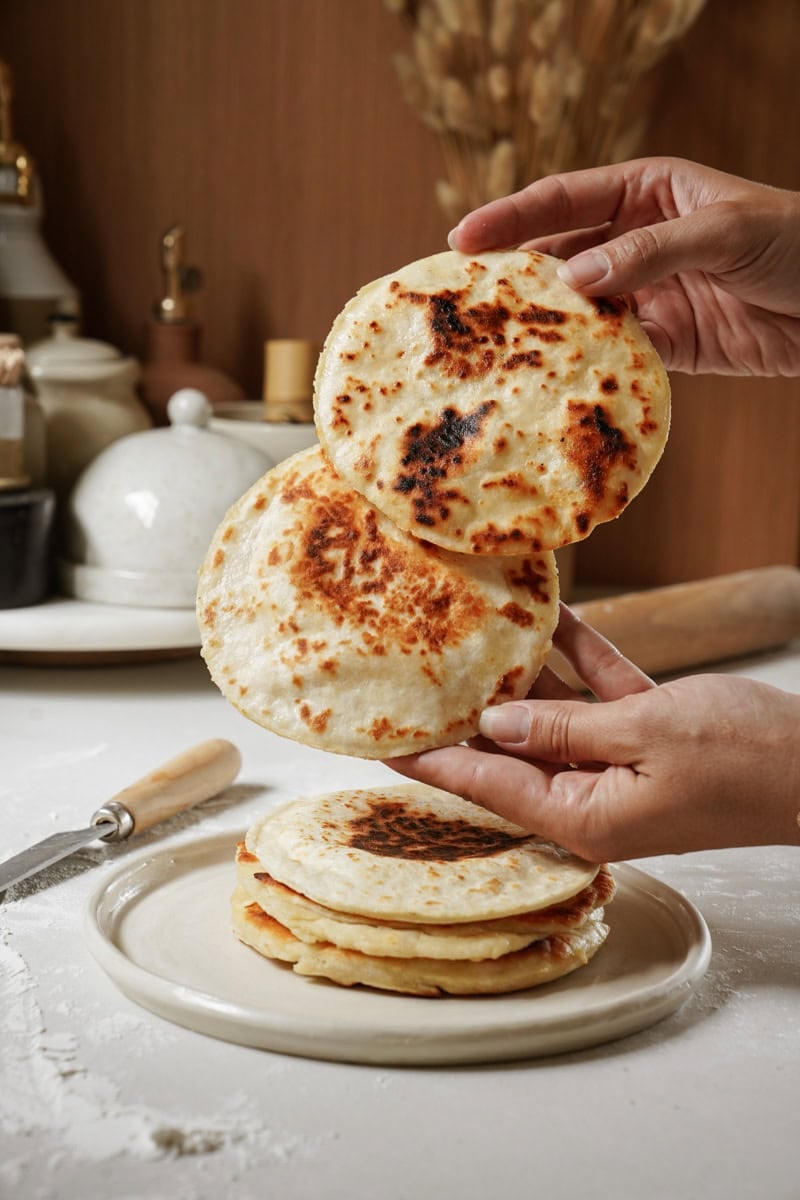
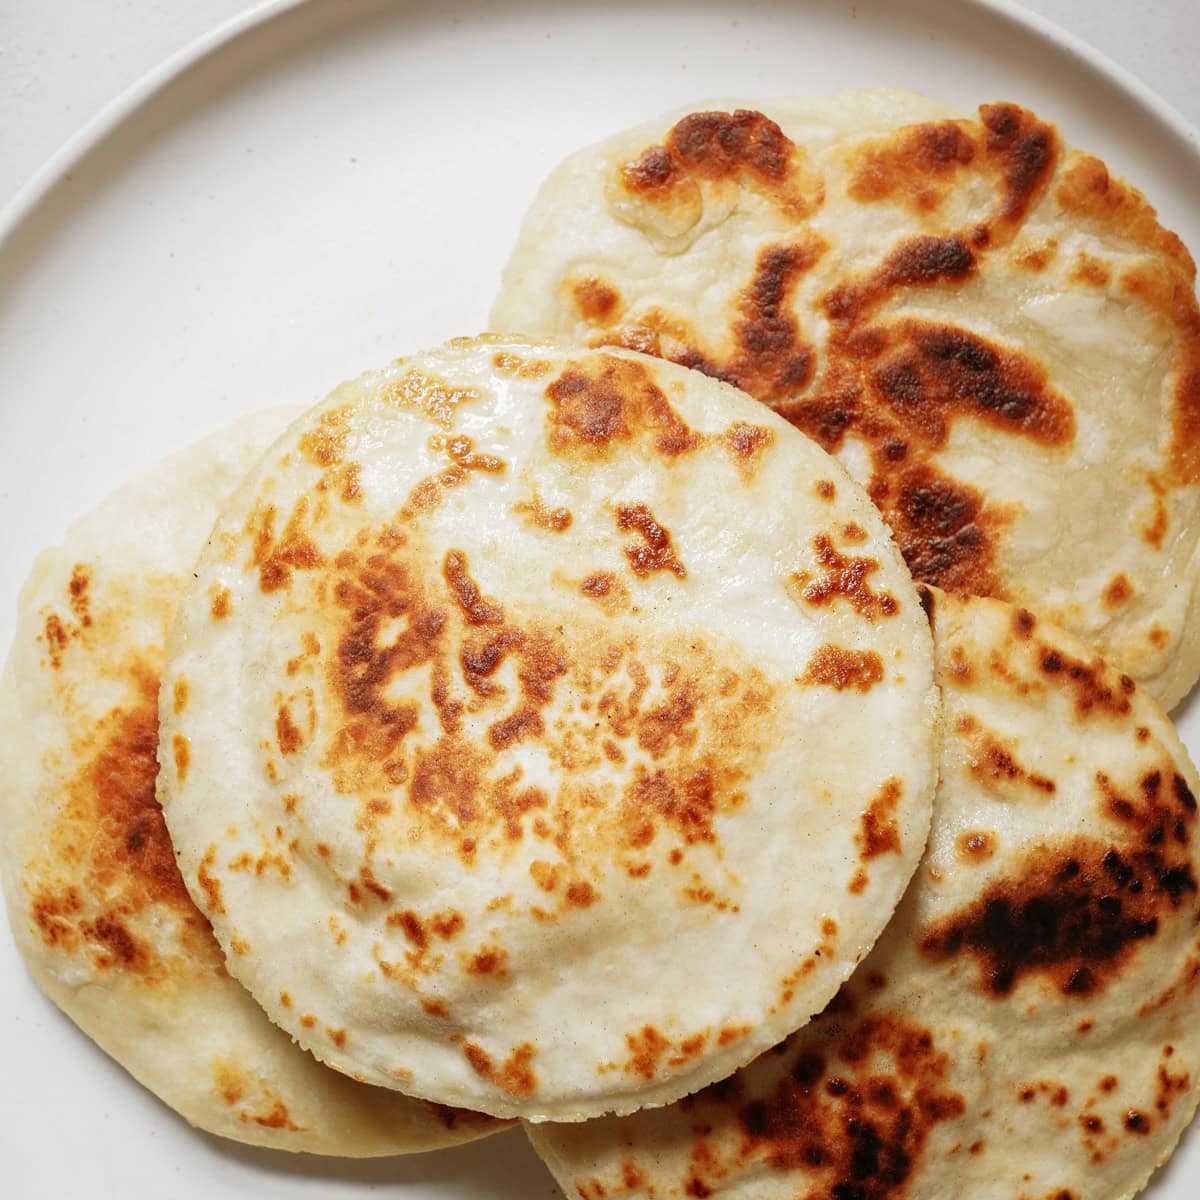
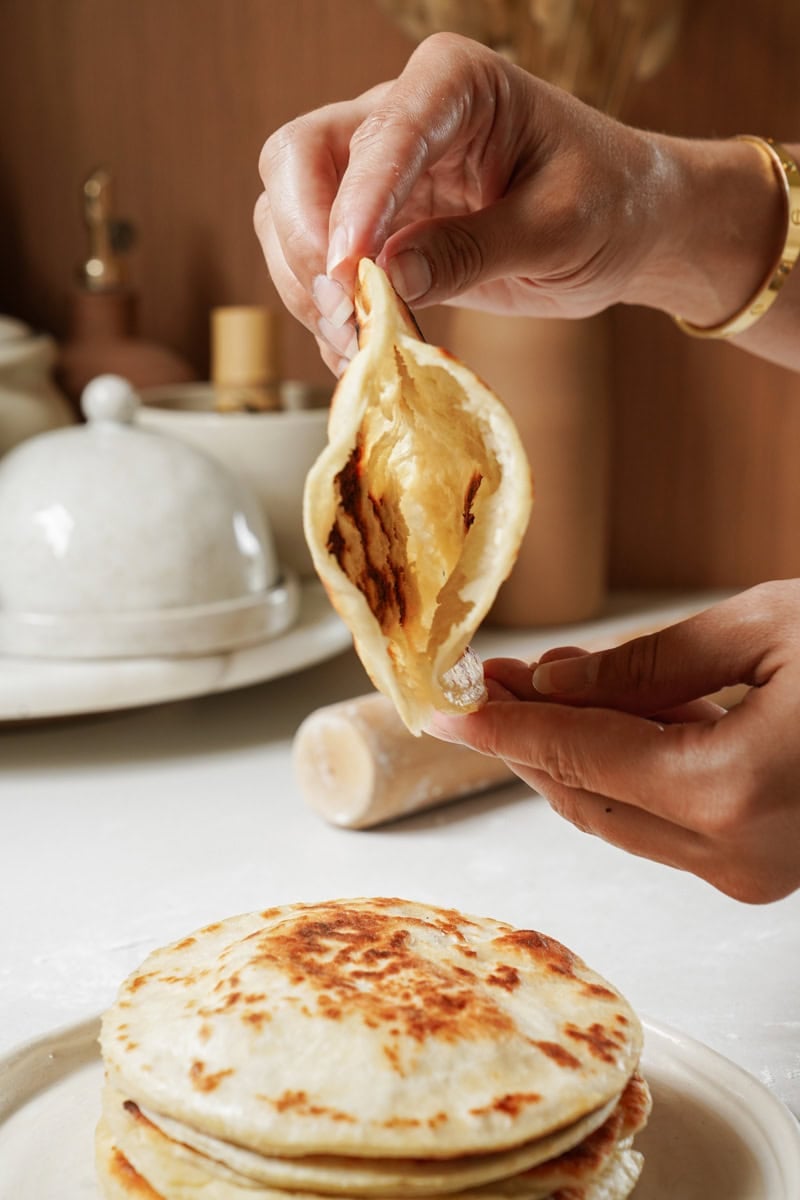
If you have made my Fluffy Greek Pita Bread Recipe then you are most definitely going to love this. This is my hot take on that recipe but only takes 2-ingredients and 30-minutes to make. It’s the perfect Pita Pocket that you can make up and stuff with whatever you want after cooking like egg or chicken salad. Great for those busy nights, or when you don’t want to spend your day in the kitchen whipping up a meal.
Why You’ll Love
- Quick: Make this Pita Pocket recipe in only 30-minutes. That’s it and you have a fresh, homemade pocket
- 2-Ingredients: This recipe only takes TWO ingredients. All you need is Greek yogurt and flour
- Healthy: These Pita Pockets are made with simple ingredients vs. the ones full of preservatives you buy in the grocery store
Ingredients
Flour – For this recipe I used self-rising flour. This is key! Self-raising flour is not the same as all-purpose flour. This type of flour is enriched with added nutrition and it contains baking powder that helps in the process of making these pitas so quickly.

Maria Koutsogiannia
Maria is the creator of FoodByMaria and your go-to Greek food expert for cozy, flavor-packed recipes. Inspired by her Mediterranean roots, she brings traditional Greek flavors, feel-good ingredients, and a whole lot of joy to everyday cooking.
Greek Yogurt – I’ve said it once, I’ll say it again, Greek yogurt is one of the most versatile ingredients to have in your fridge. It’s protein-packed, good for your gut, and it can be used in many ways. Use it in marinades, use it as a substitute to sour cream or mayo, in dressings, or even to make bread like these 2-ingredient Pita Pockets.
How to Make
- Add Greek yogurt to a large mixing bowl. Add in the self raising flour gradually, about 1/2 cup at a time, stirring after each addition and stir to combine and a dough starts to form. Form the dough into a ball.
- Dust a work surface with flour and knead the dough for 3-5 minutes until the dough is a bit more smooth, holds together and forms a ball easily. If you find the dough too sticky, add 2-4 tbsp more flour and knead to combine. Let the dough rest for 15-30 minutes on the counter.
- Divide the dough into 6 equal parts and form each into a ball. Roll out each ball into a thin circle, 5-6 inches in width.
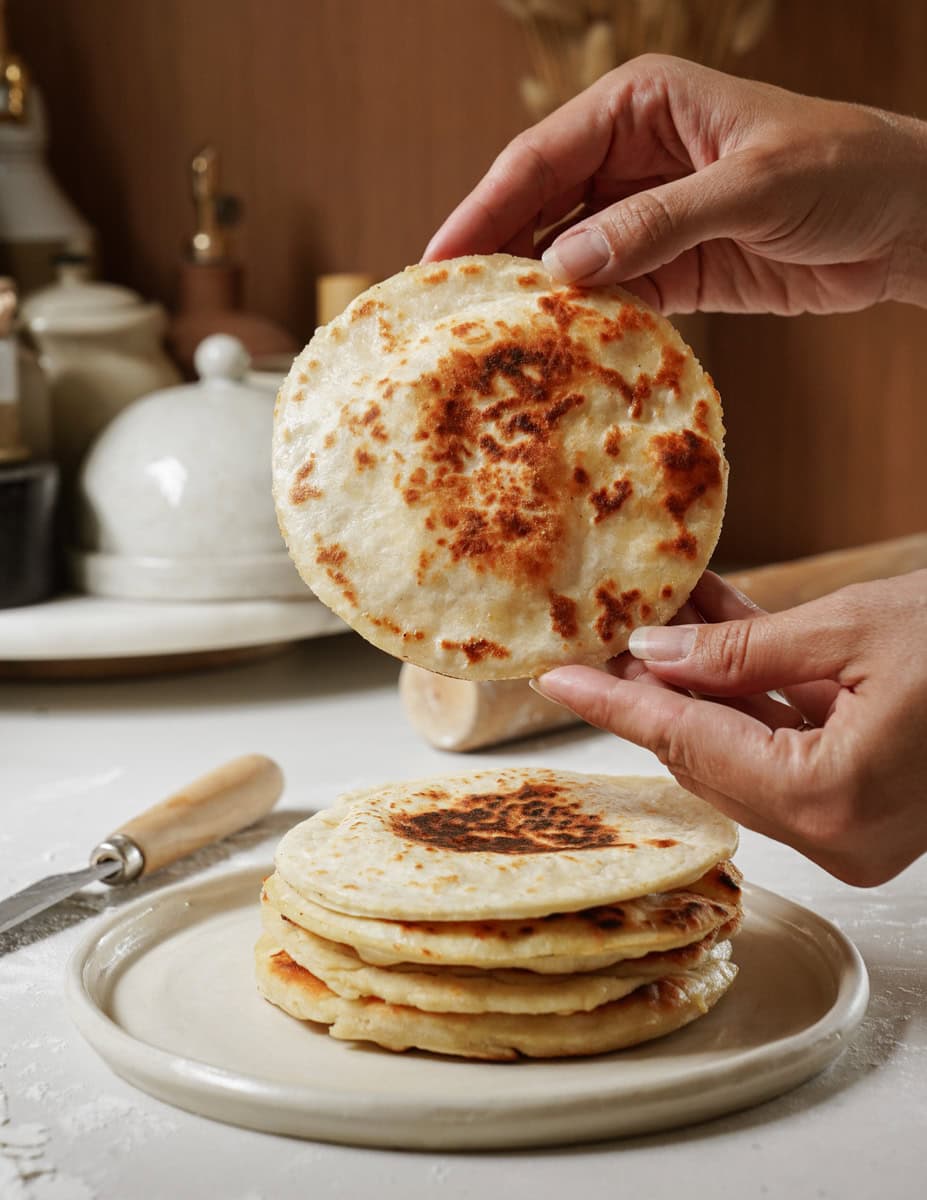
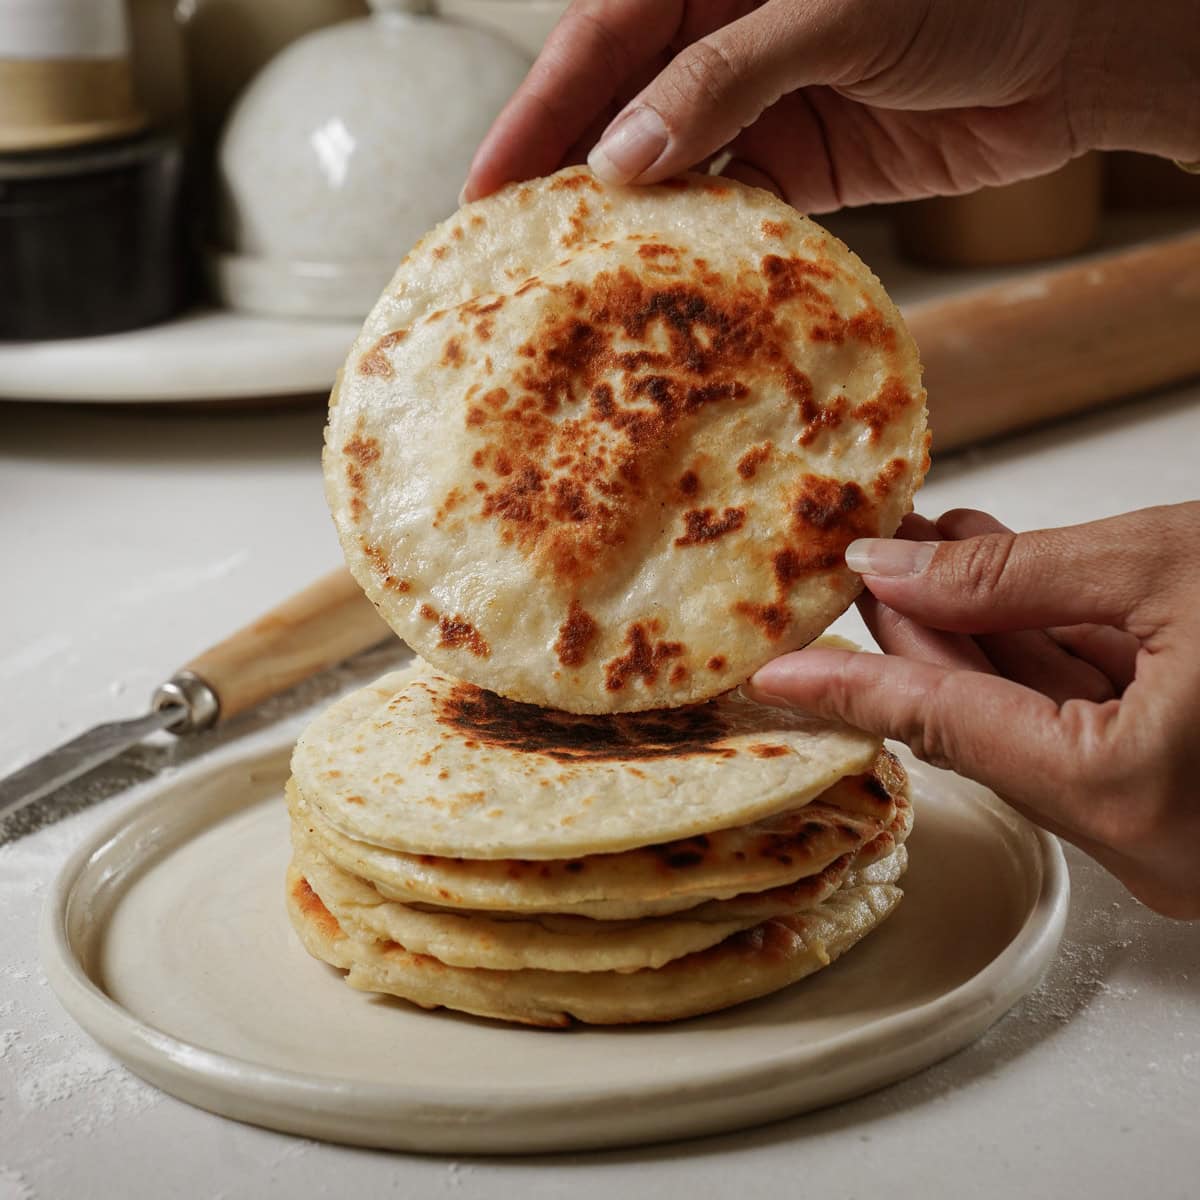
- Heat a cast iron or heavy-bottomed non-stick skillet over medium heat and once hot (this may take 3-4 minutes) place a rolled-out dough round in the pan. Cook for 1 minute on one side, until golden brown patches appear. Flip and cook for another 1 minute and drizzle with a bit of olive oil. Cook for 3-4 more minutes, flipping every 30 seconds for a total of 5-6 minutes. The pita should be a deep golden brown and slightly puffed up.Repeat with remaining dough until all are cooked.Enjoy topped with fresh oregano and our best ever tzatziki recipe or use as a pita pocket – stuffed with your favourites: chicken, egg salad, veggies or your favourite sandwich ingredients.
Tips and Tricks
- Meal Prep: Make a whole bunch of these and freeze them with a layer of wax paper between each one. This makes for easy, healthy pita option when making lunches or a quick snack
Variations
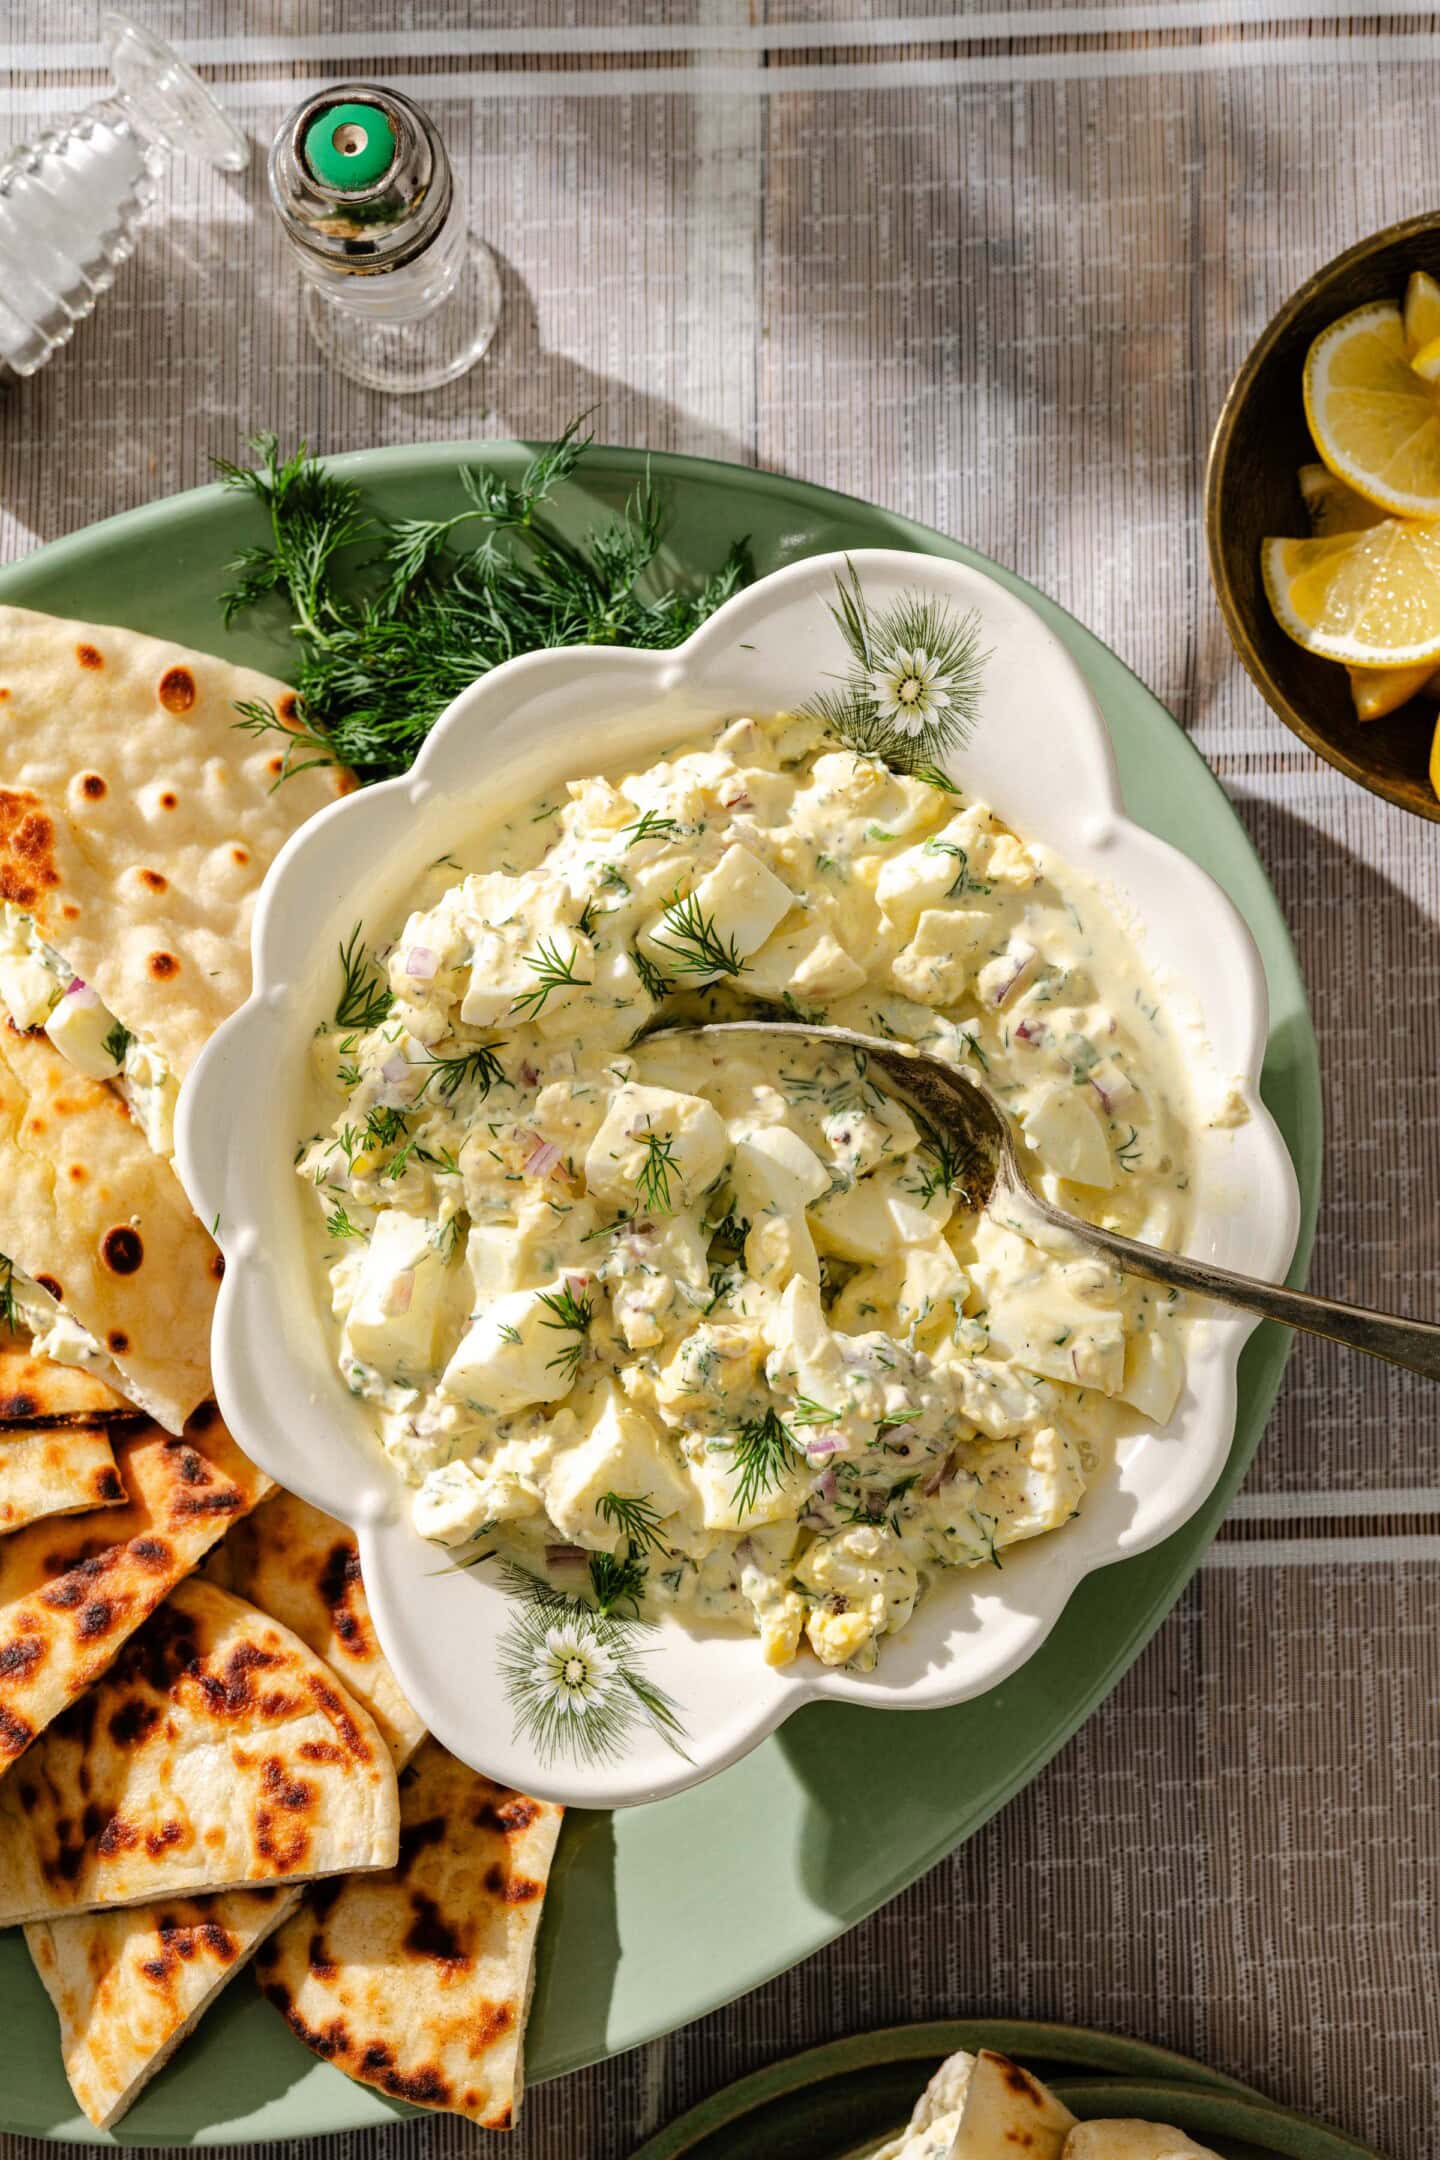
- Egg Salad: Make an easy egg salad like this one to stuff your pita pockets with
- Chickpea Salad: Stuff your pitas with this delicious Mashed Chickpea Salad recipe
- Try these Pita Pockets with things like Tuna Salad or Chicken Salad
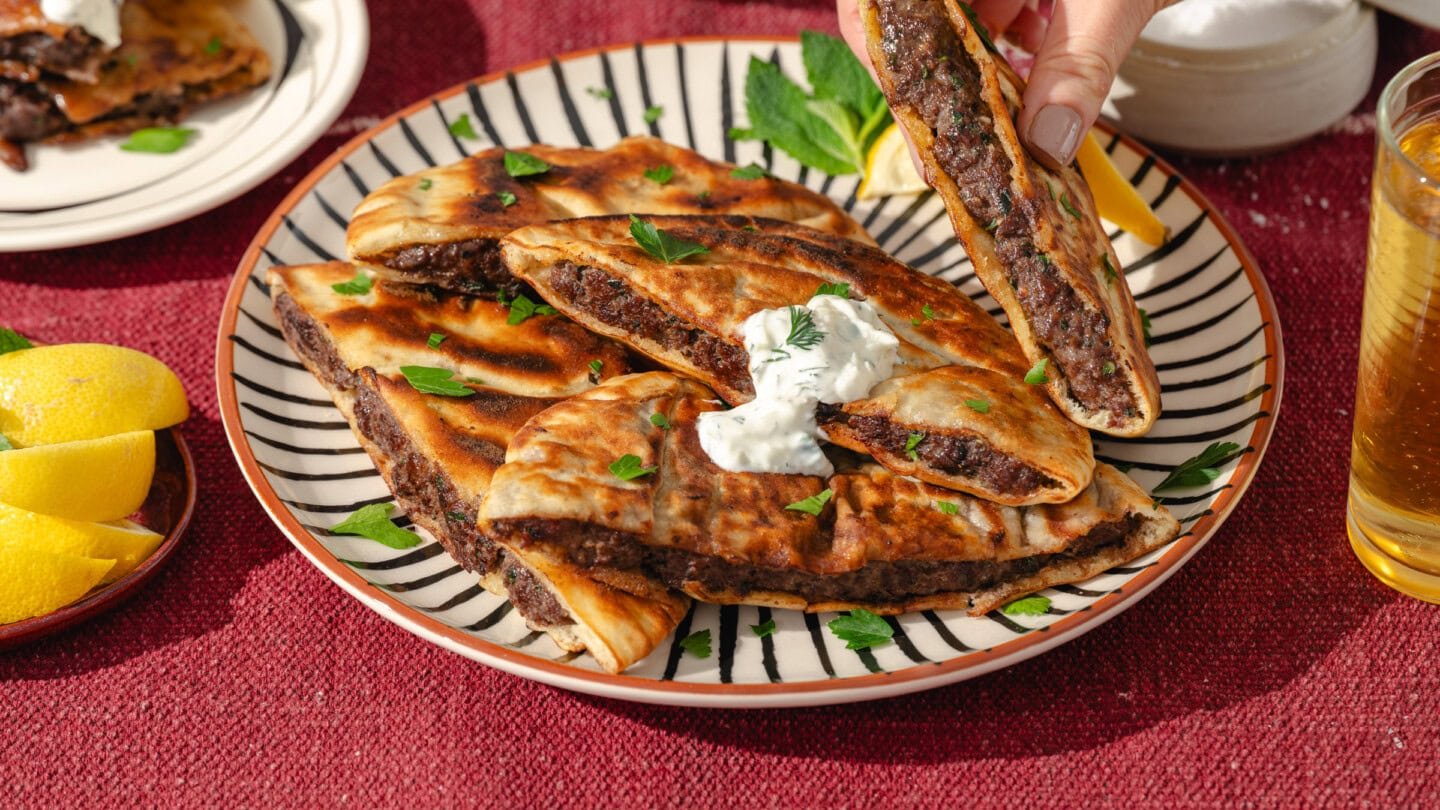
Best served with
How to Store Leftovers
Store leftovers in an airtight container or Ziploc bag for up to 4 days. You can also freeze these. Freeze them in a Ziploc with a piece of wax paper in between each.
Common Questions
If you don’t have self-raising/self-rising flour then you need to add 2 teaspoons of baking powder and 1/2 teaspoon salt to every cup of all-purpose flour. So for this recipe, you would need: 2 cups all-purpose flour, 4 tsp baking powder and 1 tsp salt.
No!! Self-rising has baking powder and salt mixed within it so by using it, you can omit those ingredients from your recipe. They do not work interchangeably.
Save this recipe for later
Watch the Video
Ingredients
- 1 cup 0% or 2% plain Greek yogurt
- 2 cups self-raising / self-rising flour
- olive oil
Instructions
Start Cooking- Add Greek yogurt to a large mixing bowl. Add in the self raising flour gradually, about 1/2 cup at a time, stirring after each addition and stir to combine and a dough starts to form. Form the dough into a ball.
- Dust a work surface with flour and knead the dough for 3-5 minutes until the dough is a bit more smooth, holds together and forms a ball easily. If you find the dough too sticky, add 2-4 tbsp more flour and knead to combine. Let the dough rest for 15-30 minutes on the counter.
- Divide the dough into 6 equal parts and form each into a ball. Roll out each ball into a thin circle, 5-6 inches in width.
- Heat a cast iron or heavy-bottomed non-stick skillet over medium heat and once hot (this may take 3-4 minutes) place a rolled-out dough round in the pan. Cook for 1 minute on one side, until golden brown patches appear. Flip and cook for another 1 minute and drizzle with a bit of olive oil. Cook for 3-4 more minutes, flipping every 30 seconds for a total of 5-6 minutes. The pita should be a deep golden brown and slightly puffed up. Repeat with remaining dough until all are cooked.
- Enjoy topped with fresh oregano and our best ever tzatziki recipe or use as a pita pocket – stuffed with your favourites: chicken, egg salad, veggies or your favourite sandwich ingredients.
Notes
- If you don’t have self-raising/self-rising flour then you need to add 2 teaspoons of baking powder and 1/2 teaspoon salt to every cup of all-purpose flour. So for this recipe, you would need: 2 cups all-purpose flour, 4 tsp baking powder and 1 tsp salt.
- These pitas are perfect when you want to make homemade pitas quickly during the week!
- If you have more time to dedicate, try our viral Fluffy Greek Pita Bread Recipe

20 people are discussing this recipe. Join in
What if I don’t like Greek yogurt can I use regular yogurt
Hi Donna! This recipe was developed with Greek Yogurt, I would recommend using that if possible. You can’t taste the yogurt (in my opinion). The fat content helps keep the pitas airy and fluffy!
I will give plain yogurt a try what’s the worst that can happen they don’t come out right. No harm no foul. A cook always learn by their mistakes. I’ll send a message back on how they came I already have them resting for 30 minutes.. they may come out better than we think. Only positive thing here thanks for writing me back. I’ll write again in a few
Sounds great, Donna! Please keep me posted!
family’s new fave recipe. its easy to make, delicious ( 1 nephew opted to eat it plain and simple), puffs perfectly. made 2x yesterday. too bad can’t share my pictures.
Love to hear this, thank you so much, Rachelle!
this recipe is perfect. simple and so amazing. thank you for sharing. I can’t understand though why some of my pitas puffed perfectly, one remained flat and another one was half puffed and half flat lol any idea what I would have done wrong?
I am not entirely sure but it could just be luck because that happened to me too, but just with 1!
Why didn’t I find this recipe sooner? I’ve made the plain pitas and then stuffed ones. We made three favours: pepperoni, Philly Cheese Steak and feta and Spinach. For more of a pizza pocket crunch, we finished them off in the air fryer for a few mins. The left overs tasted even better the next day.
Now I want to make all of Maria’s recipes!
Thank you so much, hun!!! Please let me know what you make next ok!?!?!?
Made the recipe as provided with one exception – I substituted Einkorn flour. The Pitas were good, however they did not fluff up as shown in your video. You may be wondering, “why the Einkorn”? With good yogurt and the Einkorn, I show 11g protein per pita.
I converted to self-rising using your measures. My yogurt was zero fat. I want to make these routinely – I’m wondering if you have any thoughts about why my Einkorn batter is not forming pockets – I was using plenty of heat.
Thank You!
jim
that is a great question, Jim. I am not sure why that would have happened. And you said you added the baking powder and salt? I am unfamiliar with how einkorn flour works and it’s properties. Can you please confirm if the pitas were still stuffable, could you open them up like a pita pocket after cooking?
This is my go-to recipe for pitas!! I love that they are high protein, made with simple ingredients and best of all you don’t have to wait for dough to rise like when you use active yeast!
Thank you so much for the love, Ashley!!
Easy, fun and yummy! I can’t wait to try your fluffy Greek pitas, as well as your other recipes!
Thank you so much, Kristine!!
THANK YOU! This recipe is so easy to follow and replicate. It fluffs up so well and is easy to make into a pocket to stuff. Loved it!
Thank you so much for the love, sweetie!!!
So easy to make and so delicious! I found Maria online and was instantly intrigued by the healthy, quick and easy to make vibes! I instantly downloaded her app and I have to say I am SO impressed! The app is beautiful, organized and SO easy to use! We just made this pita tonight with the chicken skewers and it was delicious and so easy! Thank you, Maria!
Thank you so much, Taylor! you are so sweet!