Desserts
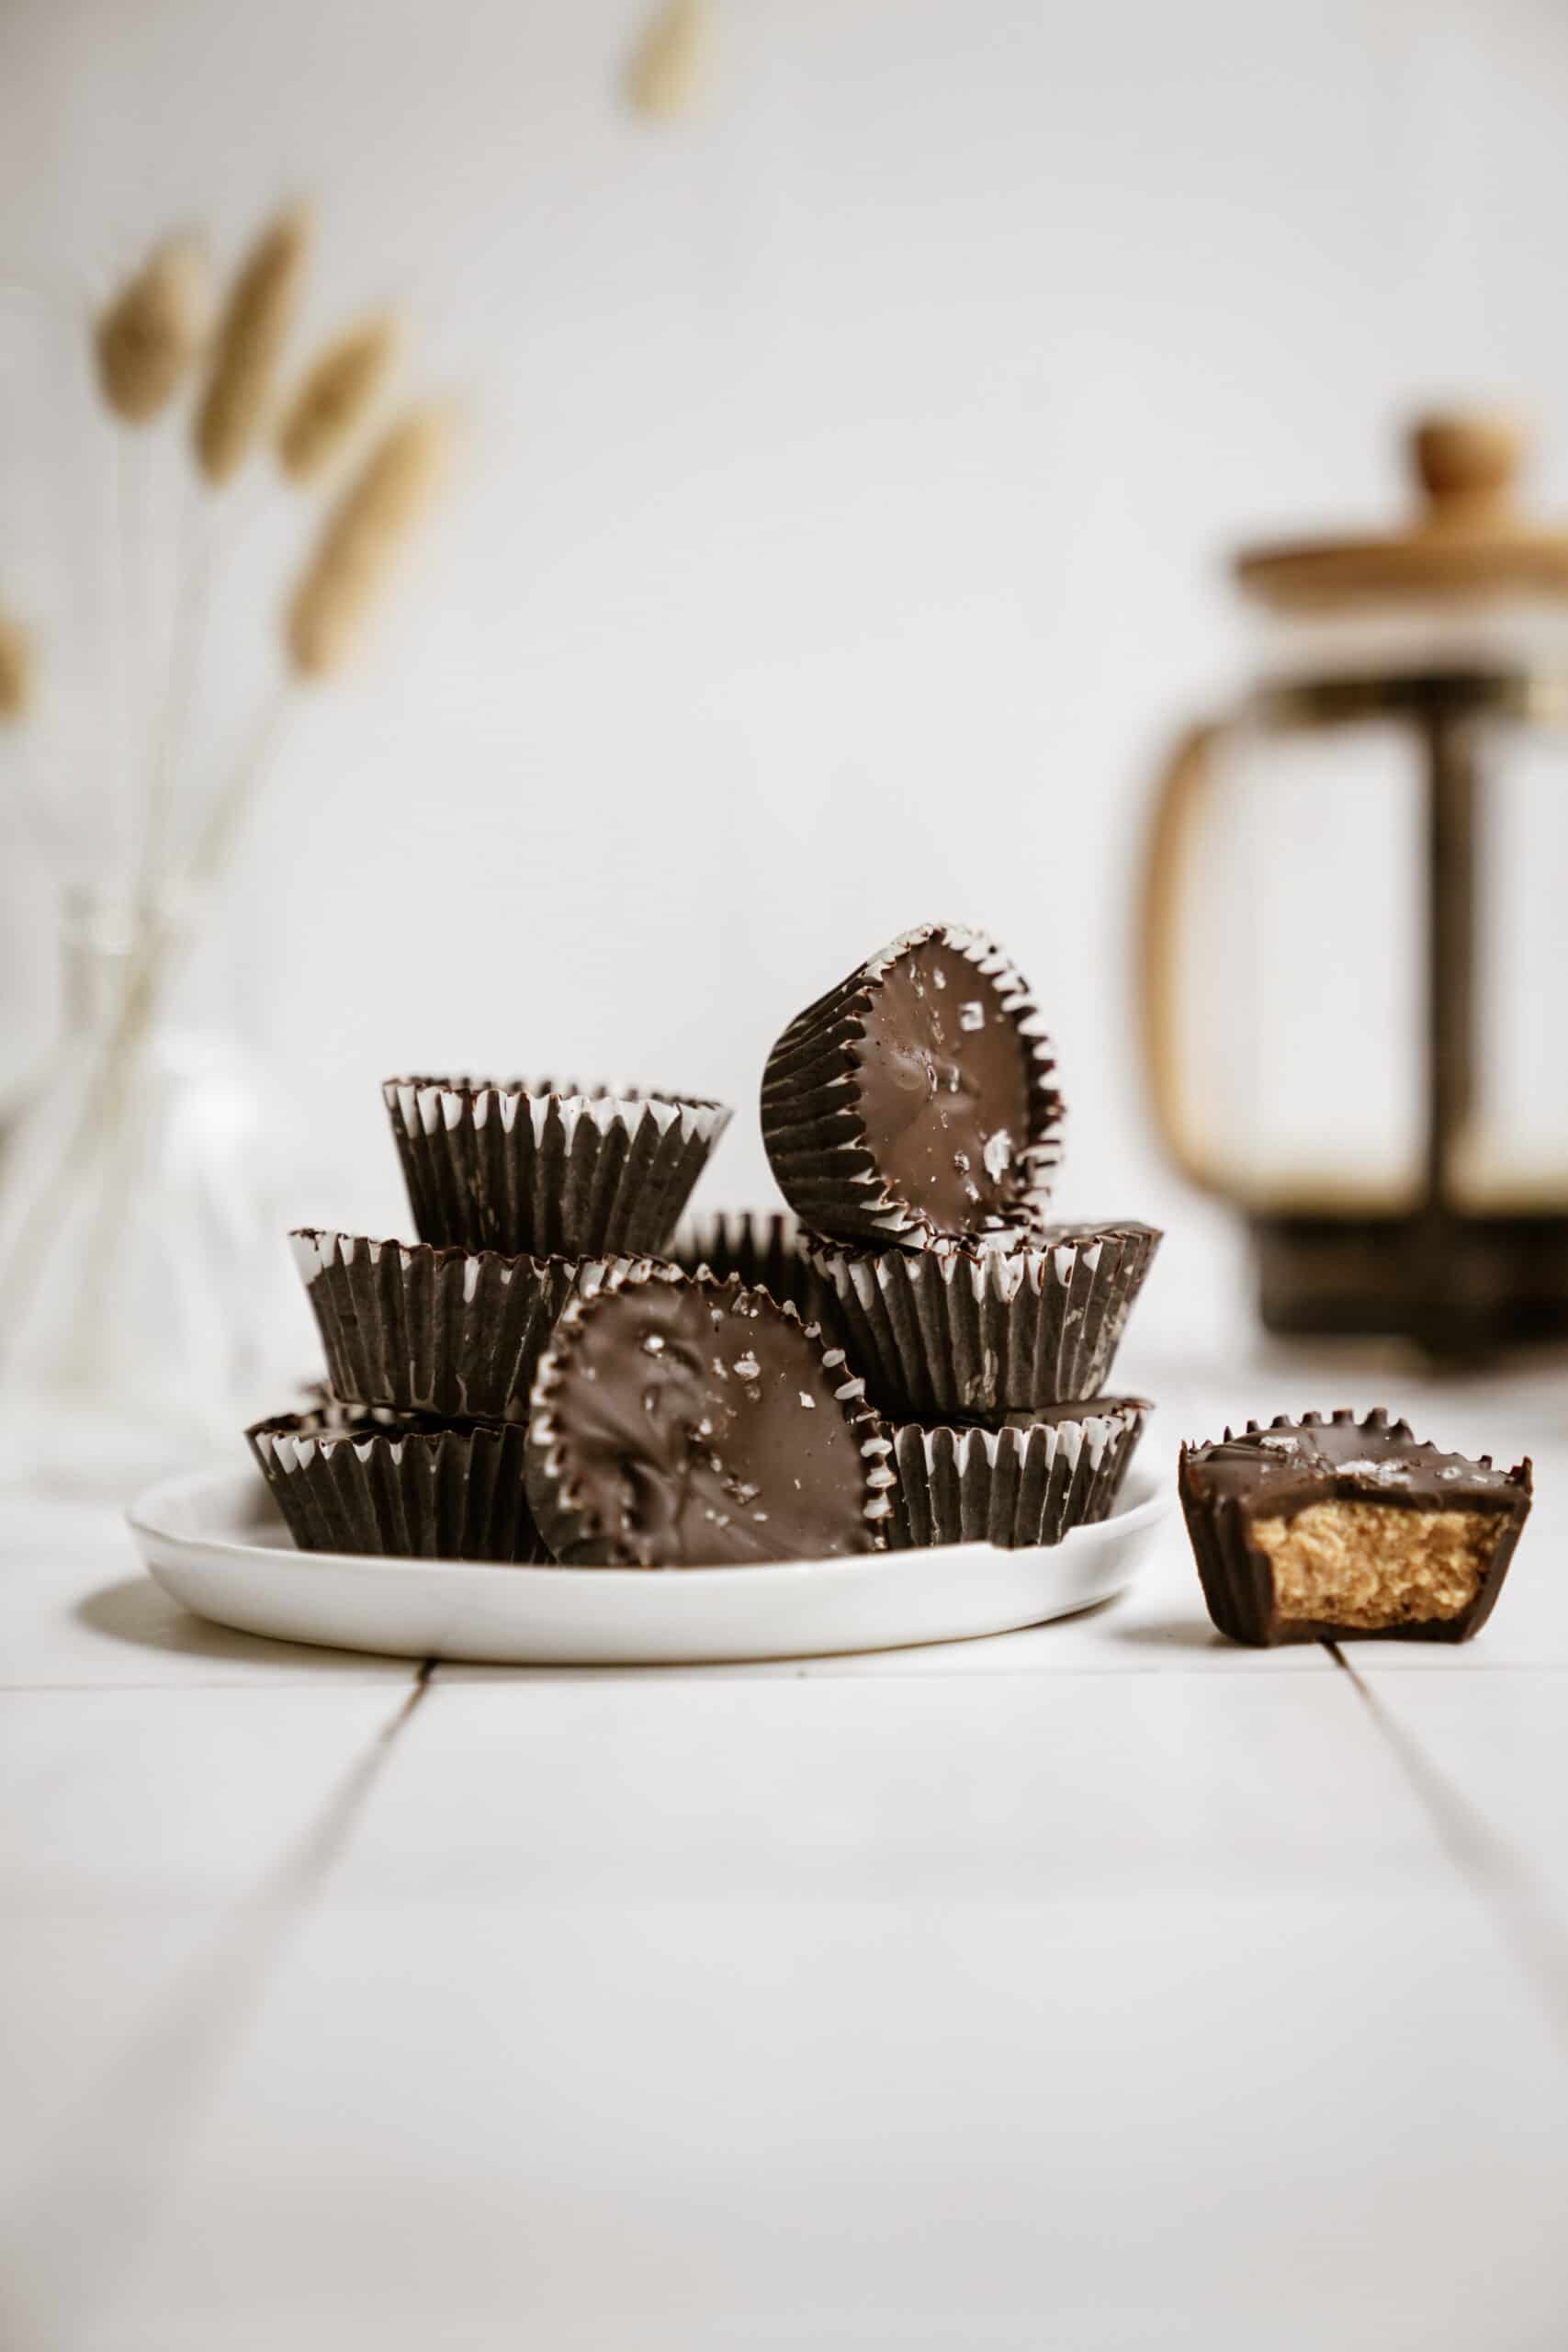
Homemade Peanut Butter Cups
Prep
13 minutes
Yield
12
This recipe combines a match made in heaven – peanut butter and chocolate. Everyone’s favorite treat has got to be peanut butter cups. You can’t deny that. The combination of PB and chocolate is the best and what if I told you that you could make your own homemade peanut butter cups at home and it’s not that complicated?

Why you’ll love this homemade peanut butter cups recipe:
- Easy: Make these in less than 10 minutes. That’s it!!
- Delicious: This is a healthier version of your favorite treat. You can feel less guilty eating these since you know exactly what goes in them and the bonus is you can pronounce all the ingredients too
- Versatile: There are so many ways to get creative with this recipe that I’ll outline below
Ingredient Notes:
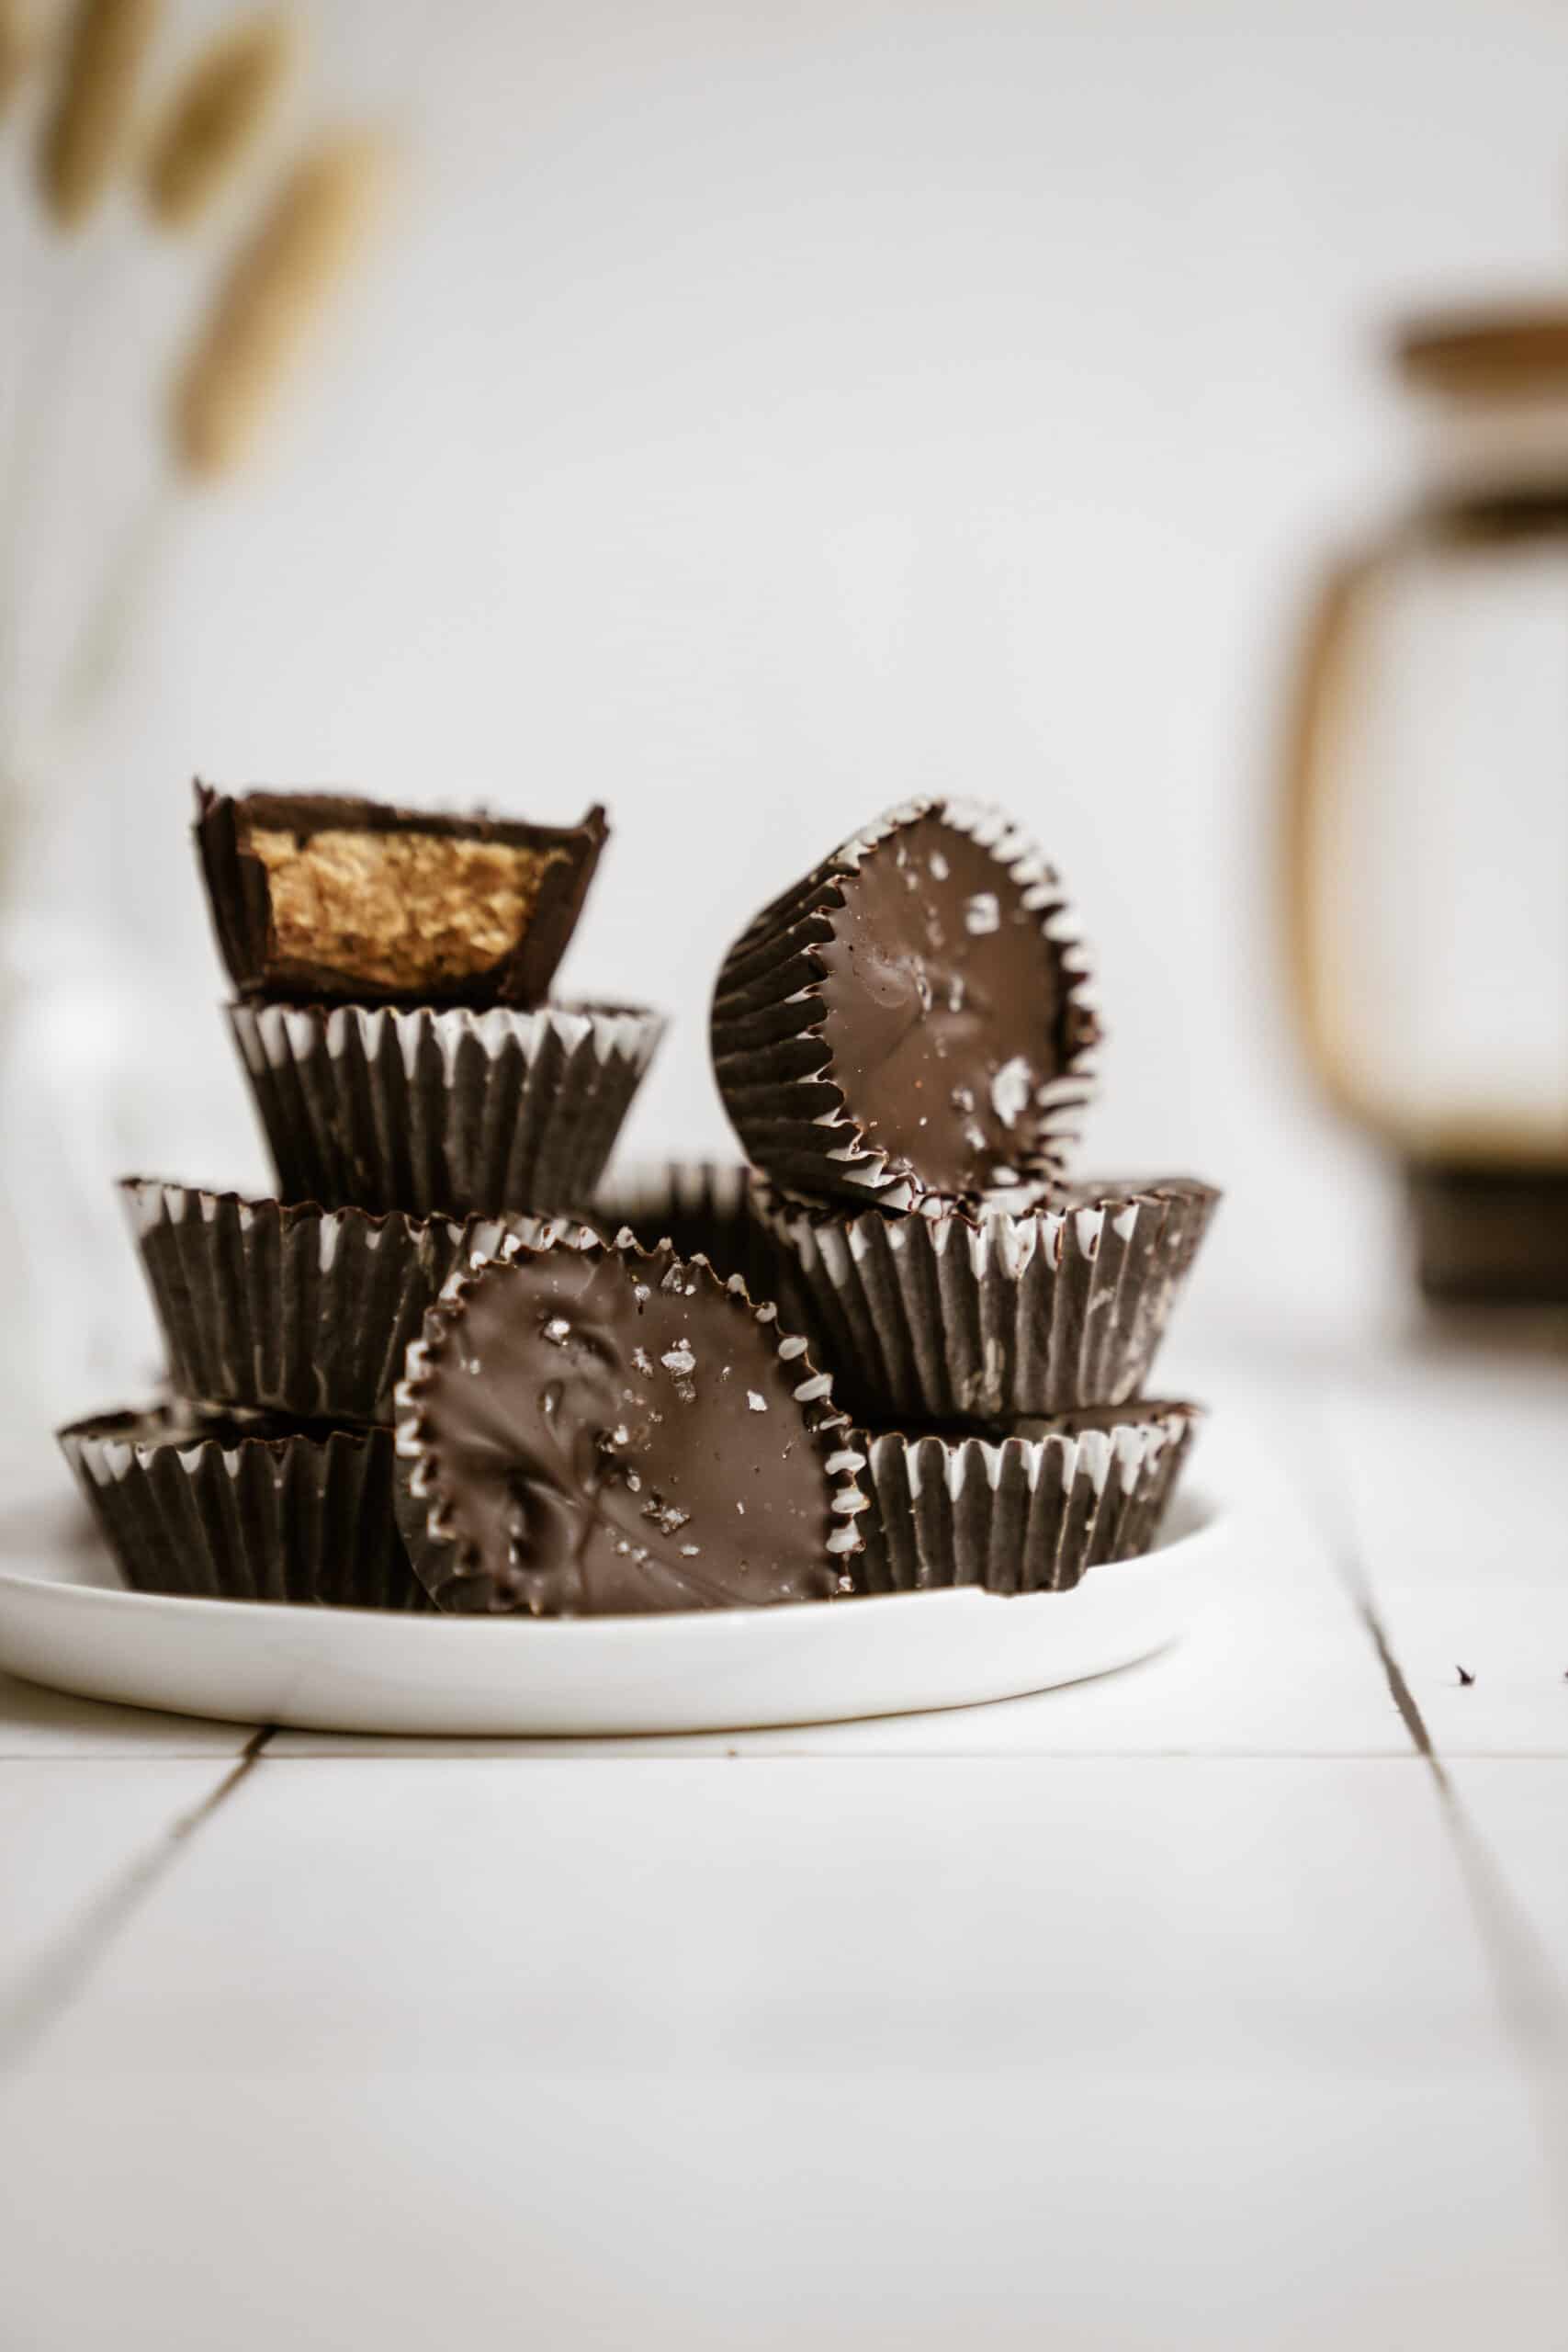
Peanut Butter: You can use peanut butter, almond butter, or whatever your favorite nut butter is. You can even use seed butter if that’s your preference and you want to keep these nut-free.
Chocolate: I like using dark chocolate in this recipe but you can actually personalize this to use your favorite chocolate bar. Get creative with the combinations!
How to make homemade peanut butter cups:
- Line a mini cupcake tray with 12 liners, and set it aside.
- Chop half of the dark chocolate into small pieces and place it into a microwave-safe bowl. Heat the chocolate in the microwave for 15 seconds at a time, mixing in between. Repeat this until thoroughly melted.
- Scoop a heaping teaspoon of the melted dark chocolate into each of the cupcake liners. Use a small spoon to push the chocolate up the sides of each liner. Set the tray into the fridge for 10 minutes or the freezer for 5 minutes until hardened.
- In a small bowl, combine the peanut butter, maple syrup, vanilla, salt, and coconut flour. Mix until smooth.
- Remove the cupcake tray from the fridge or freezer and scoop about 1 – 2 tsp of the peanut butter filling into the middle of the chocolate cup. The peanut butter should line up close to the top of the chocolate edges.
- Place back into the fridge or freezer again for a few minutes.
- Melt the second half of the dark chocolate, in the same way as before. Repeating those steps.
- Again, remove the cupcake tray from the fridge or freezer. Scoop 1 – 1 ½ tsp of the melted dark chocolate on top of the peanut butter filling. Spread the chocolate evenly with a small spoon to cover the entire top. Sprinkle some flaky salt on top.
- Set in the fridge for 20 minutes or the freezer for 10 minutes until solid.
- Peel the liners away from the peanut butter cups.
Expert Tips & FAQ:
What if I want bigger cups? Double the recipe and make this in regular-sized cupcake liners!
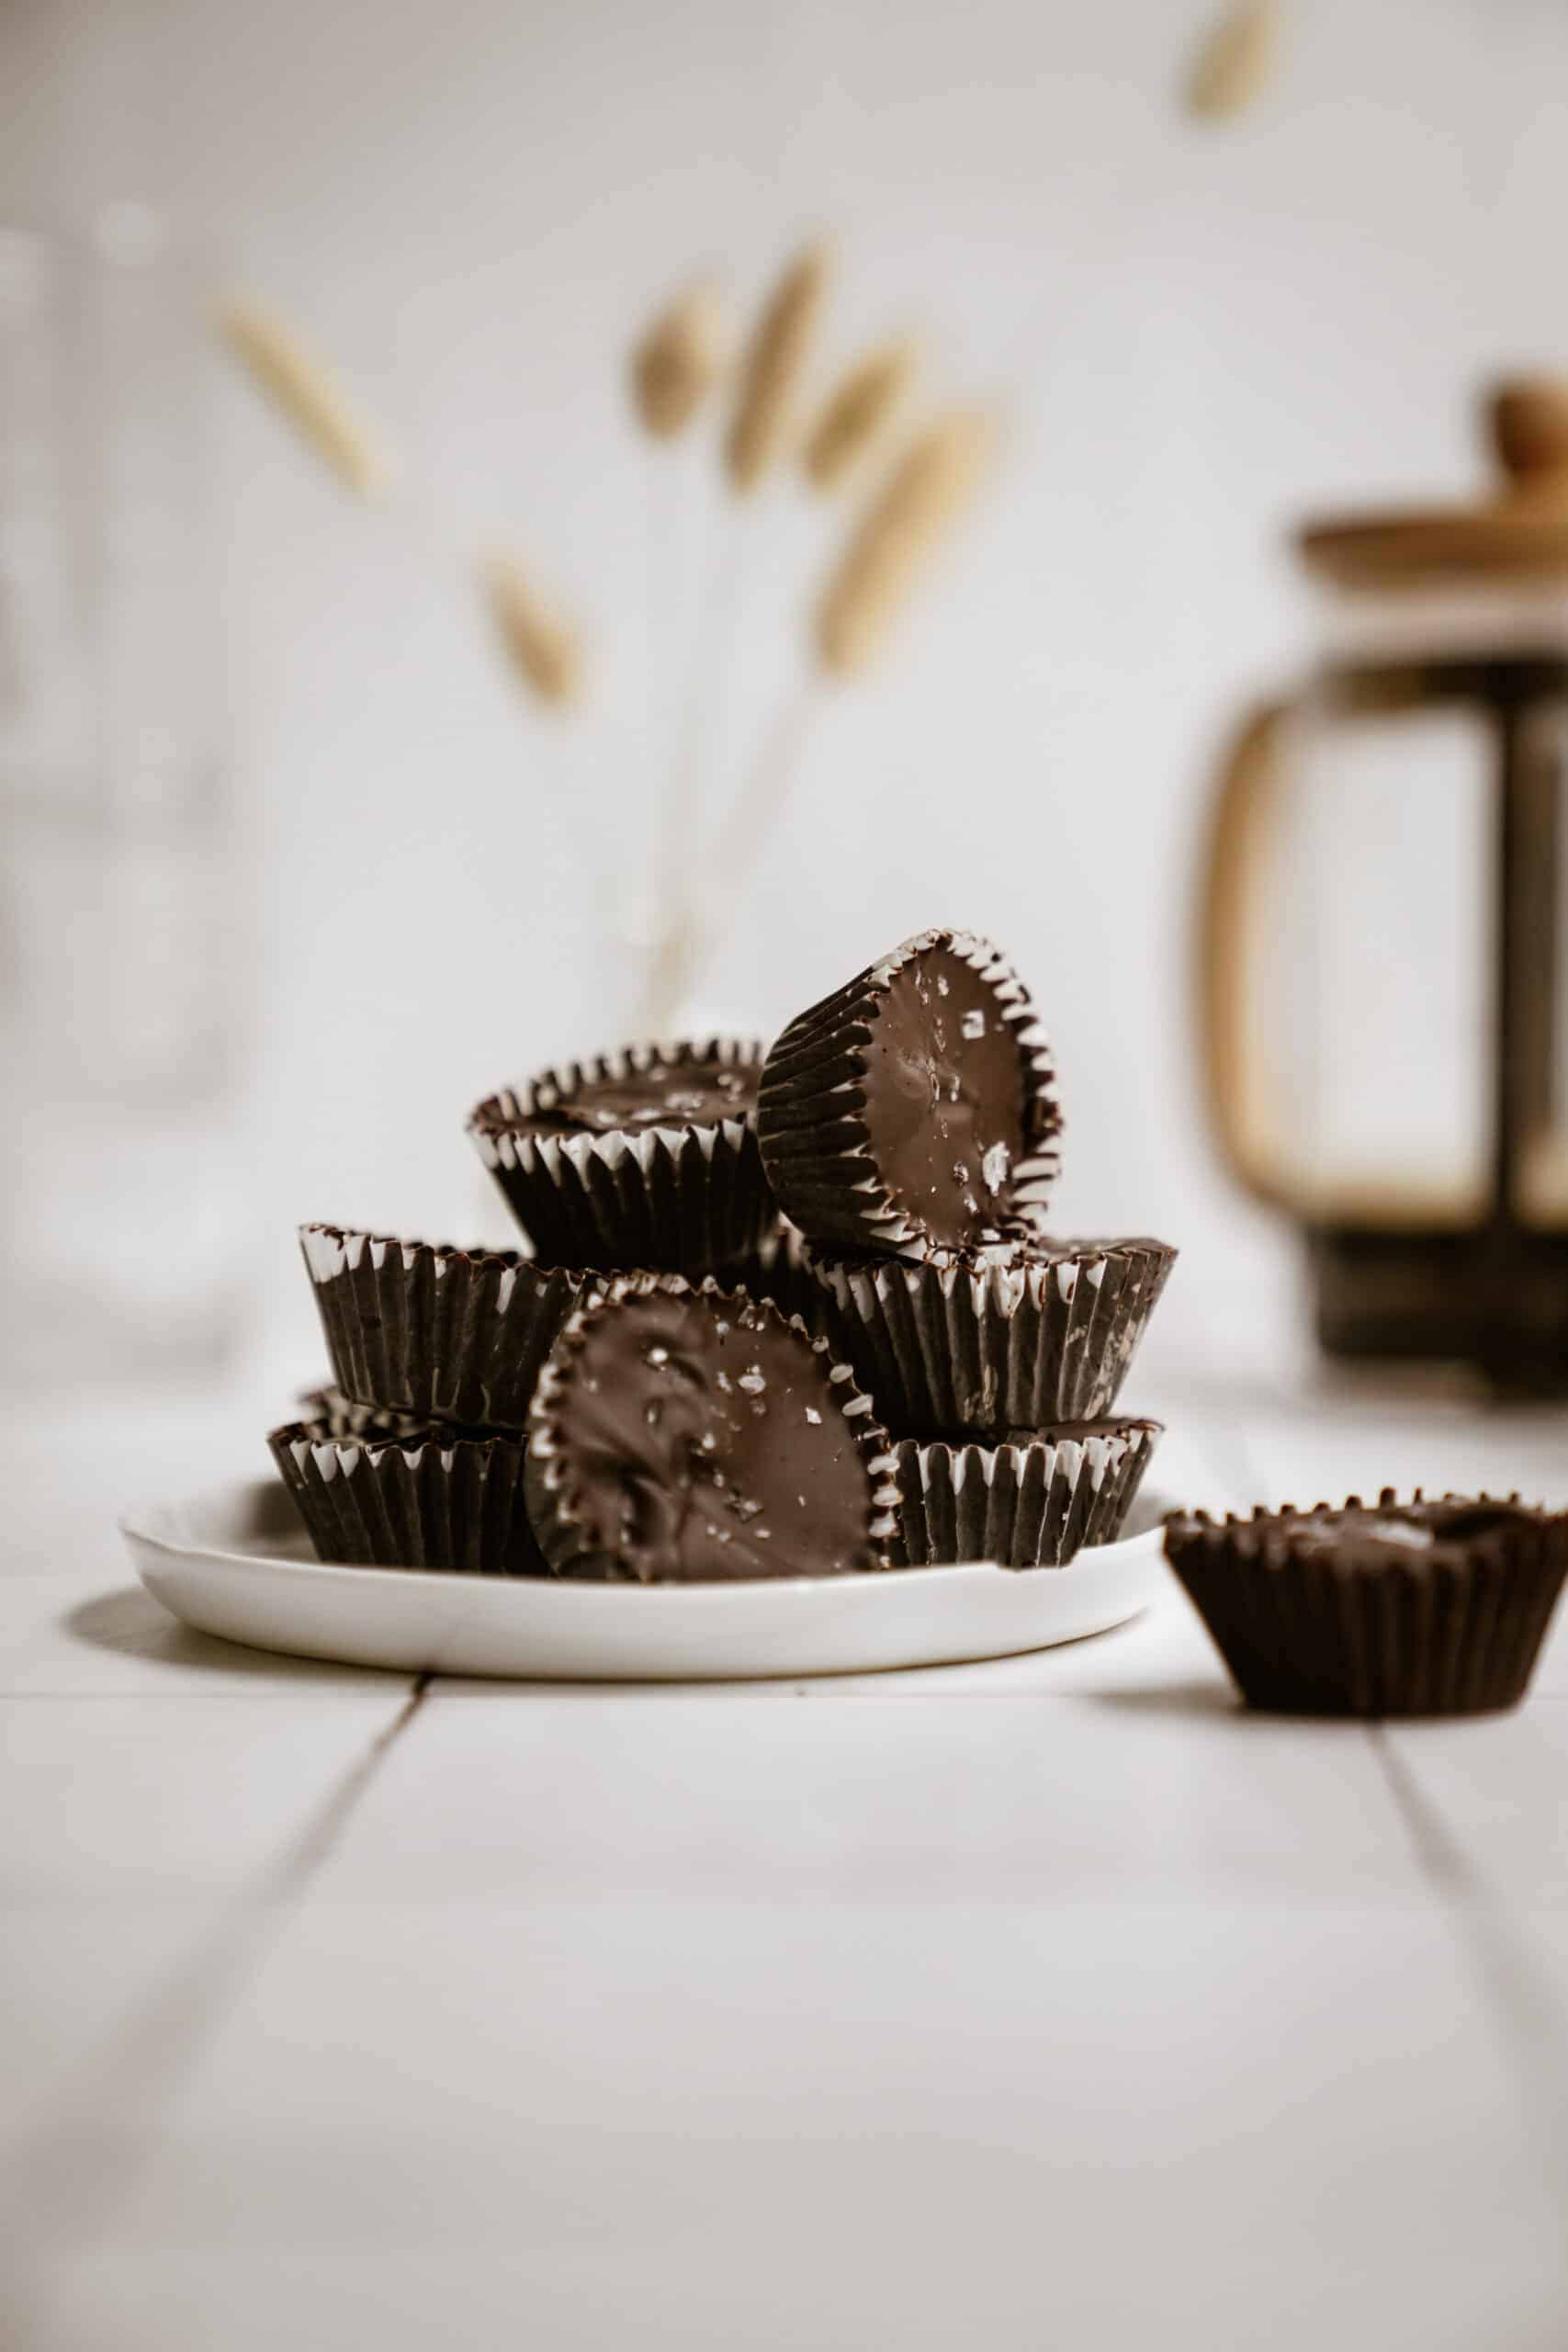
Storage: Store the Peanut Butter Cups in an airtight container in the fridge for 1 – 2 weeks or in the freezer for up to 3 months.
How to make these less sweet: You can use less or no maple syrup, and stick to dark chocolate since it is more bitter vs. sweet like other chocolate bars.
Other sweet recipes you’ll love:
- Strawberry Crumble Bars
- 10-Minute Peanut Butter Almond Bars
- Vegan Cashew Chocolate Mousse Cake
- Chocolate Chunk Vegan Blondies
For more eBooks:
If you want more deliciousness at the click of your finger, be sure to check out FoodByMaria’s Newest Mini Cookbooks. Limited time offer of 3 for $20USD.
Homemade Peanut Butter Cups
Ingredients
- ½ cup smooth peanut butter
- 2 tsp maple syrup
- 1 tsp vanilla
- pinch of flaky salt plus some for topping
- 1 ½ tsp coconut flour
- 1 cup OR 6 oz dark chocolate melted
Instructions
Line a mini cupcake tray with 12 liners, and set it aside.
- Chop half of the dark chocolate into small pieces and place it into a microwave-safe bowl. Heat the chocolate in the microwave for 15 seconds at a time, mixing in between. Repeat this until thoroughly melted.
- Scoop a heaping teaspoon of the melted dark chocolate into each of the cupcake liners. Use a small spoon to push the chocolate up the sides of each liner. Set the tray into the fridge for 10 minutes or the freezer for 5 minutes until hardened.
- In a small bowl, combine the peanut butter, maple syrup, vanilla, salt, and coconut flour. Mix until smooth.
- Remove the cupcake tray from the fridge or freezer and scoop about 1 – 2 tsp of the peanut butter filling into the middle of the chocolate cup. The peanut butter should line up close to the top of the chocolate edges.
Place back into the fridge or freezer again for a few minutes.
- Melt the second half of the dark chocolate, in the same way as before. Repeating those steps.
- Again, remove the cupcake tray from the fridge or freezer. Scoop 1 – 1 ½ tsp of the melted dark chocolate on top of the peanut butter filling. Spread the chocolate evenly with a small spoon to cover the entire top. Sprinkle some flaky salt on top.
IM ADDICTED LOL.
ME TOO 🙂 haha
Peanut butter cups, my favorite!!
you are going to love these, sydney!
I’ve always had a hard time making these types of desserts, any advice?
I used to too! Make sure you’re using small little mini muffin cups and make sure that the first layer is completely covering the muffin cup but it doesn’t have to be a super thick layer!
I’m drooling, how long will they last in the fridge?
well they lasted about 48 hours in my house lol but if you have them in a tightly sealed container I would say 2 weeks!
I love the touch of salt
it really makes all the difference
These are going to be dangerous considering my favorite junk treat is Reese’s Cups
RIGHT? and this is the furthest from junk!